Mobil 1 Bottle – 2D Sketch to 3D CAD Model
CASE STUDY
Most plastic bottles today are design to fit ergonomically in your hand. This means designers have to model with complex freeform or \”swoopy\” shapes vs geometric shapes to achieve the desired results. Today I choose to use a plastic oil bottle to demonstrate how shapes blend together.
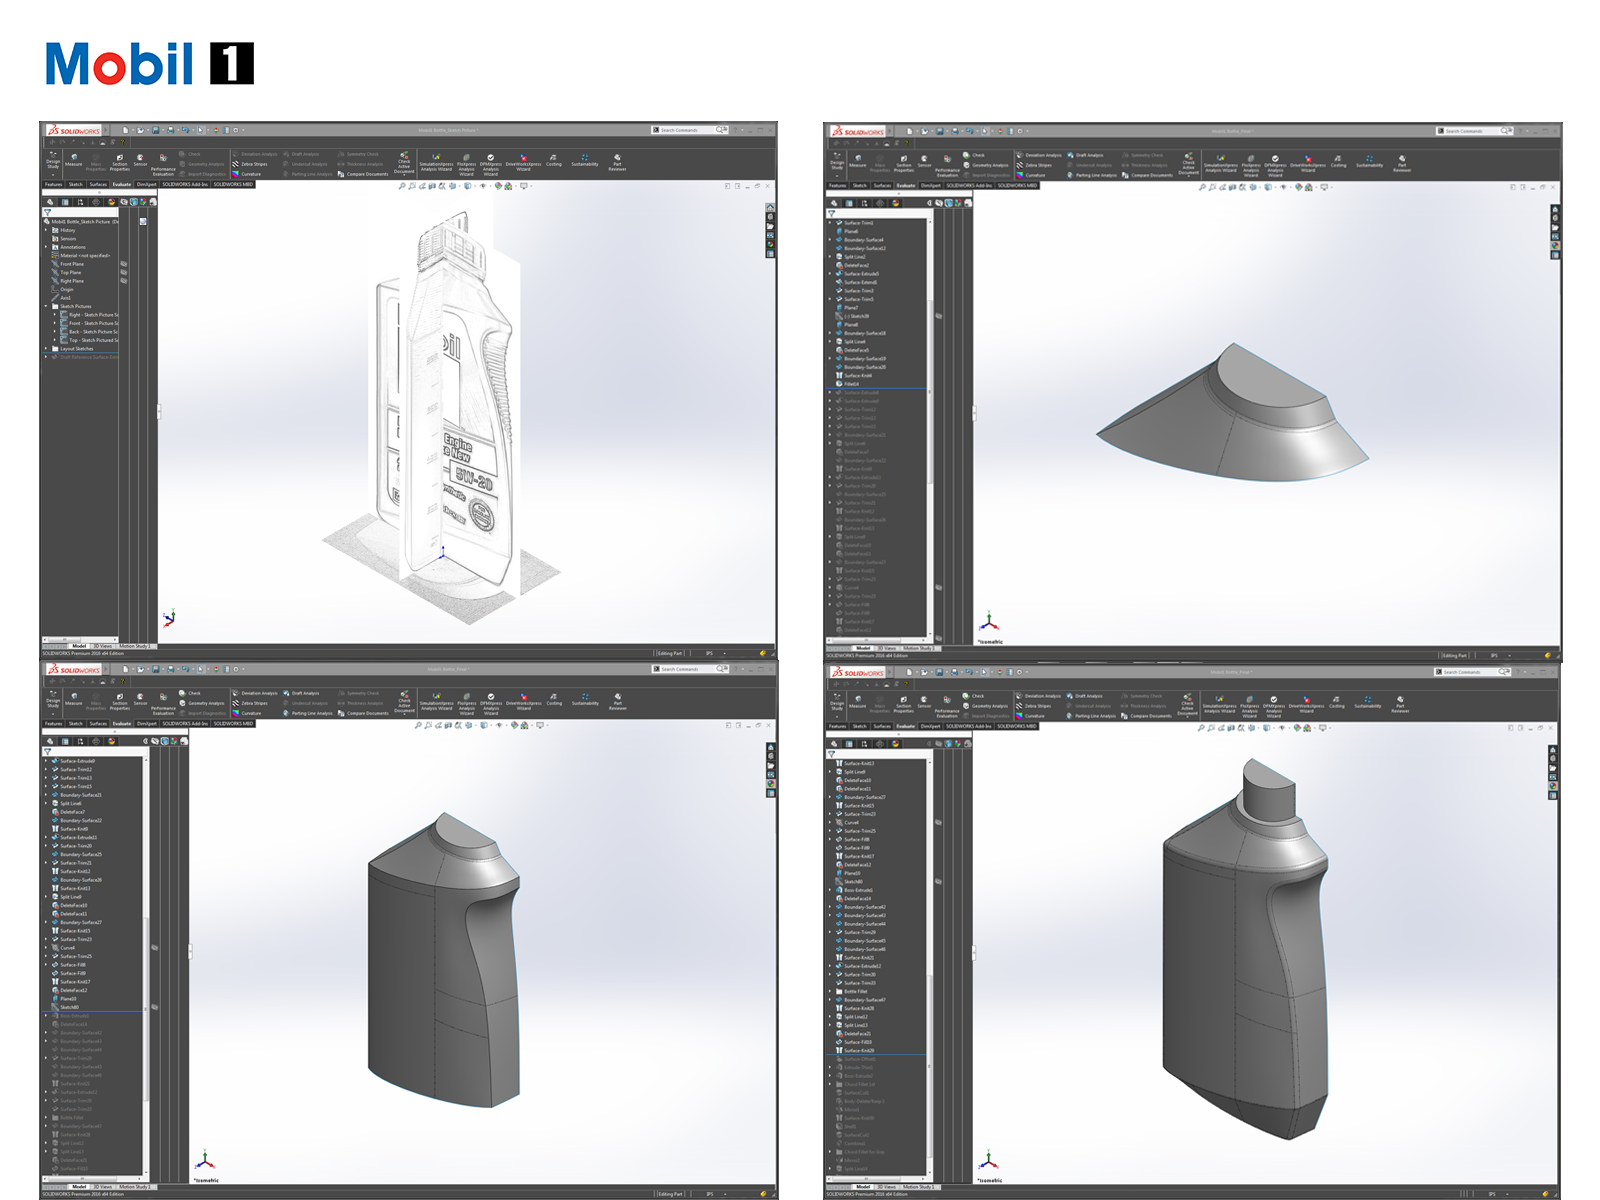
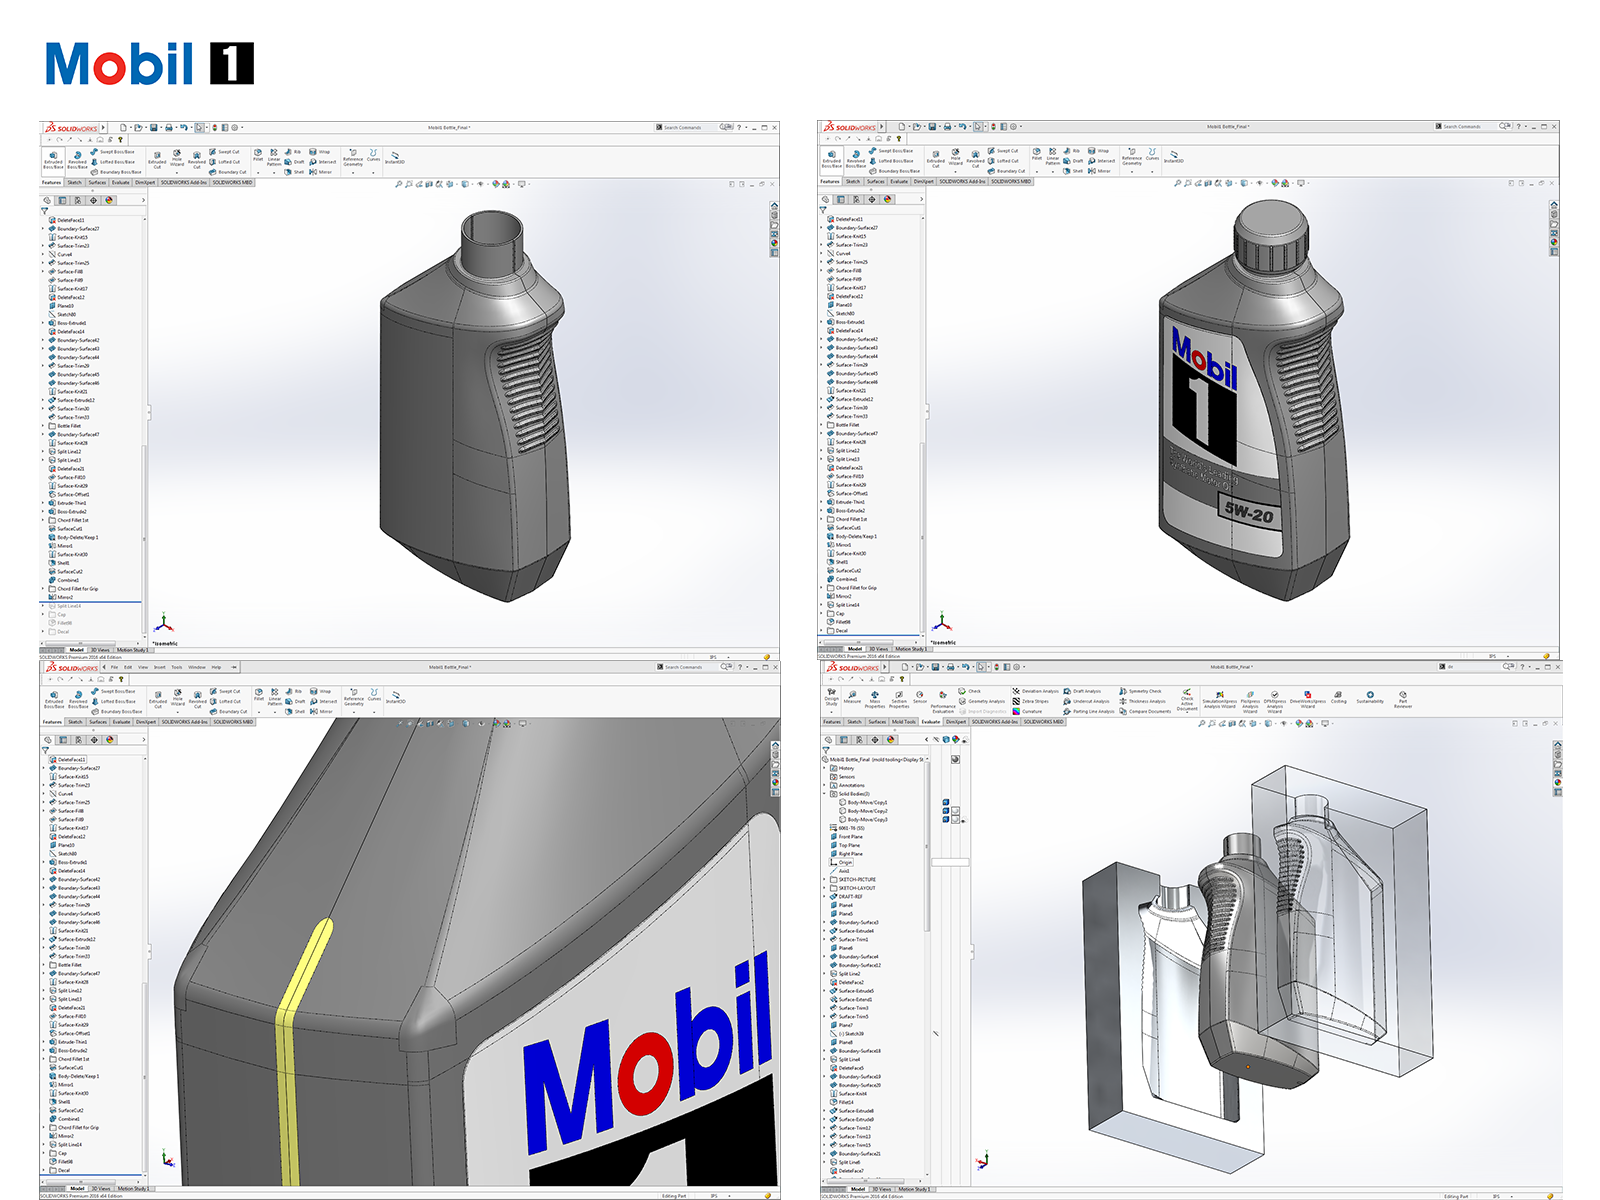
The project progressed through the following stages by 1) importing the sketches into SolidWorks which would give us the layout to go from 2D to 3D. 2) Then blending one surface with another with clean curvature. 3) Mirror the half while maintaining draft at the parting line. Then last creating 2D drawings and marketing images with KeyShot.
CHALLENGE
The goal of this project was to convert sketch art into a production tool ready 3D CAD model making sure clean surfaces and blends where achieved.
OUTCOME
A professional 3D CAD file that can be used to demonstrate a concept, use to create a product image for a catalog or web post, or manufacturing.
Developing a Modeling Strategy
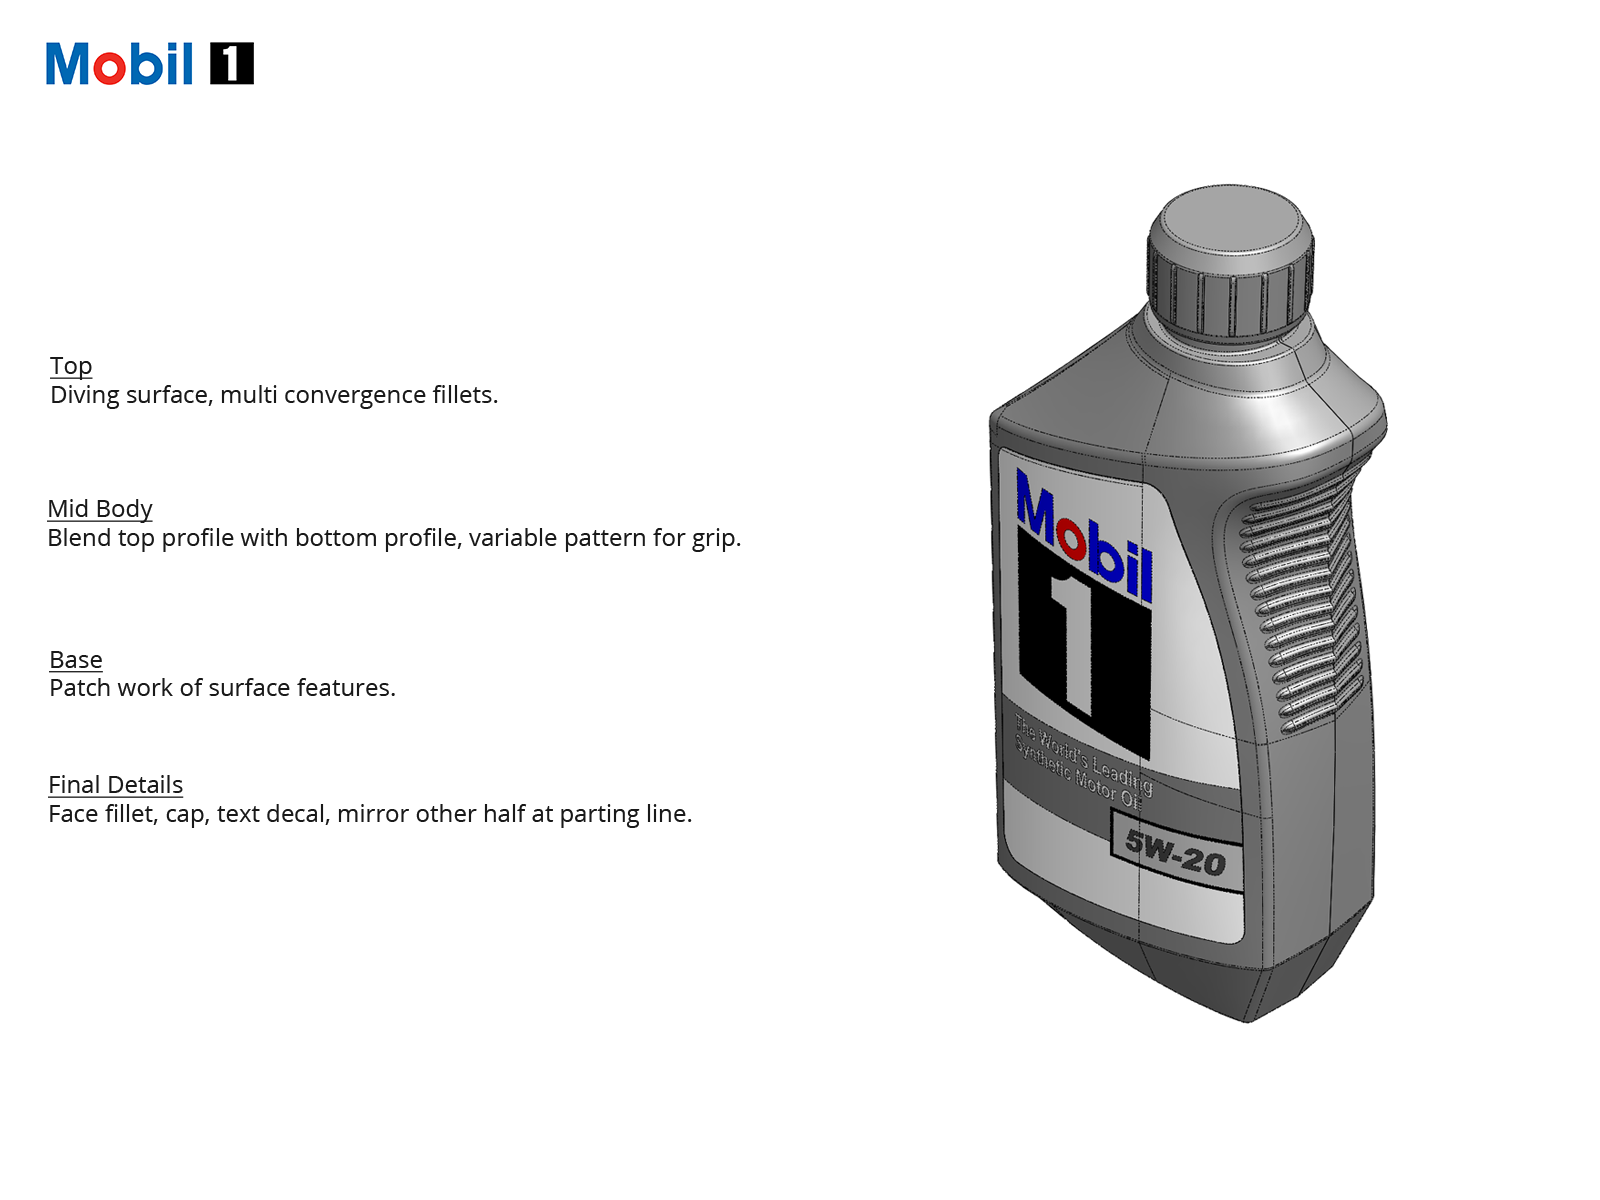
Before I dive into modeling a tricky model, I first want to develop a modeling strategy. In this example I break up the model into what features I want to define the shape. Top) Diving surface and multiple converging fillets. Mid Body) Surface patchwork to combine top and lower section. Variable pattern for grip. And last final details) Face Fillets, mirror half, then add branding.
Patch and Sketch Layout
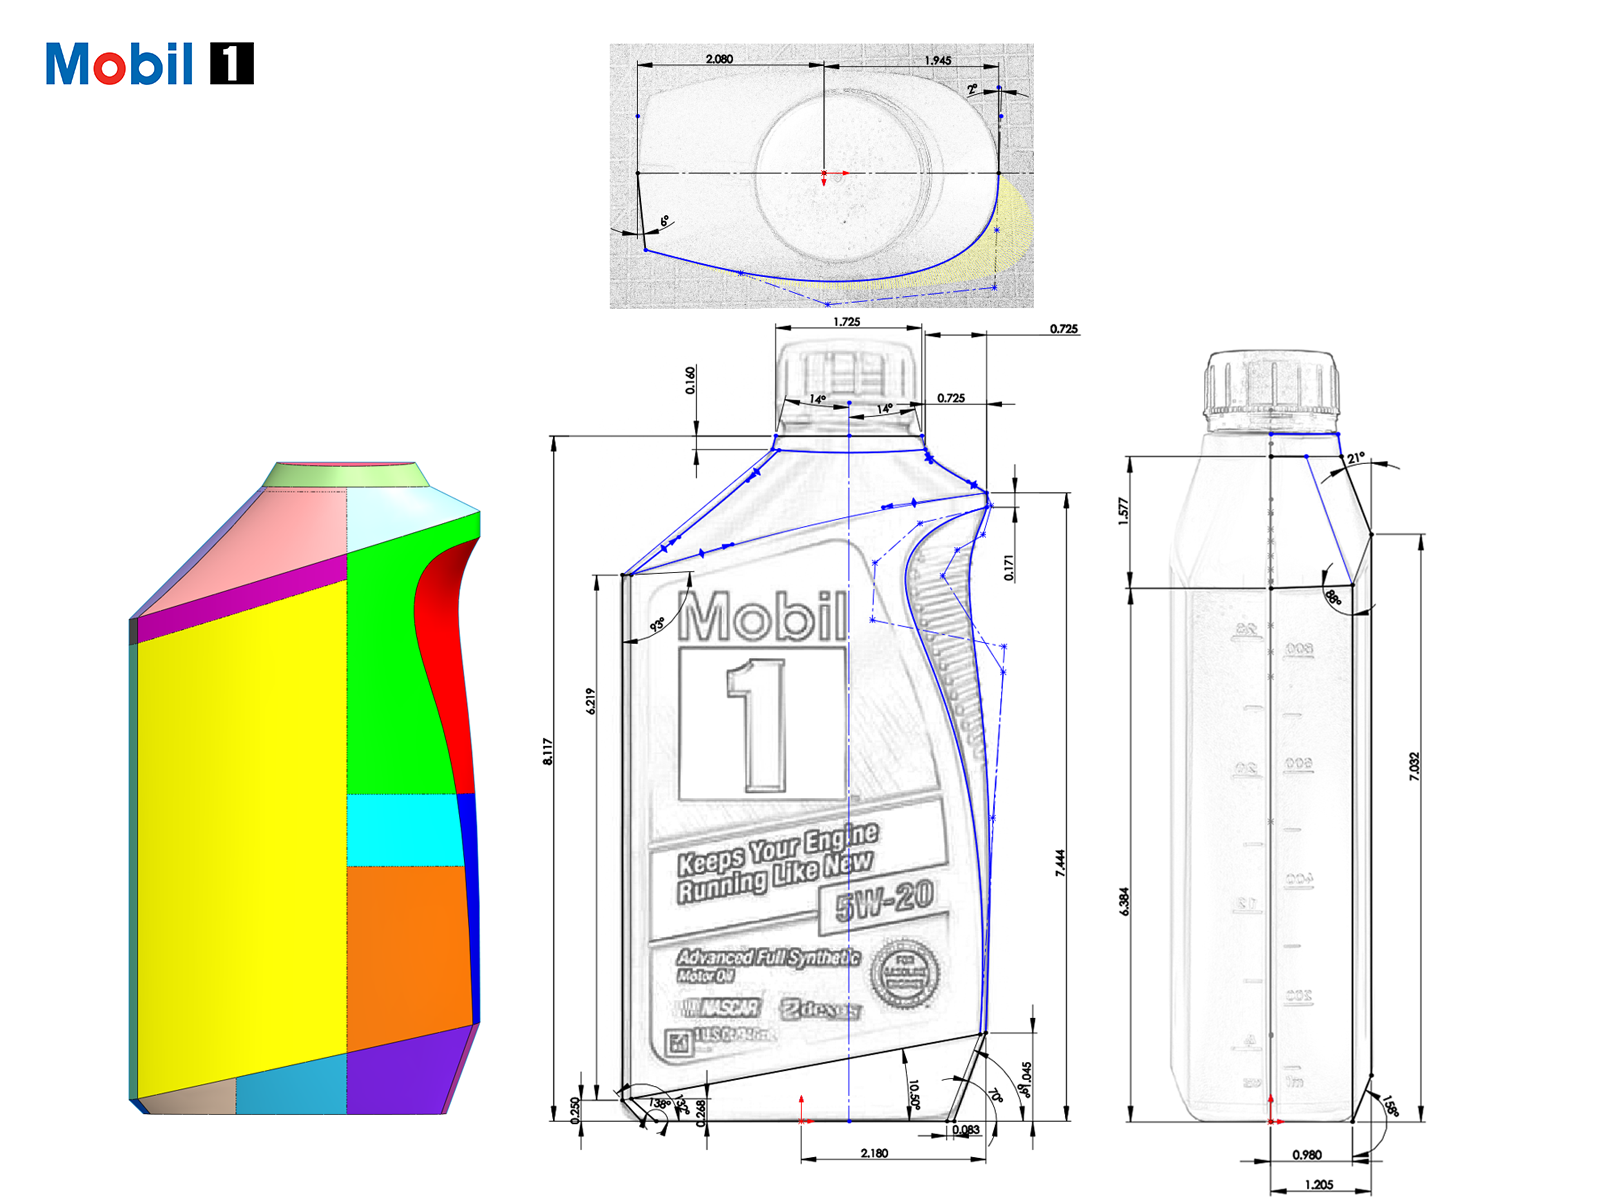
Patch Layout: Laying out the surfaces will dictate where planes, sketches, and projected curves/3D sketches will be positioned.
Sketch Layout: Laying out the sketch art for the front, right, and top views will give us references on where we need to trace in order for us to effectively build the 3D CAD model.
Define Parting Line
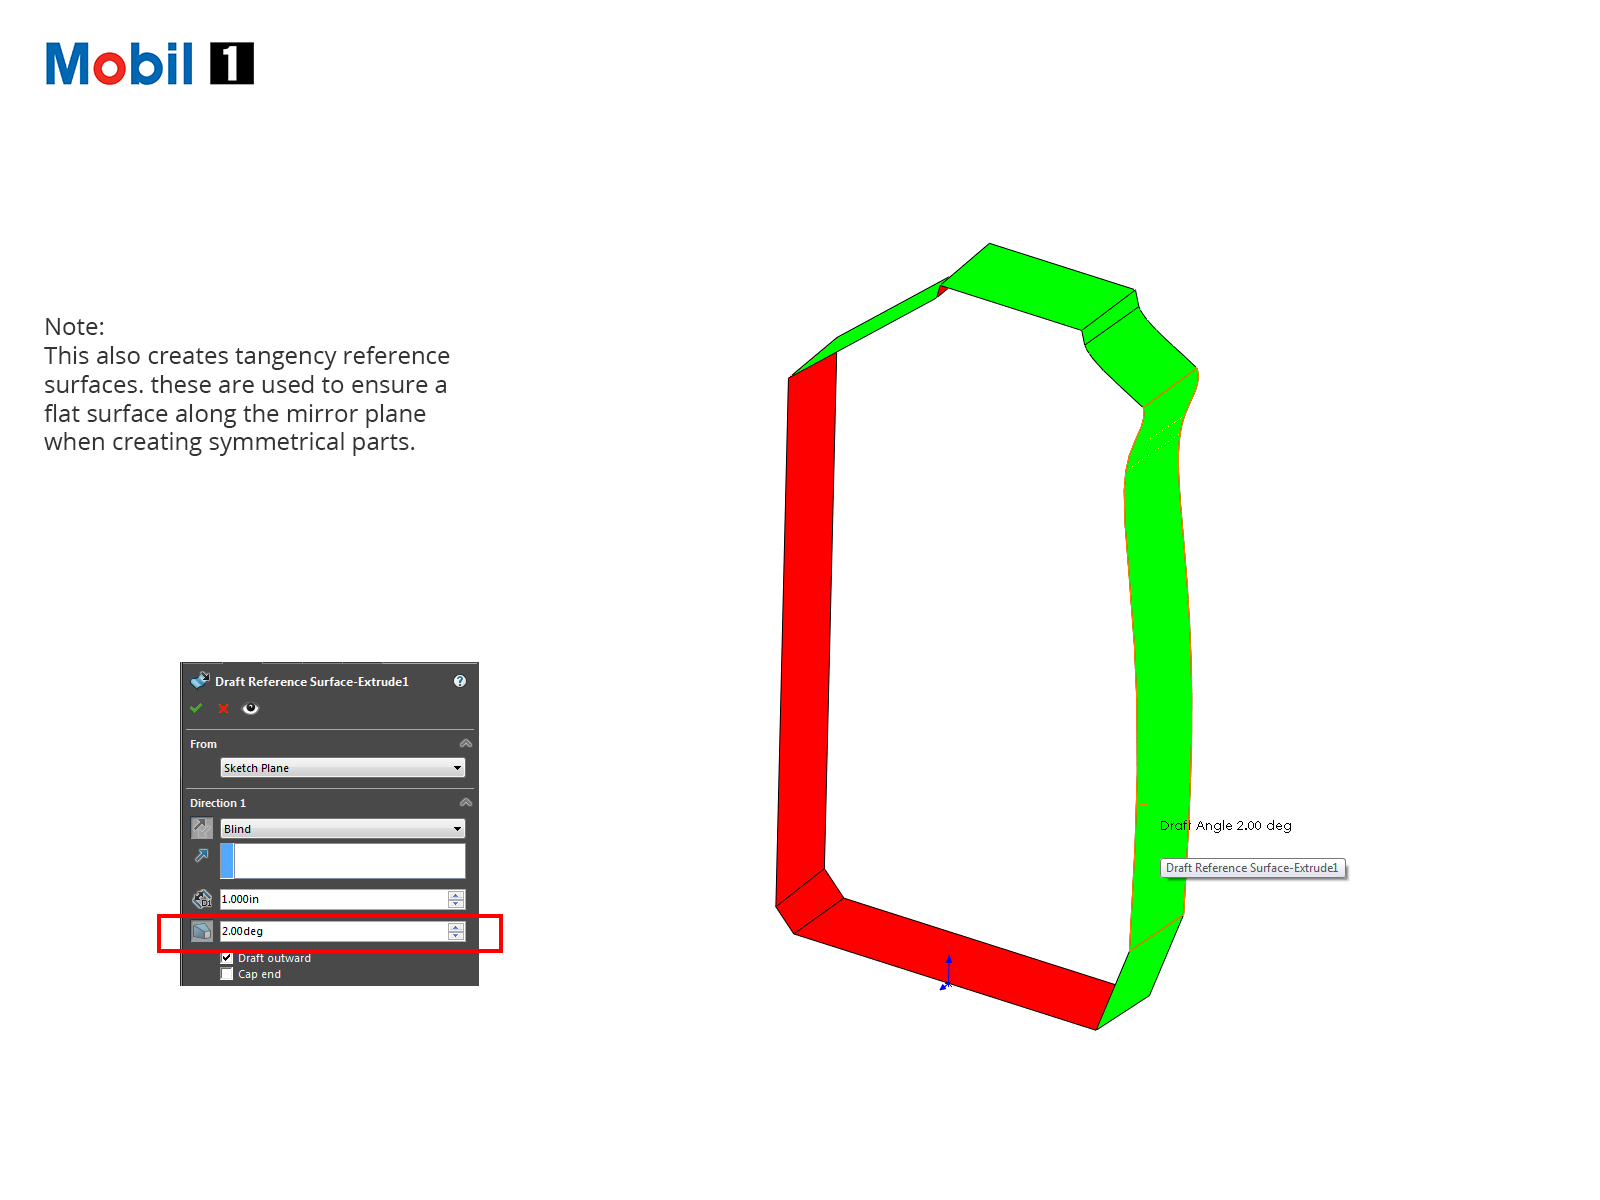
Because this part will made for a two part mold we need to define a draft at the parting line. It is better that we add draft now then later as it might become difficult. This is done by using one of the sketch layouts with a surface extrude feature with the correct amount of draft.
CAD Development
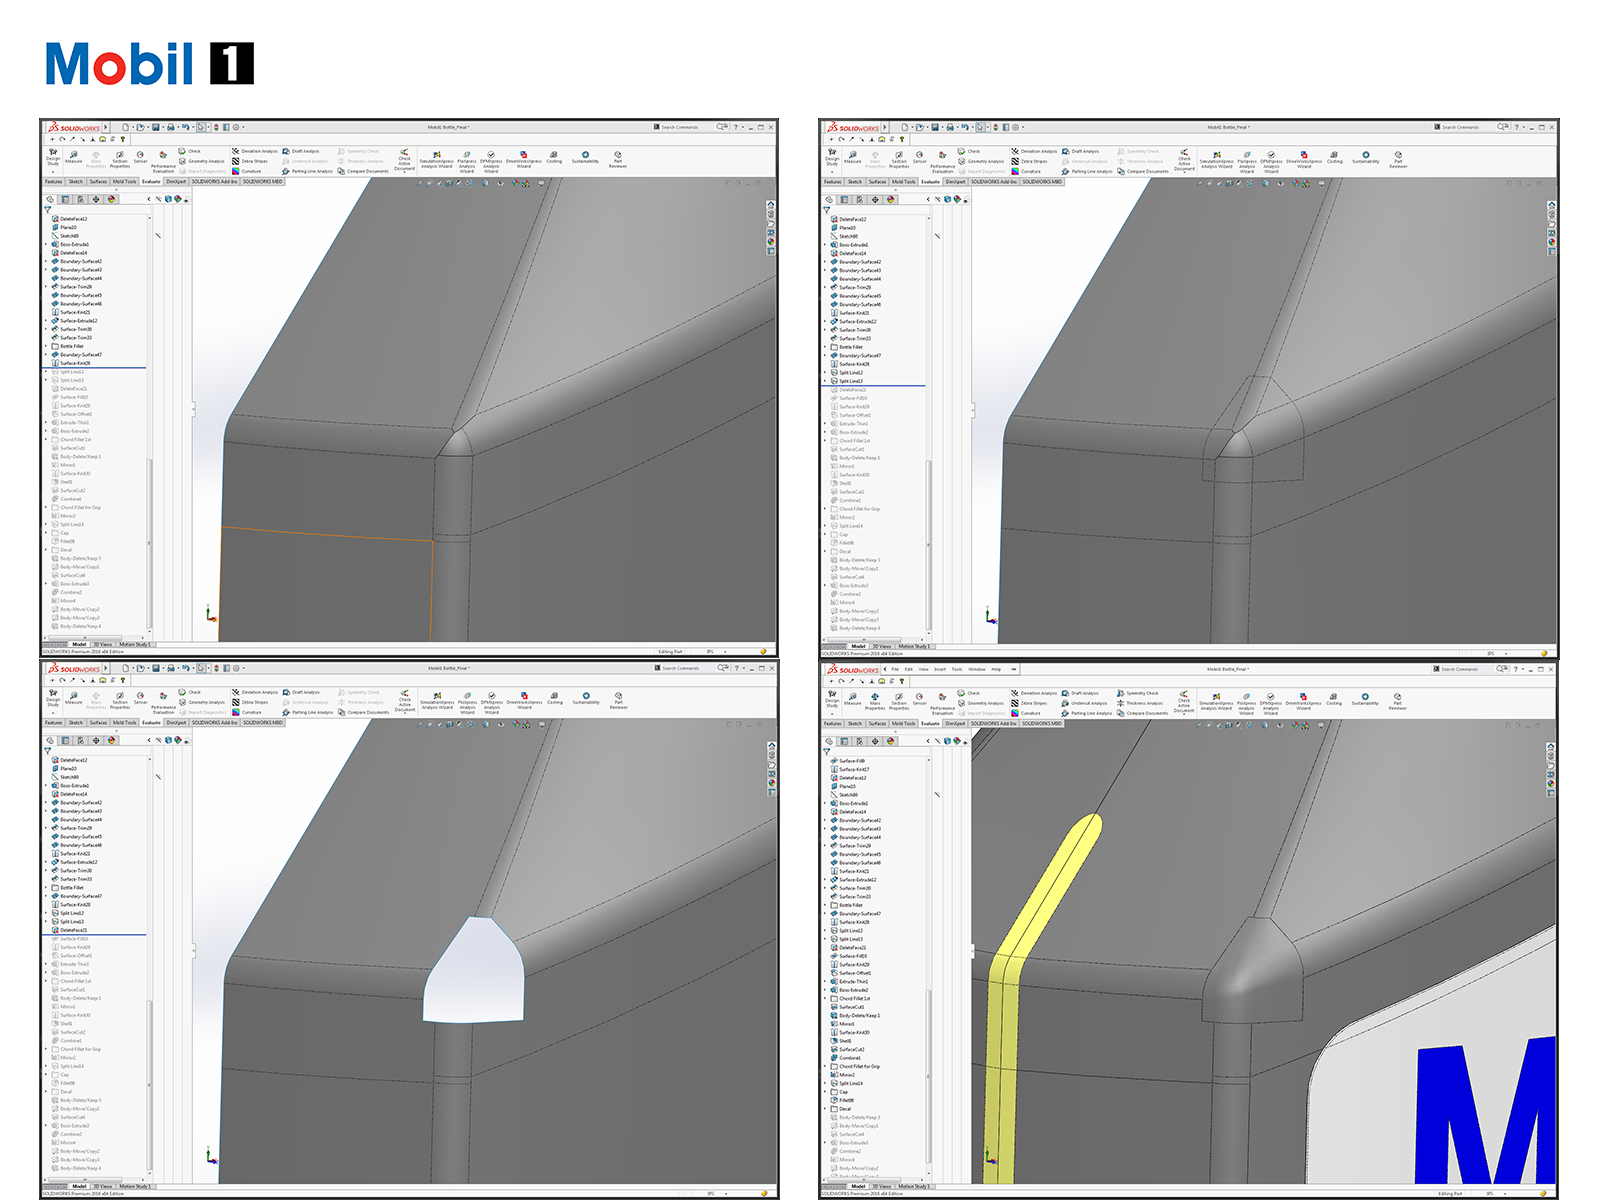
Now the fun the stuff begins where we can start modeling in the the surfaces that will create our 3D CAD model. Each surface was purposely thought out so that the model would reflect the desired outcome from the concept sketch.
Click here to download the 3D CAD model and learn how I constructed this bottle using SolidWorks.
Can I help you?
