Homemade Welding Fixture Table + Storage Hack
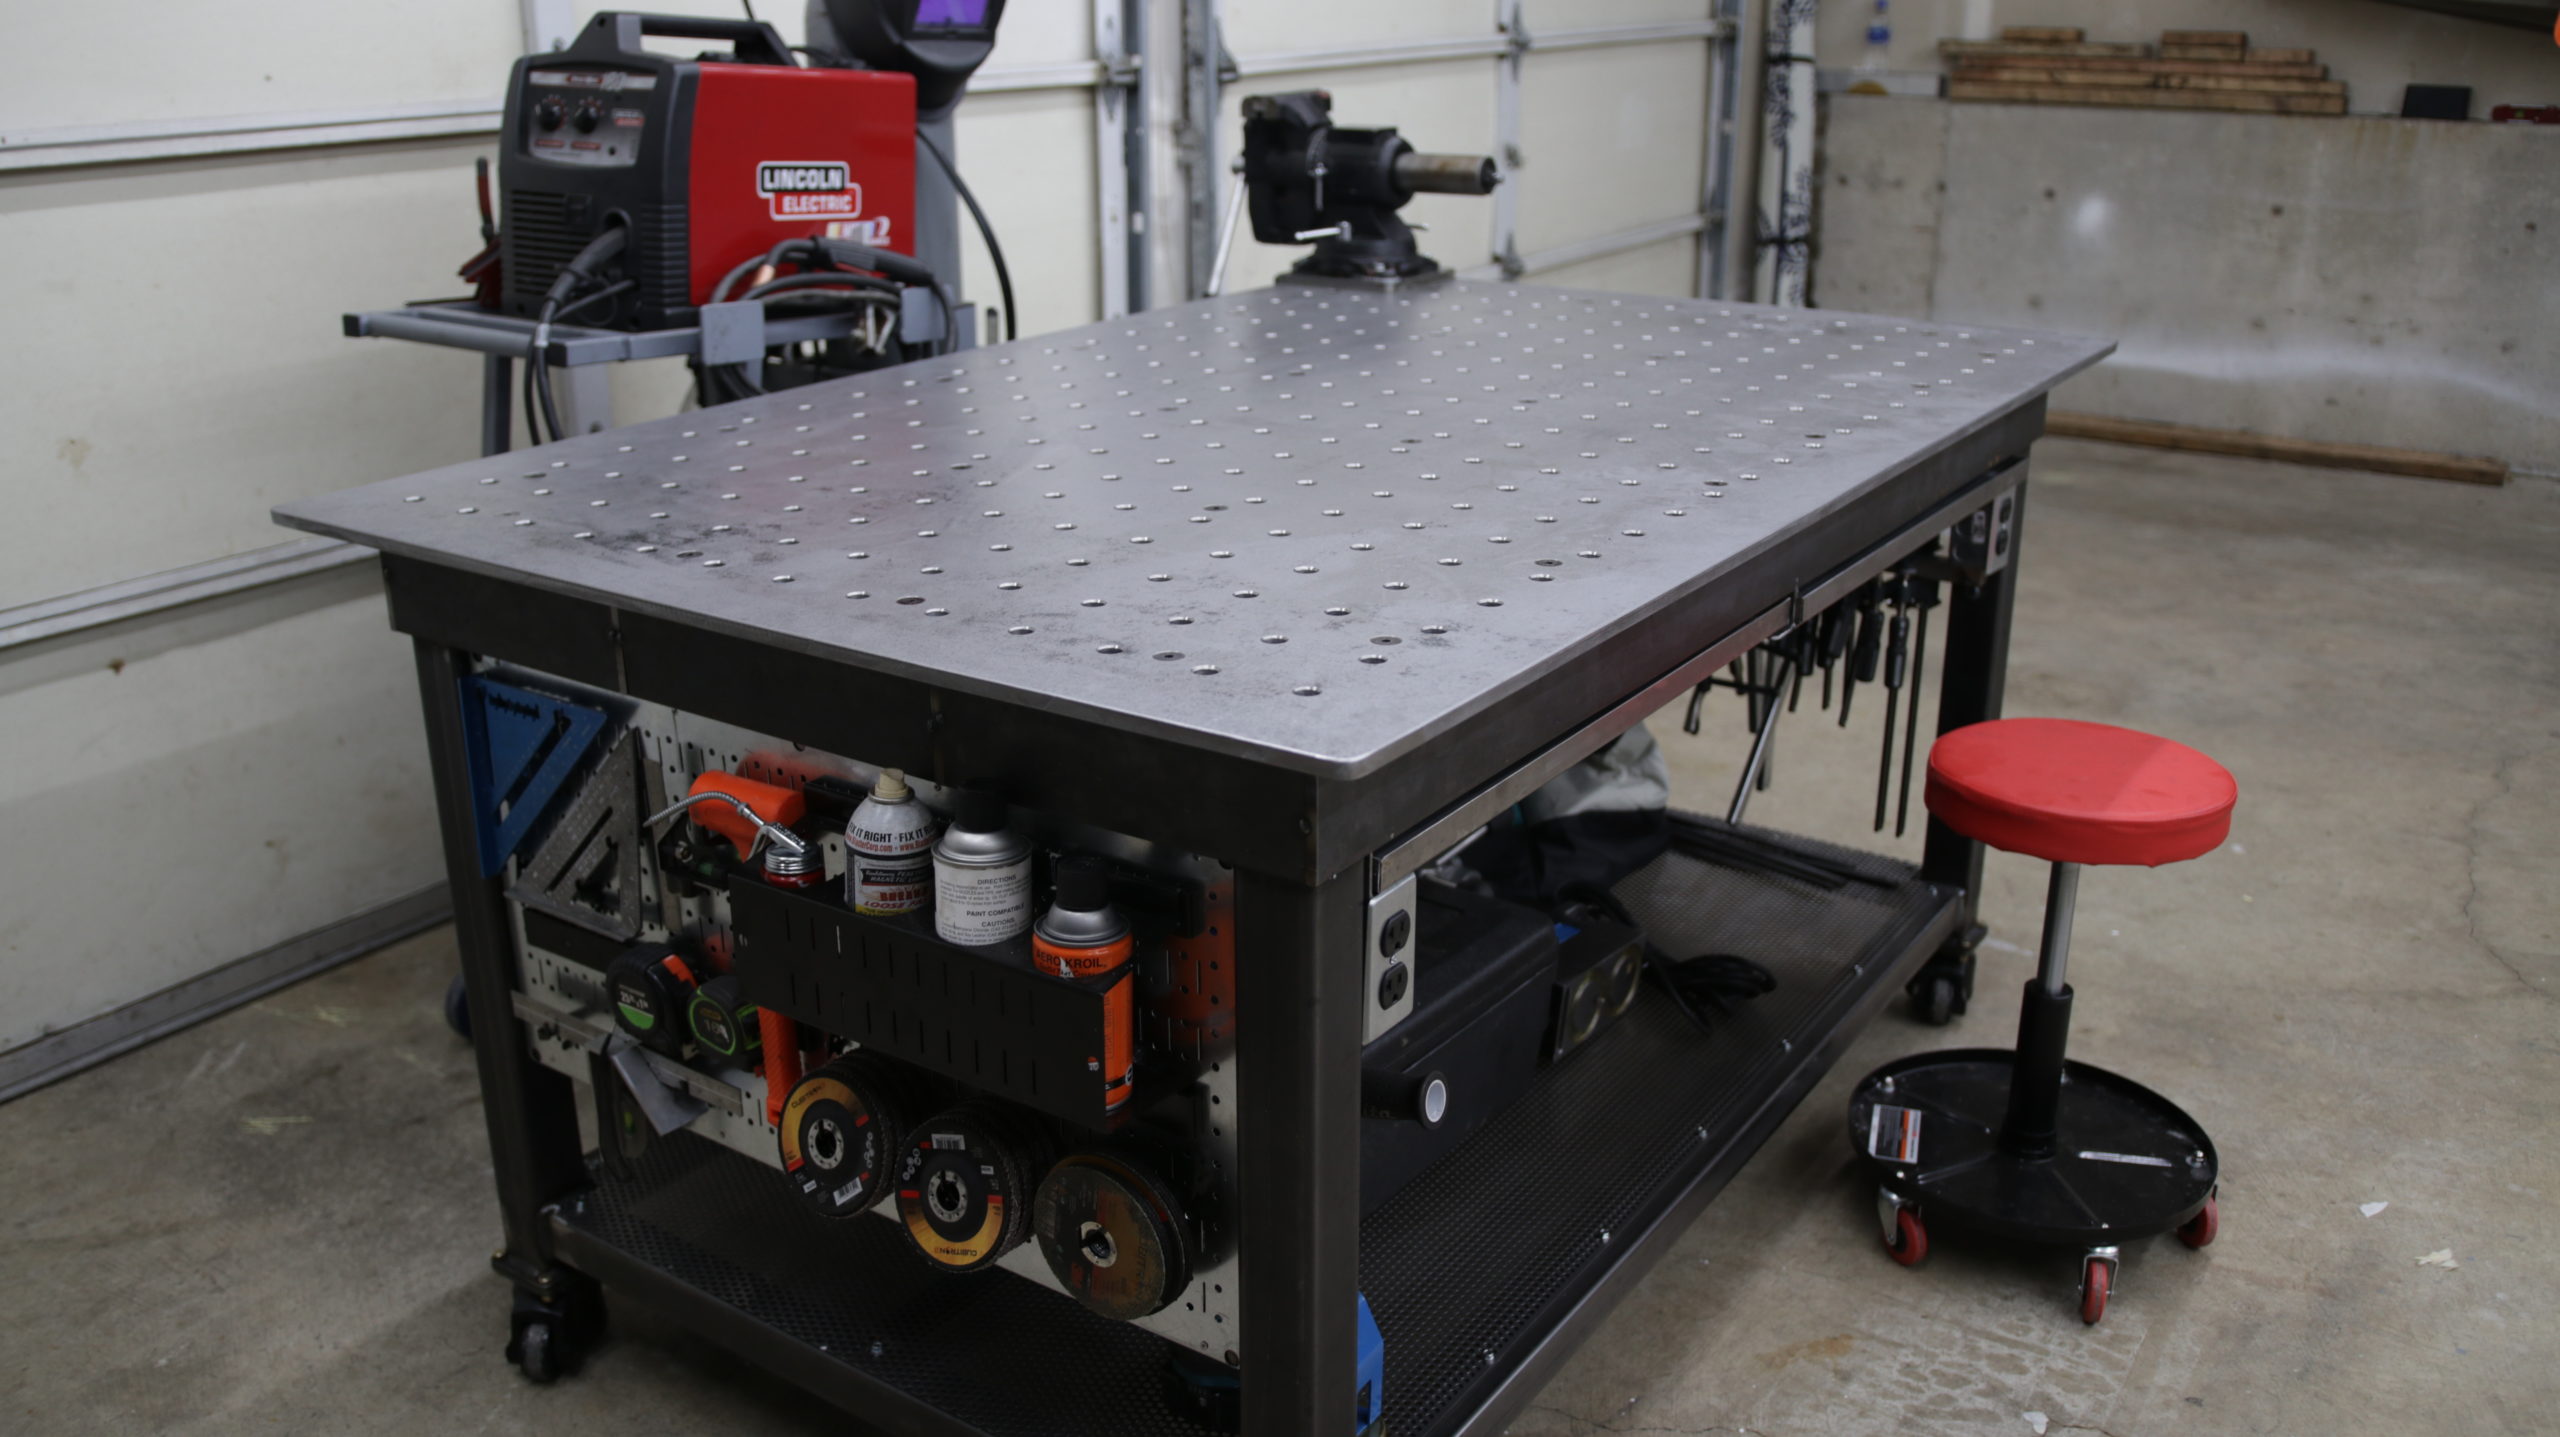
A quality workbench is one of the most important tools for a workshop. And having a modular one is even more crucial. It gives the mind room to design and create. I’ll take you on a tour of how I made this Homemade Welding Fixture Table all from scratch using basic tools.
Why is this important?
I’m a designer and maker so kicking this project off my main goals in mind for this table was it needed to be large enough to fit my needs, to include a place to organize my tools and be able to hold work pieces in an accurate and repeatable way.
This was what I was working with before. It was a cheap welding table for small and simple projects but for anything larger the garage floor was my best friend. I’ve even built my roof rack and welding cart off it.
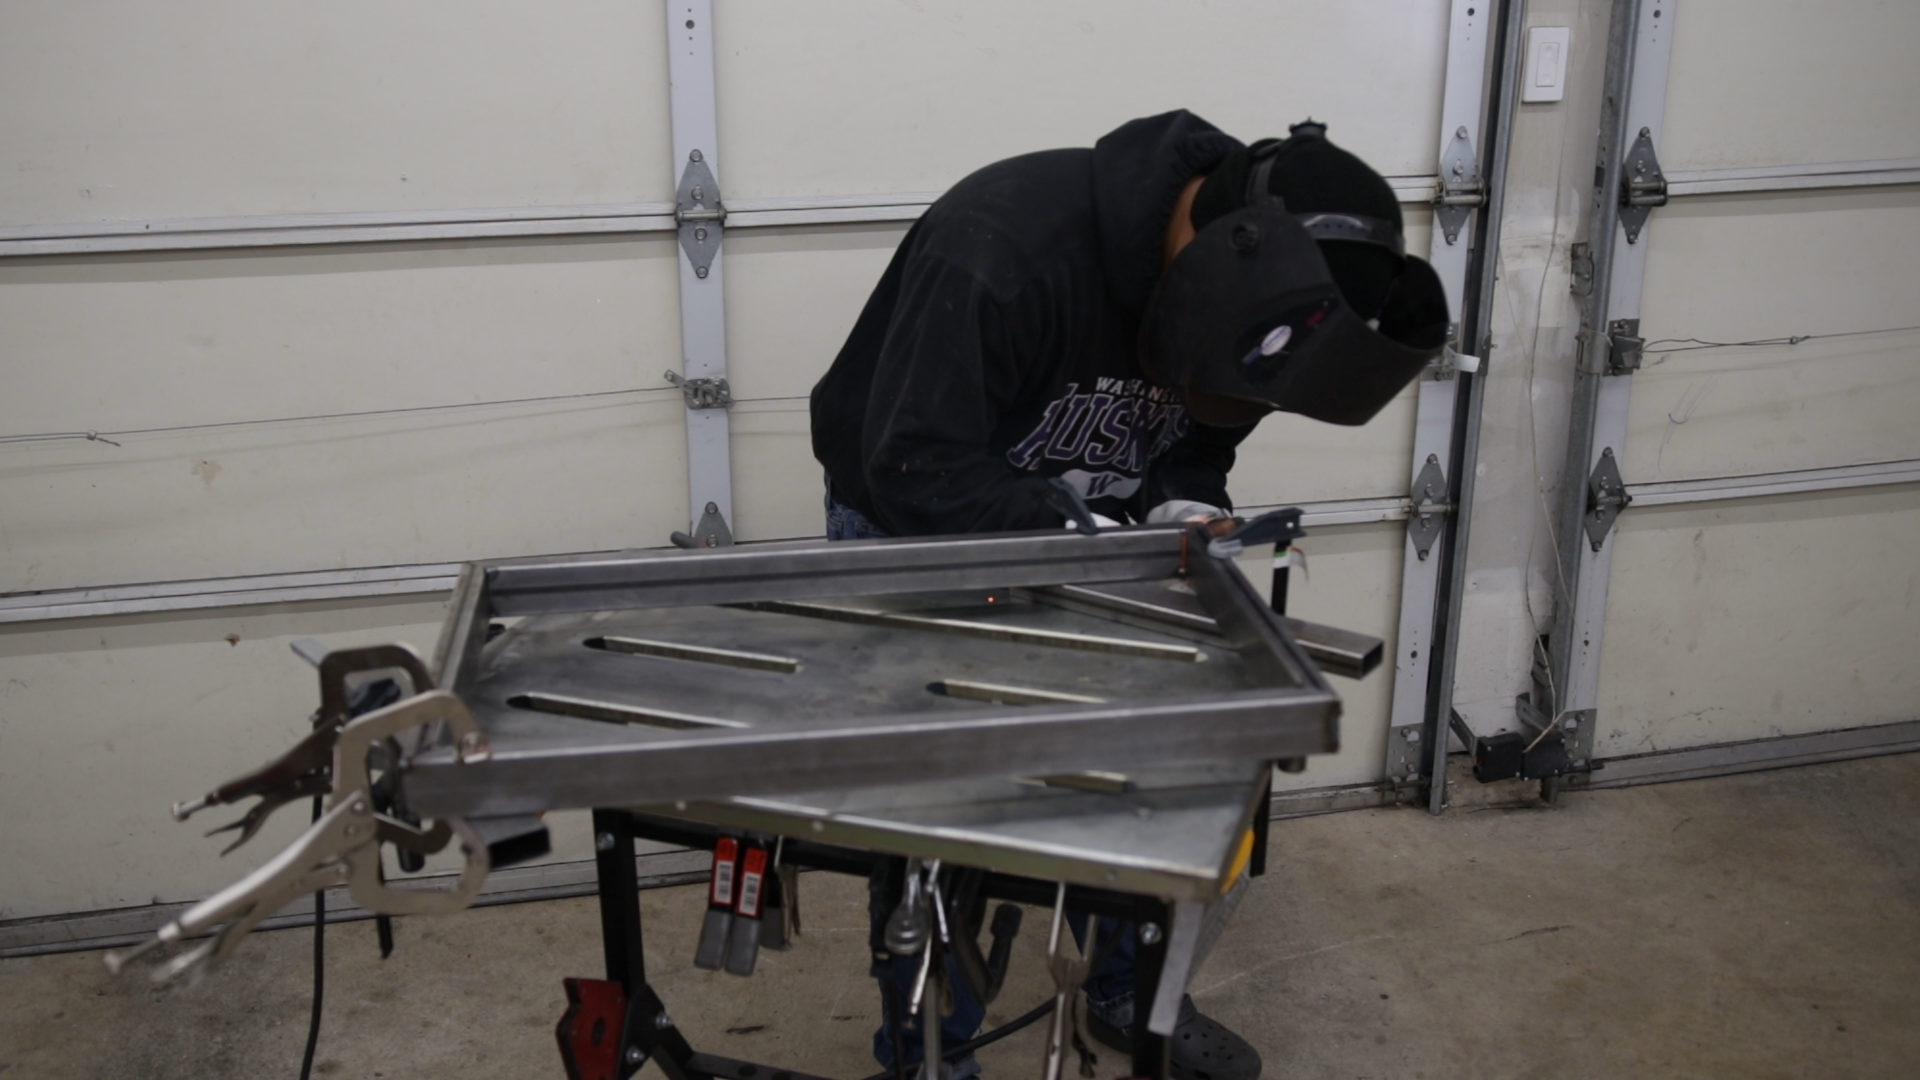
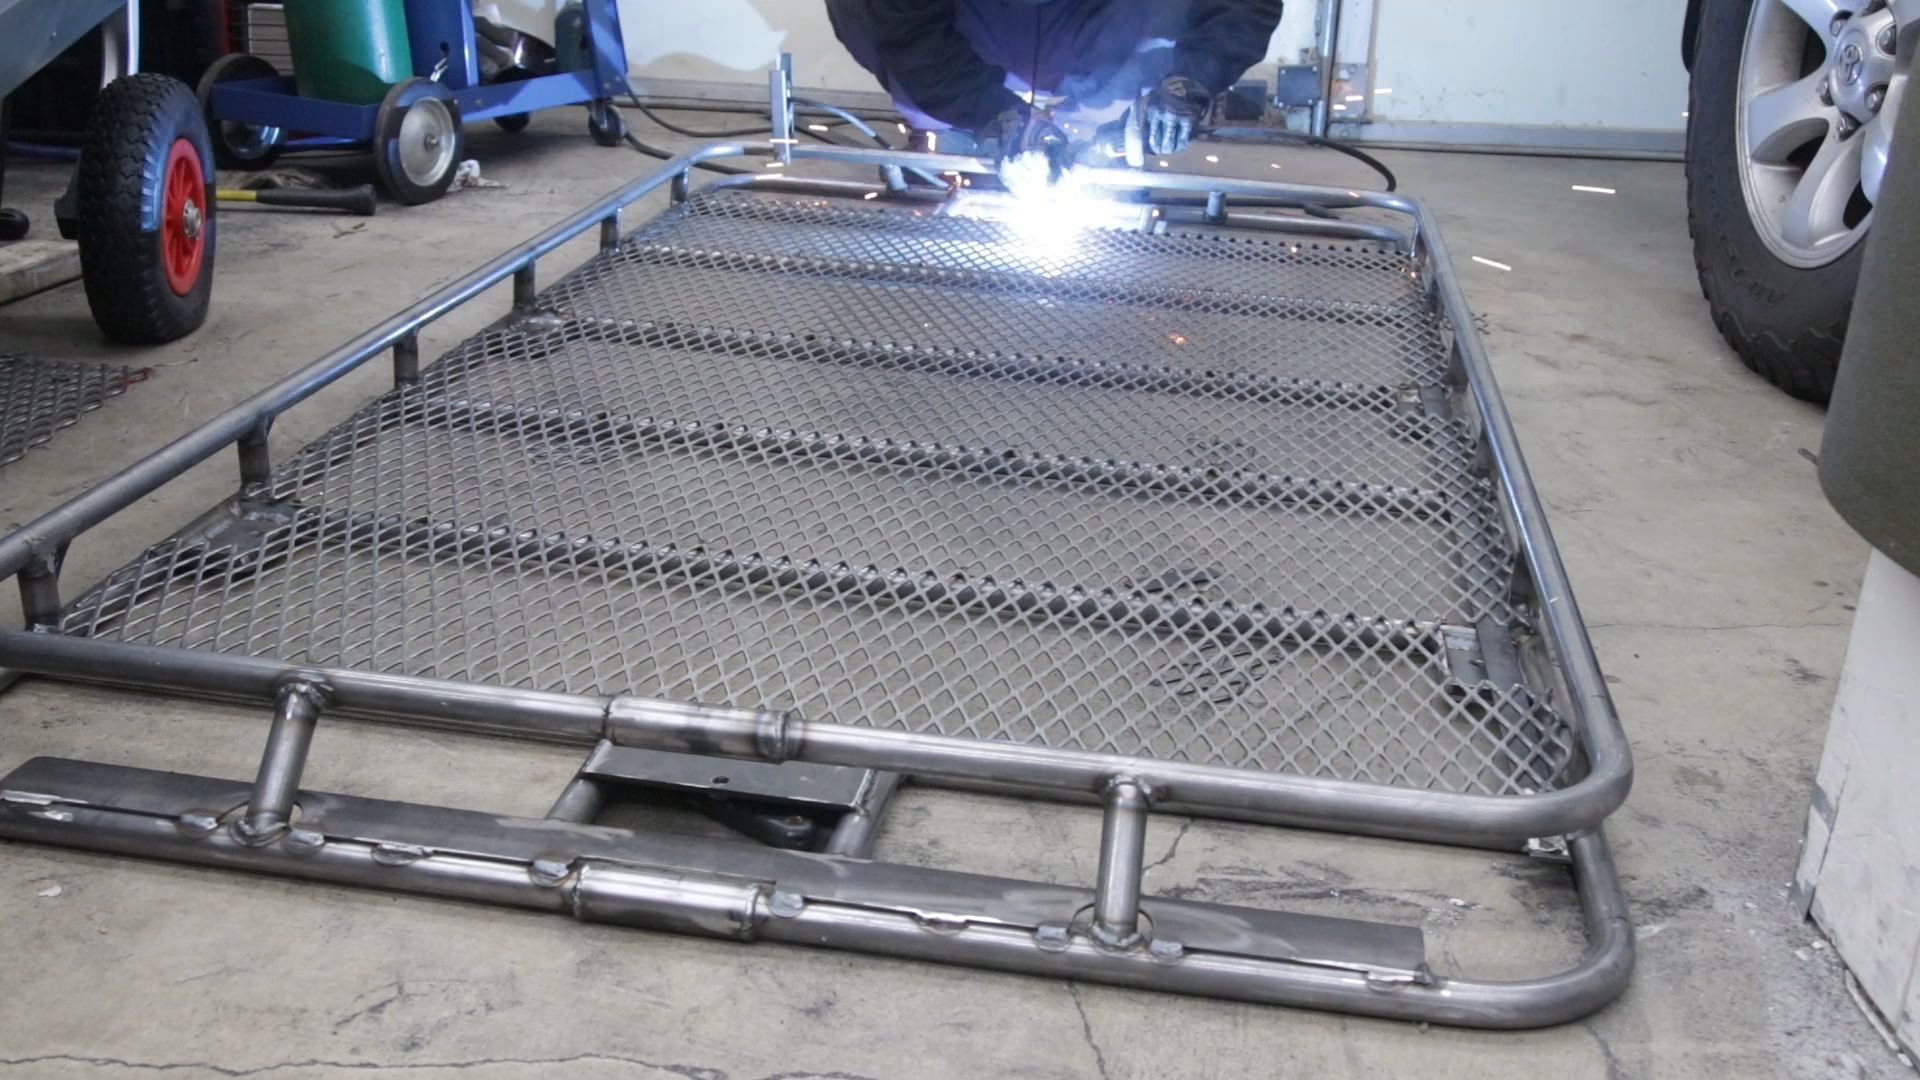
I spent a few weeks researching different fixturing tables to buy but they were really expensive. The closest one was a StrongHand Table but it was north of $3500.
At the end of the day I decided to take a plunge and design and build one from scratch. This meant I could take the best features from each welding table that I had researched and apply them into the table I was planning to build.
Design Layout
Before I would order or cut any materials. I jumped into my favorite 3D program SolidWorks to model it all out. So let’s break down the table design. So when building a weld fixturing table I think these are the main 4 important factors to consider:
- Table Top Size and Hole Pattern
- Table Height
- Mobility and leveling
- Tool Storage
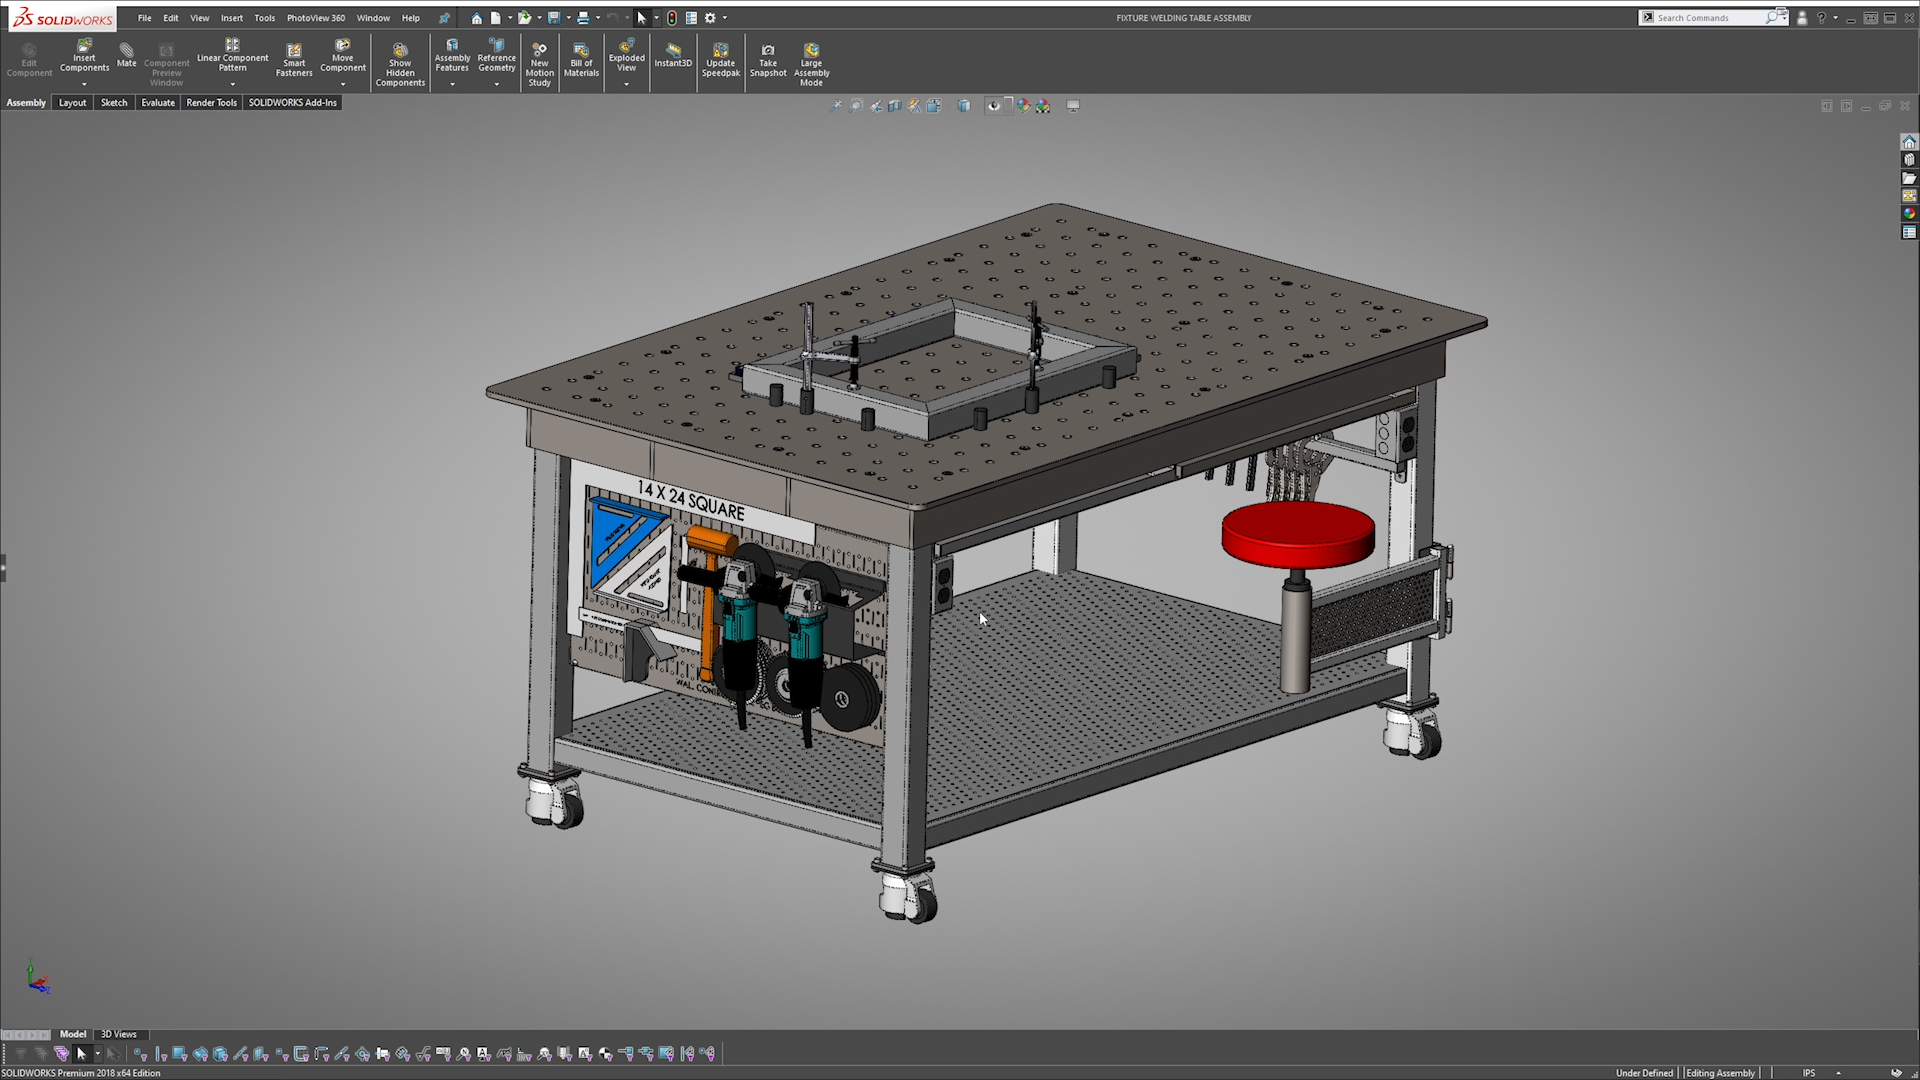
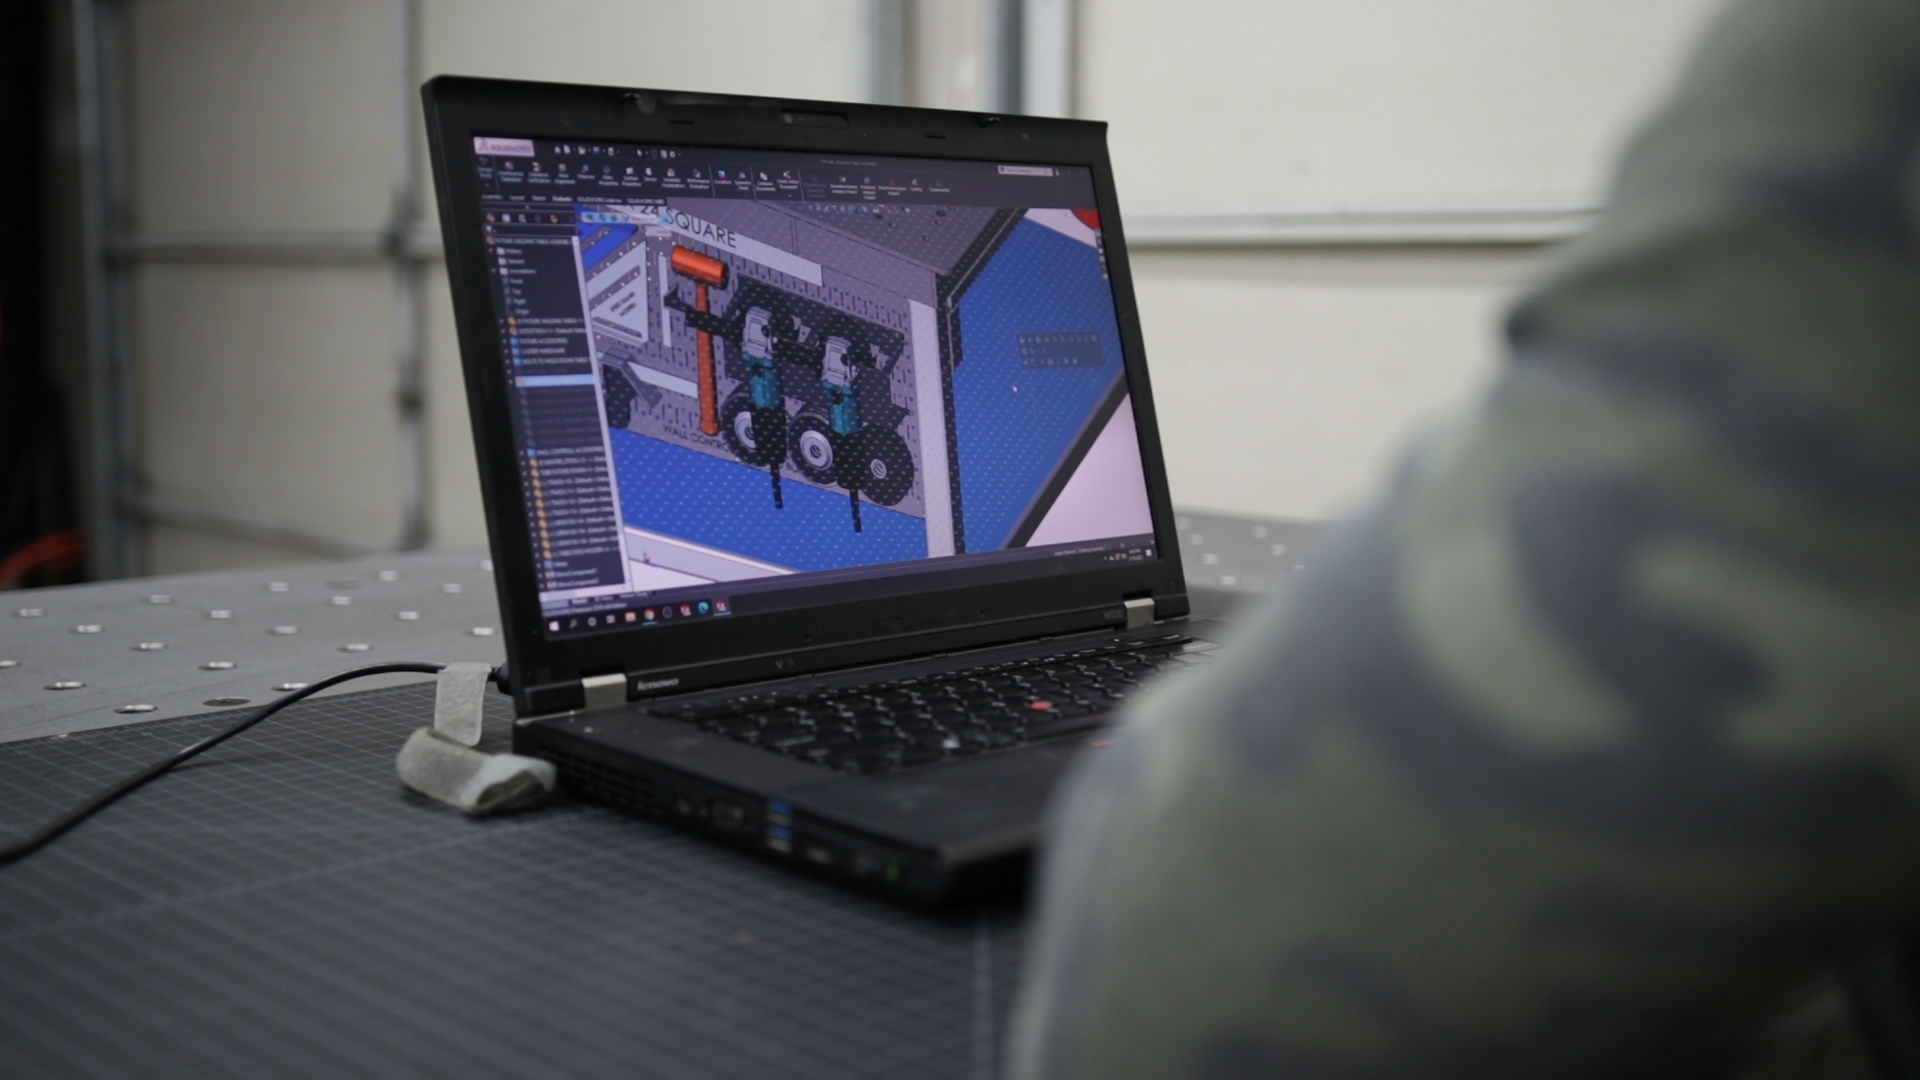
Table Top Size and Hole Pattern
So let’s talk table size. In my opinion, try to have the largest size table that your shop can accommodate and afford. Whether it’s something like a 2×3, 4×6, 4×8 or 5×10.
This will allow you to work more comfortably on projects of different magnitudes.
I went with an overall dimension of 67” long by 43” wide and ½” thick plate.. (That’s about 3.5’ x 5.5’. ) I feel like the 43” width is still a reachable distance without having to walk the other side and using ½” thick plate would take the abuse and would less likely warp overtime.
For the hole pattern I chose to go with the standard ⅝” diameter hole on 3” center. Commercially the tables I have researched are 2” on center. Going that route would mean I would have to drill 693 holes vs 273.
Table Height
There’s a universal rule that says a comfortable table height is close to waist level. I used my office standing desk to get a realistic sense of feel. For me I measure something around 34” to work best.
Mobility and Leveling
Since I will be moving my table often, I choose to go with some casters by Footmaster. They are low profile, rated at 1100lbs each, and have a built in ratcheting system to easily help level the table when on an uneven floor.
Storage and Tool Organization
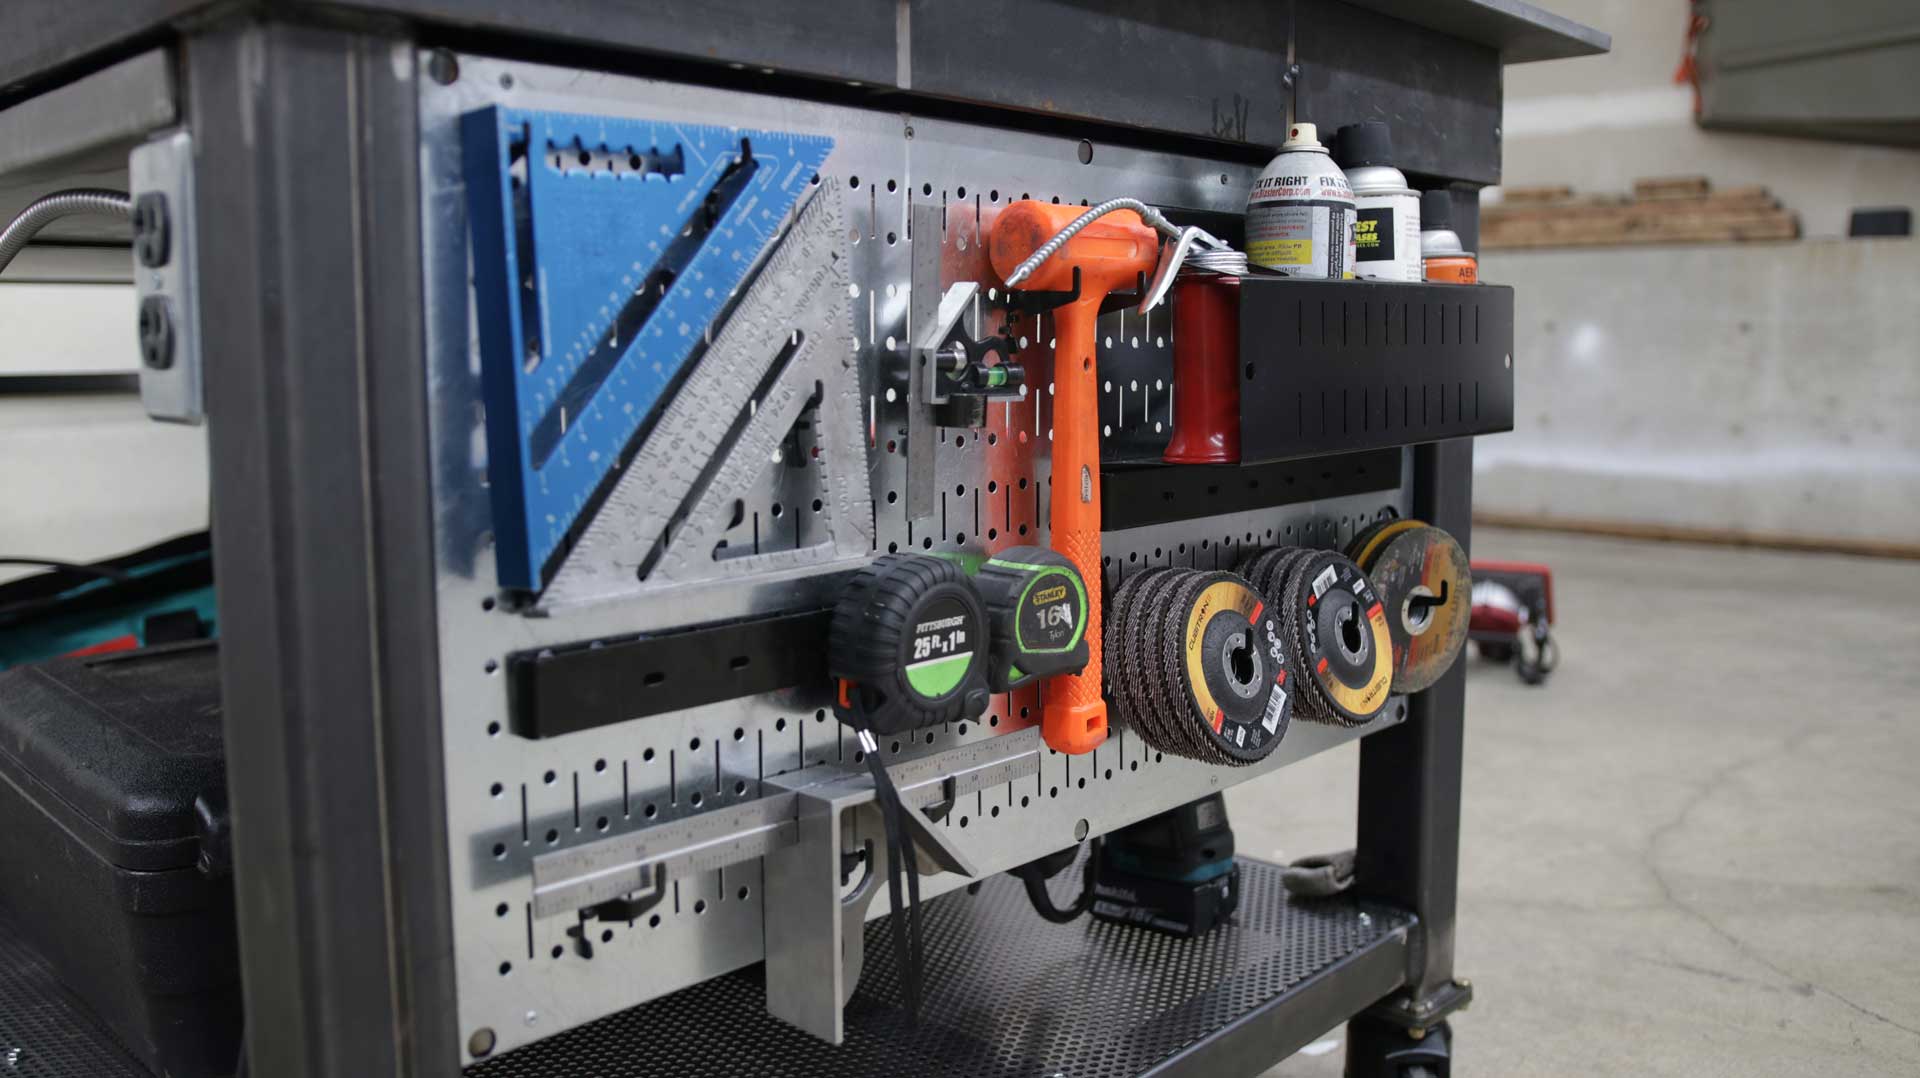
To help organize my squares, ginders, flap disc, and other items I designed in a pegboard system.
Cutting the Table Plate
There’s a few ways to go about this, I didn’t have a torch or plasma cutter so instead I used a circular saw with a metal cermet blade. Honestly I wasn’t too confident, especially cutting ½” thick plate across a long stretch. I mean know its rated for steel up to 1/4″ thick but I got gutsy.
Initially had cut great but had prematurely dulled. Therefore, I went back to the traditional carbide blade and instead of cutting through in one pass I would adjust the saw to cut at incremental depths of 1/16″. It took a few passes but overall I got the result I was looking for.
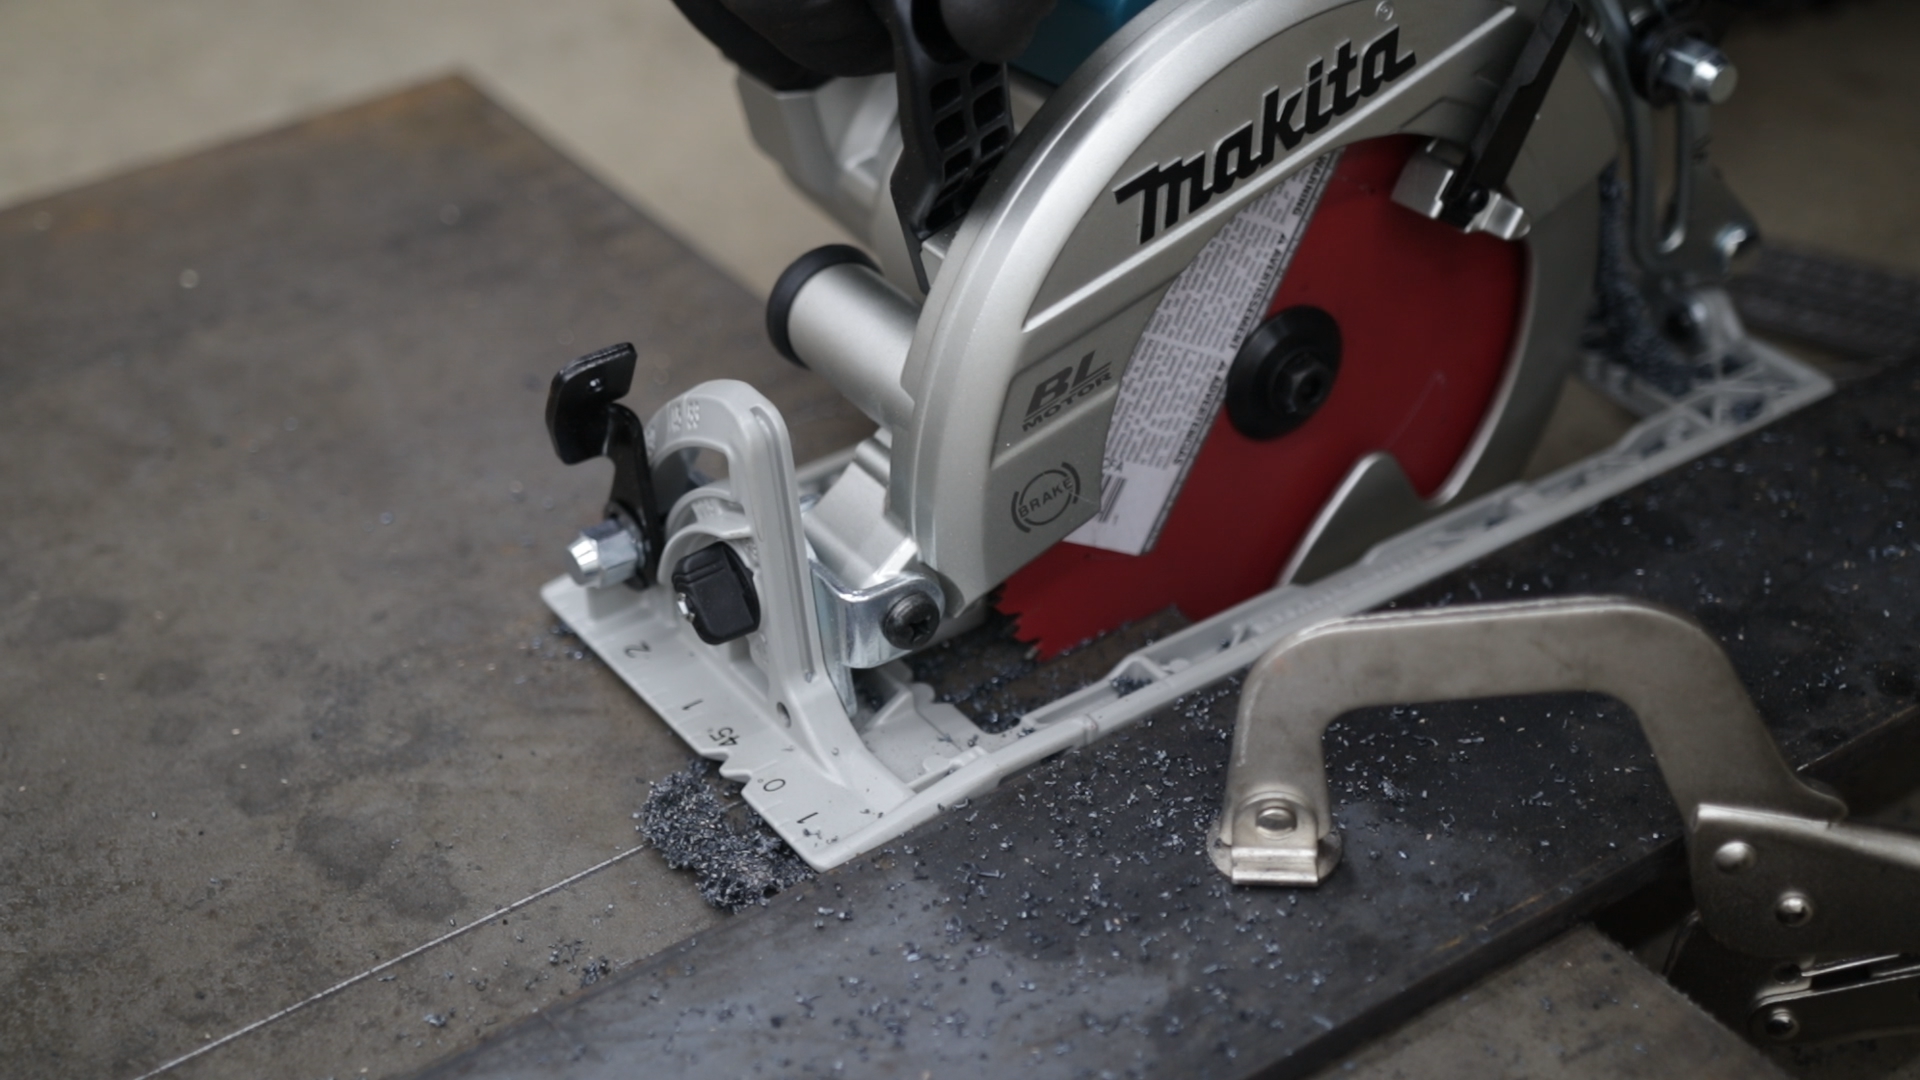
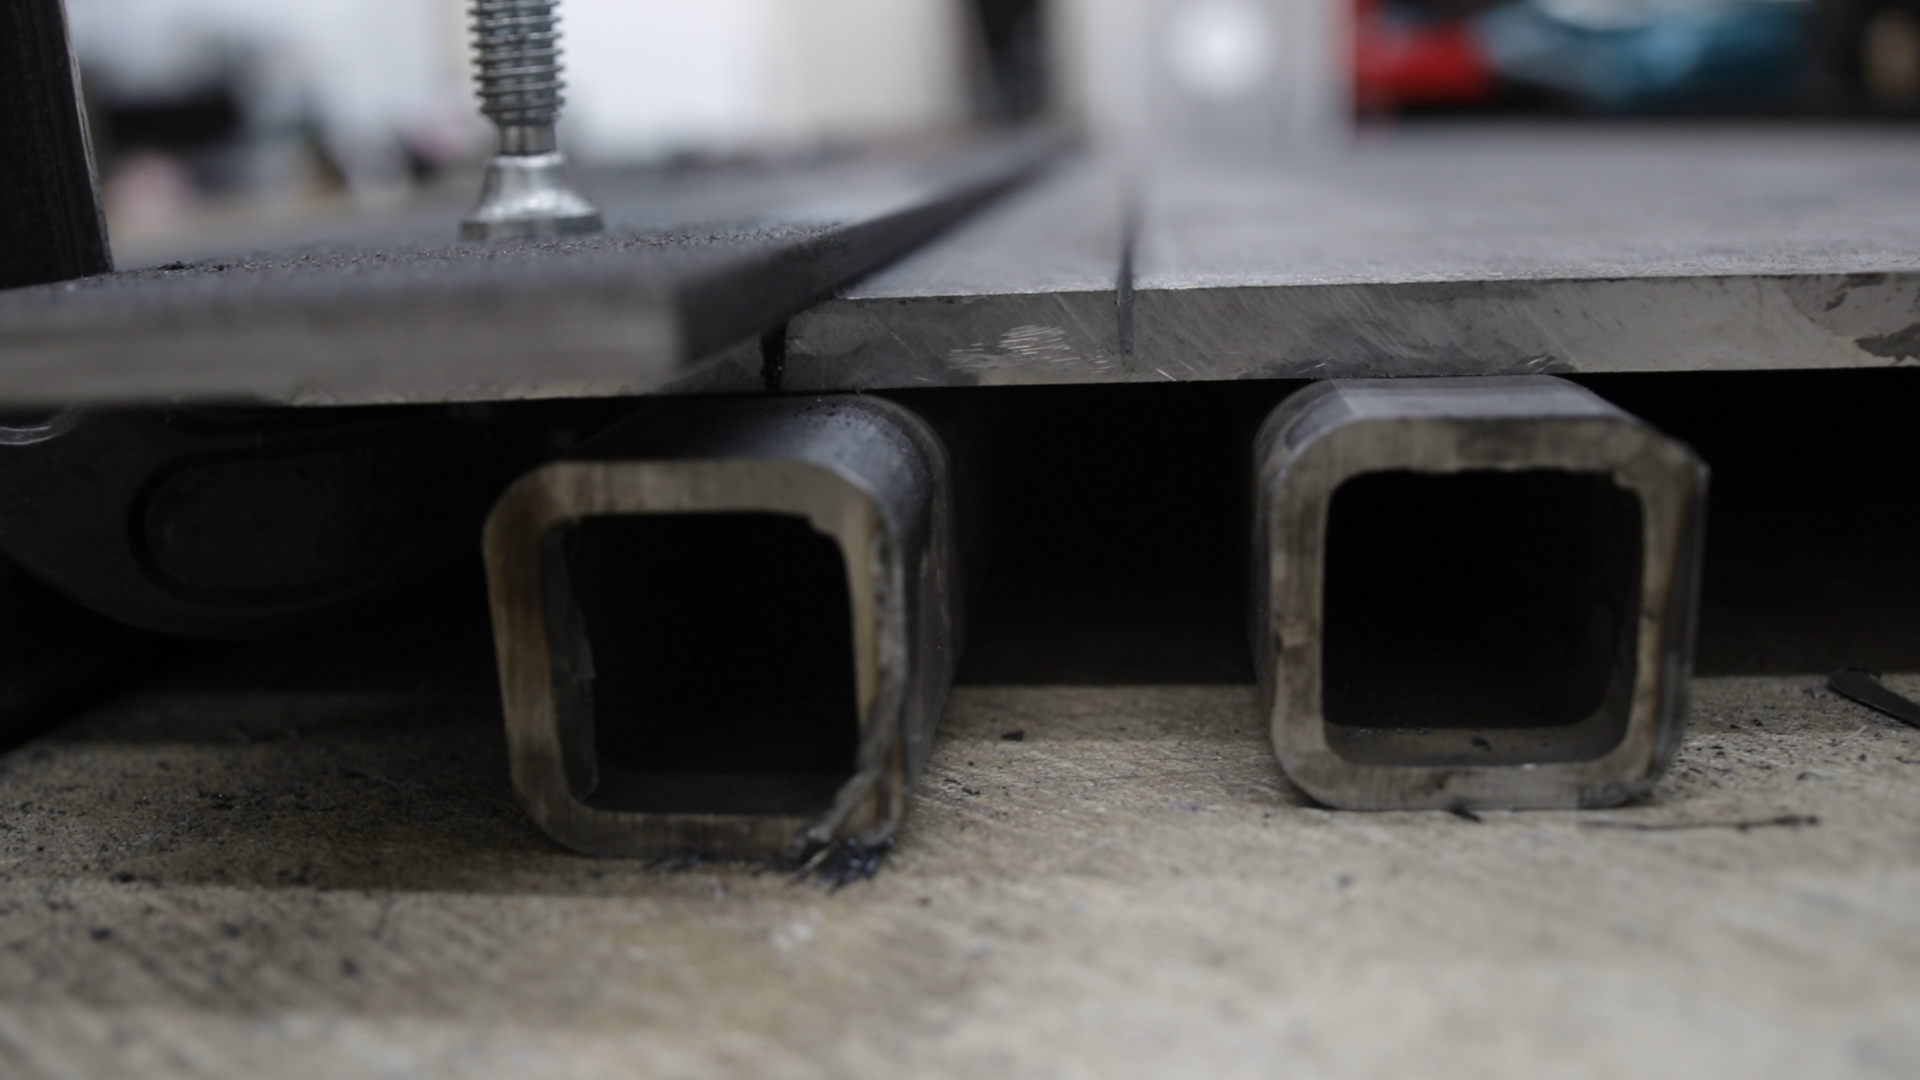
Useful tools for Cutting Steel
Drilling Fixturing Holes
I wanted to find an accurate and consistent way to drill these fixturing holes. Instead of hand scribbing the table and making a series of center marks with a punch, I saw a video by retroweld on how he drilled his holes on his table. It looked like he had a homemade jig and used a ⅝” annular cutter attached to a magnetic drill.
Now if you don’t have a magnetic drill try checking locally to see if you can rent one. I know locally for me it costs about $60 a day to rent one. However, if you have access to a cnc laser or waterjet even better but today we’re going to focus on how we can get it done using basic tools.
Here is a quick concept I simulated using SolidWorks.
Chamfering the Fixturing Holes
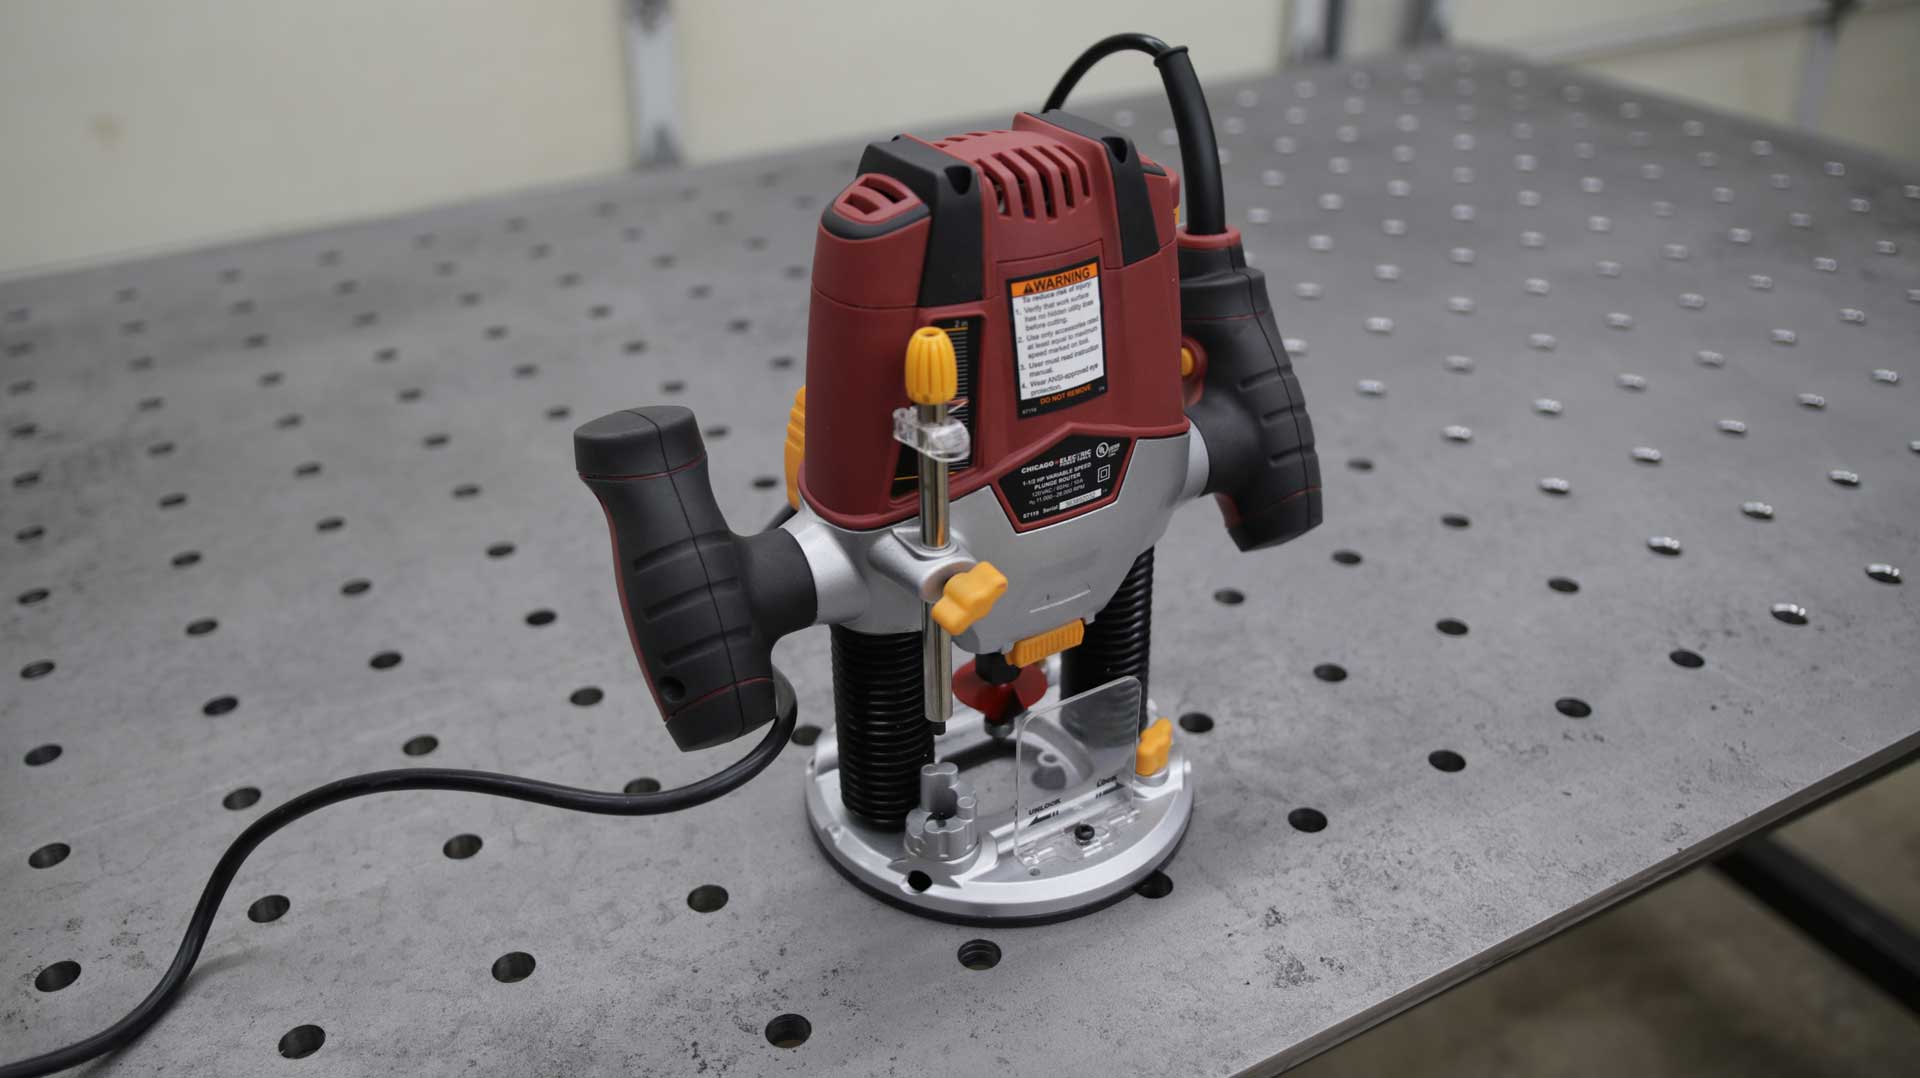
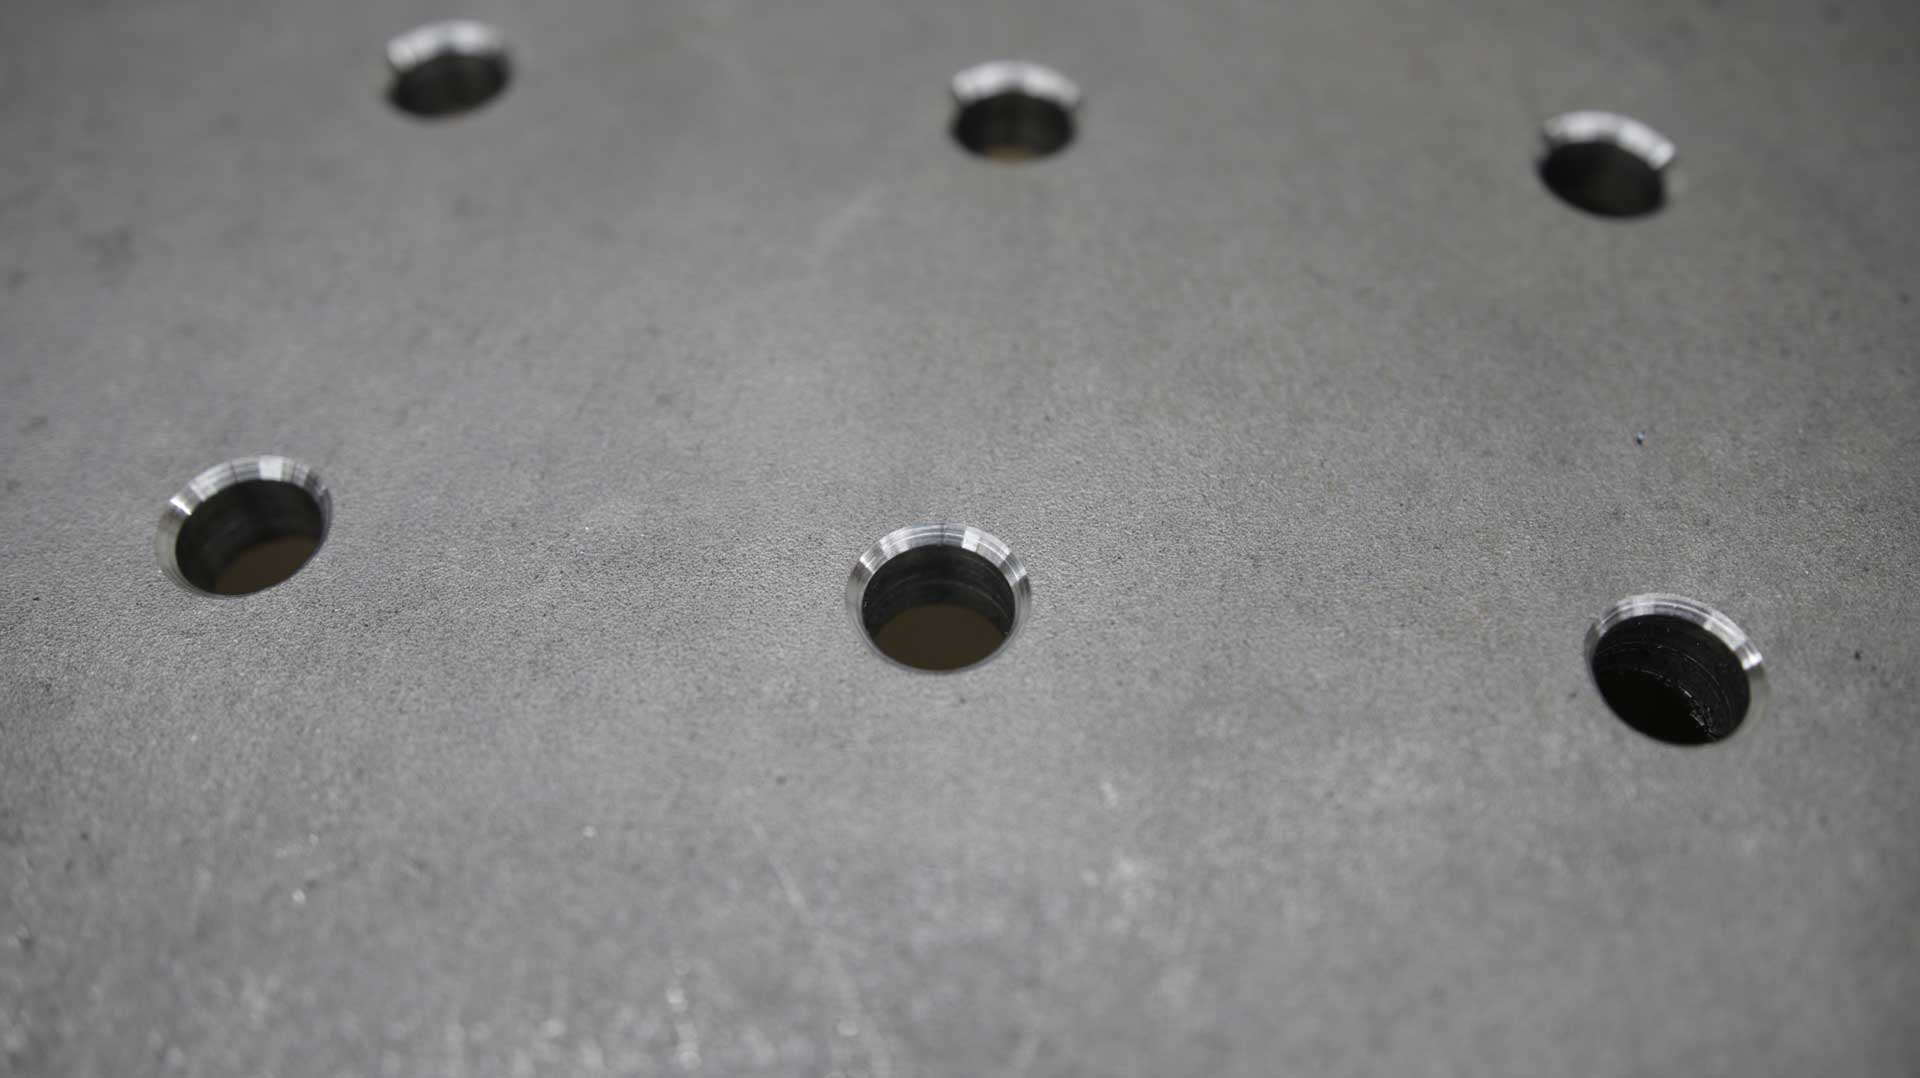
To give the table a professional look and to break sharp edges left by the drilled holes I needed to chamfer the drilled holes. After doing some research I got a tip from 6ldesigns.com. He recommend that I use a wood router with variable speed set to the lowest setting using a carbide 2 flute chamfer router bit.
Useful tools for Drilling Steel
Tool Organization
To help organize items that I would use frequently I incorporated a metal pegboard into the table. I’ve seen this used on the walls of a garage and thought it would be a good idea to have it installed on the table. I went with one made by a company called Wall Controls.
Normally this would be installed into wood studs but because it was going on a welding table I use some ⅝ tubing and slid it behind the formed part of the pegboard.
Watch the entire process of my Homemade Welding Fixture Table from beginning to end on YouTube.
Overall that’s my process of how I built this Homemade Welding Fixture Table. It took a minute, wasn’t easy but was absolutely worth the effort.
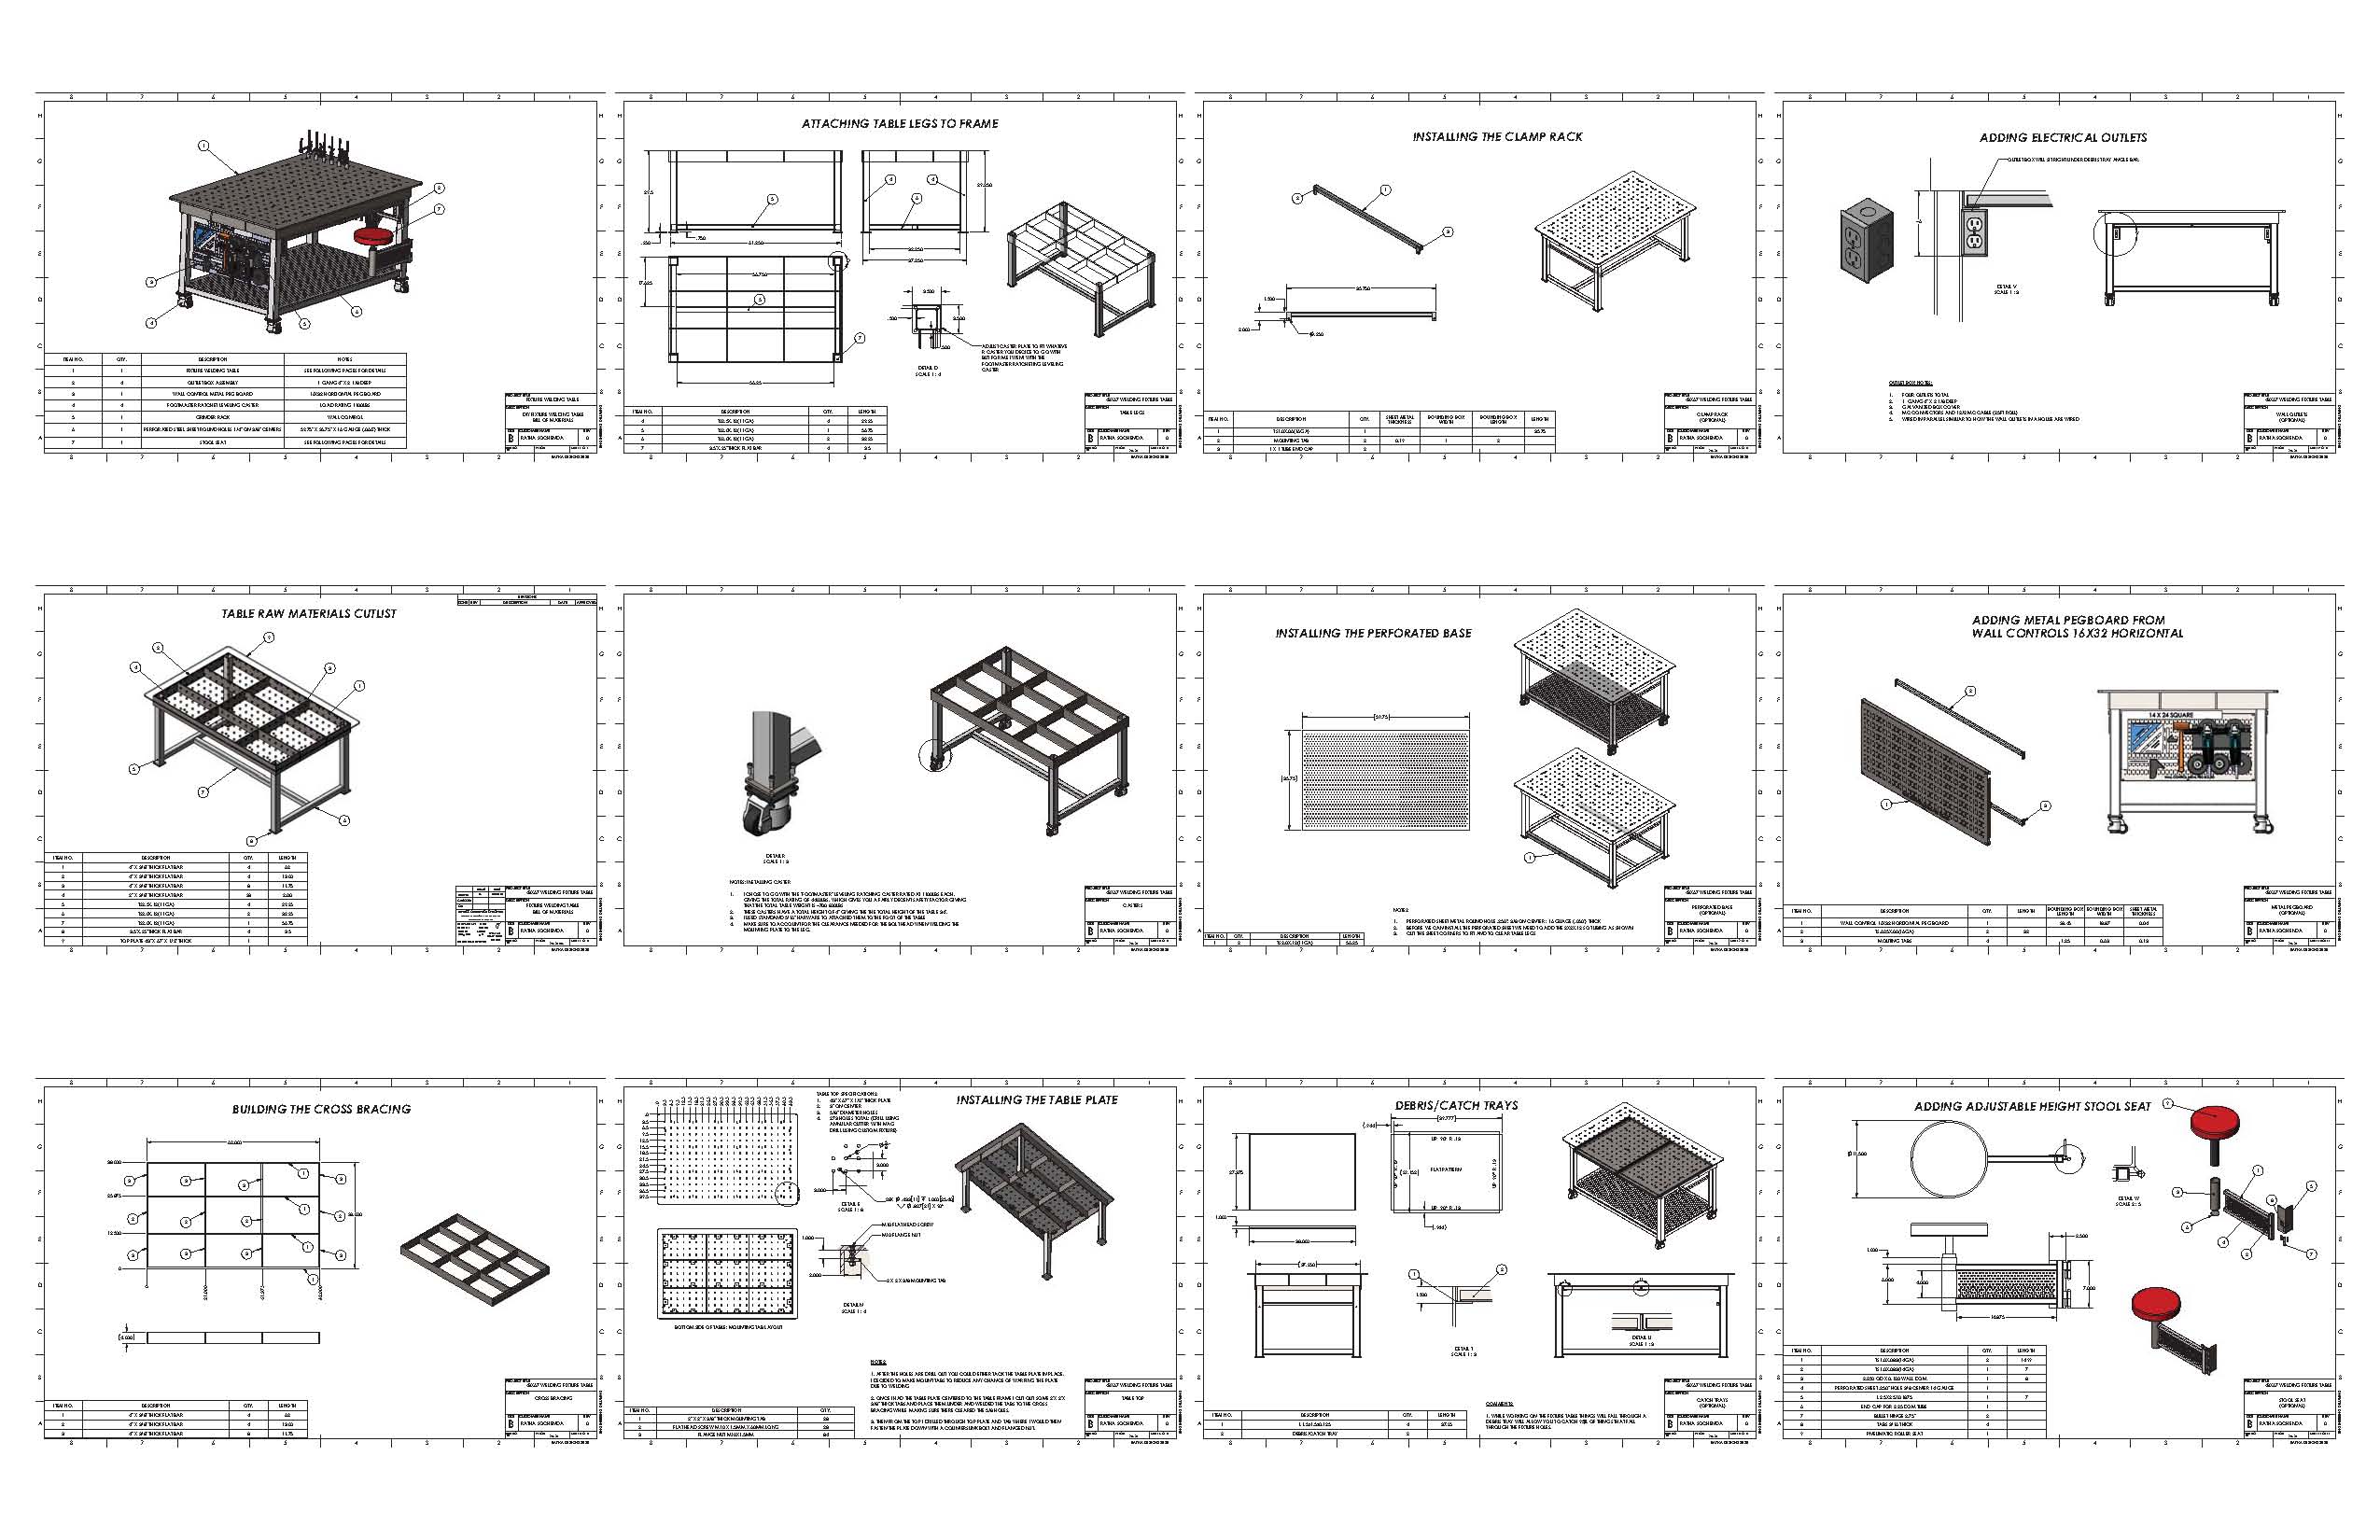
If you want the measurements of each component of the Homemade Welding Fixture Table click the image below.
If you like metal fabrication stuff like this check out my other builds i have done here.
Disclaimers: Some of the links provided on this site are affiliate links that we get a very small commission for on any qualified purchases made, at no extra cost to you. This helps me immensely to continue to do what we love. Thank you.
We are a participant in the Amazon Services LLC Associates Program, an affiliate advertising program designed to provide a means for us to earn fees by linking to Amazon.com and affiliated sites.
