Toyota 4Runner – Roof Rack
CASE STUDY
Now that I have two kids, space in my 4runner just got tighter. Especially when we packed everything to go camping. This meant spending more time shifting things around to get it all to fit.
To find more space some options I looked into were a rooftop cargo box, hitch mounted tray, and even a cargo trailer. However none that really fit my practical needs or taste.
After searching on Pinterest I fell in love with the idea of getting a roof rack. They look good, have lots of storage space, and serve multiple functions. However, the one I wanted cost over $1,800 and I had to wait 5-8 months as these racks were made to order. With camping and fishing season around the corner I had to figure something out
Then I thought why not design and build one myself. It would probably take me about a month to research, design, and prototype and cost about $500 in materials. Building one meant I could configure it to fit my family and personal needs.
3D CAD Design
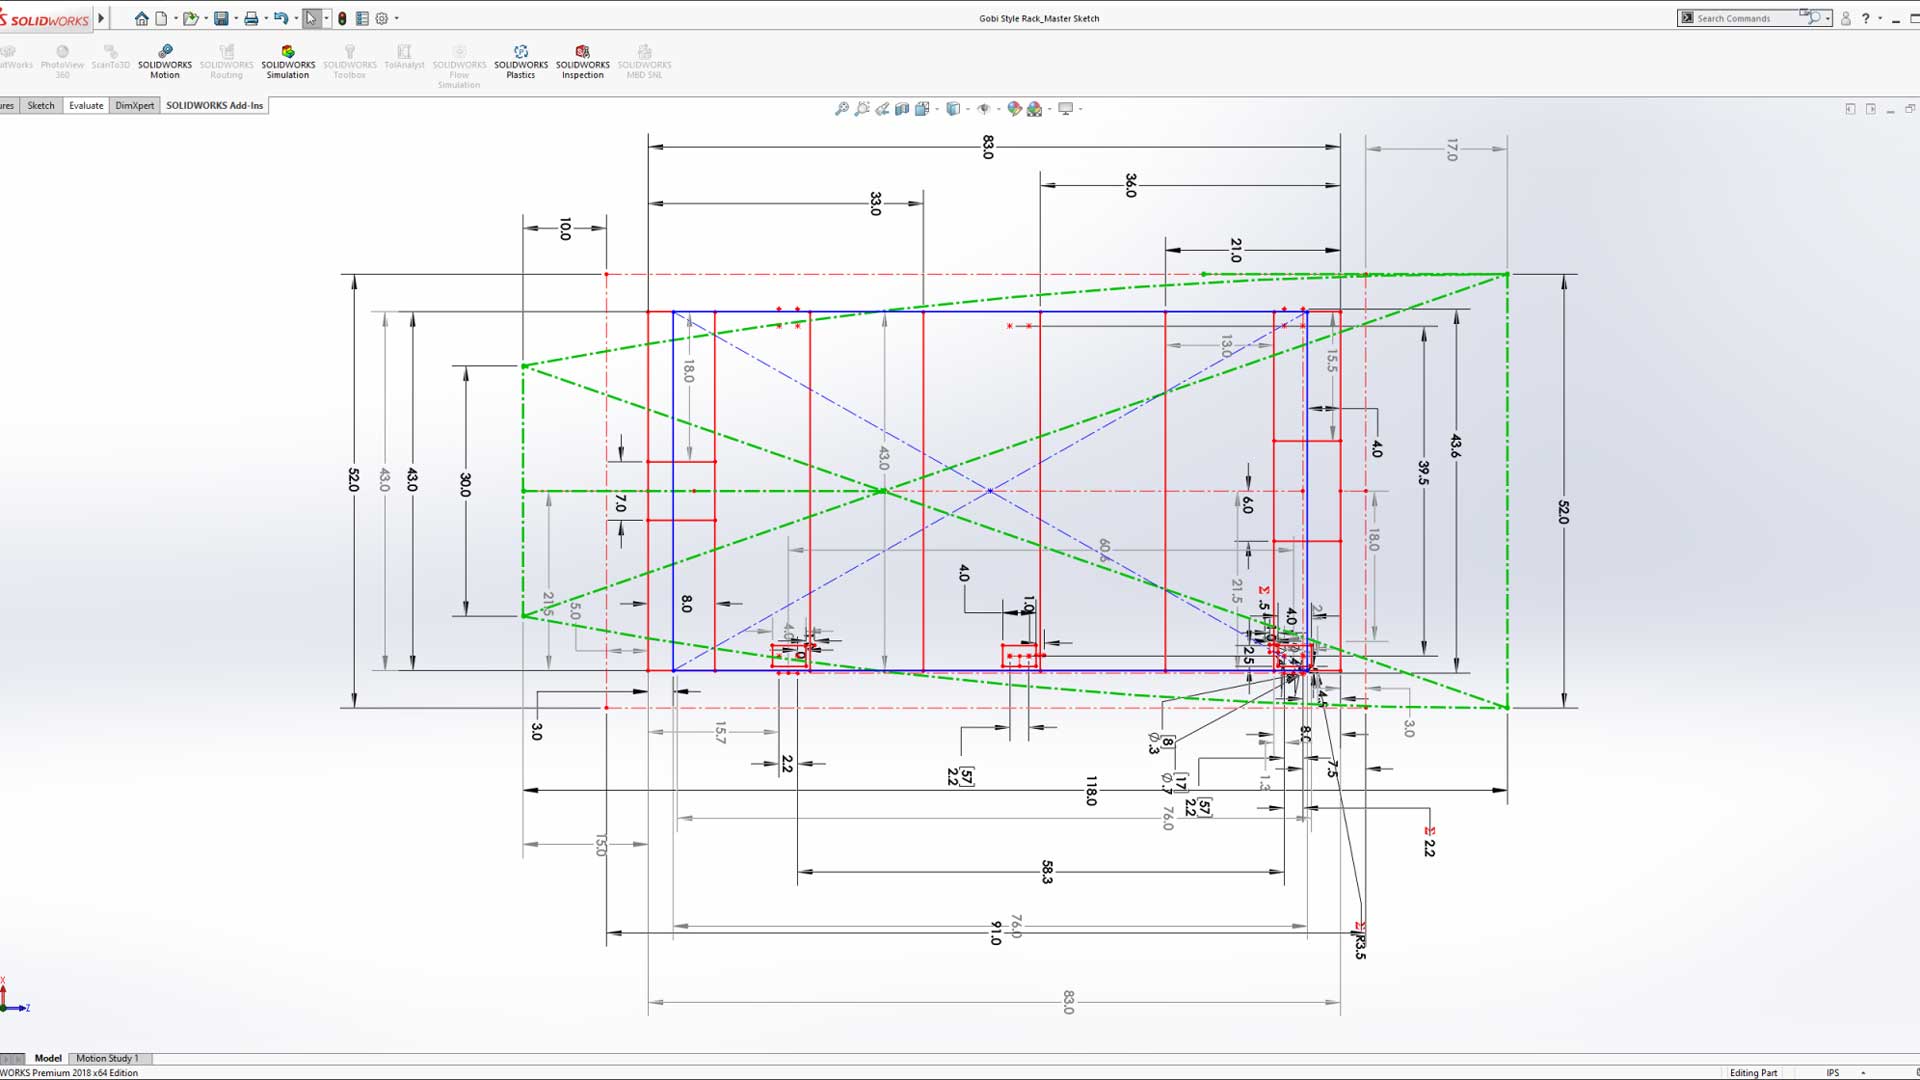
After taking some measurements of the boat and the factory mounting holes off the 4Runner, I use SolidWorks to first create a 2D layout sketch of the boat and the mounting holes. This gave me a reference on how wide, long, and tall the roofrack basket could be in reference to the boat and the 4Runner.
To save time as I knew I would make iterations down the road, I use as top down modeling approach with a master sketch that would control each multi-body part.
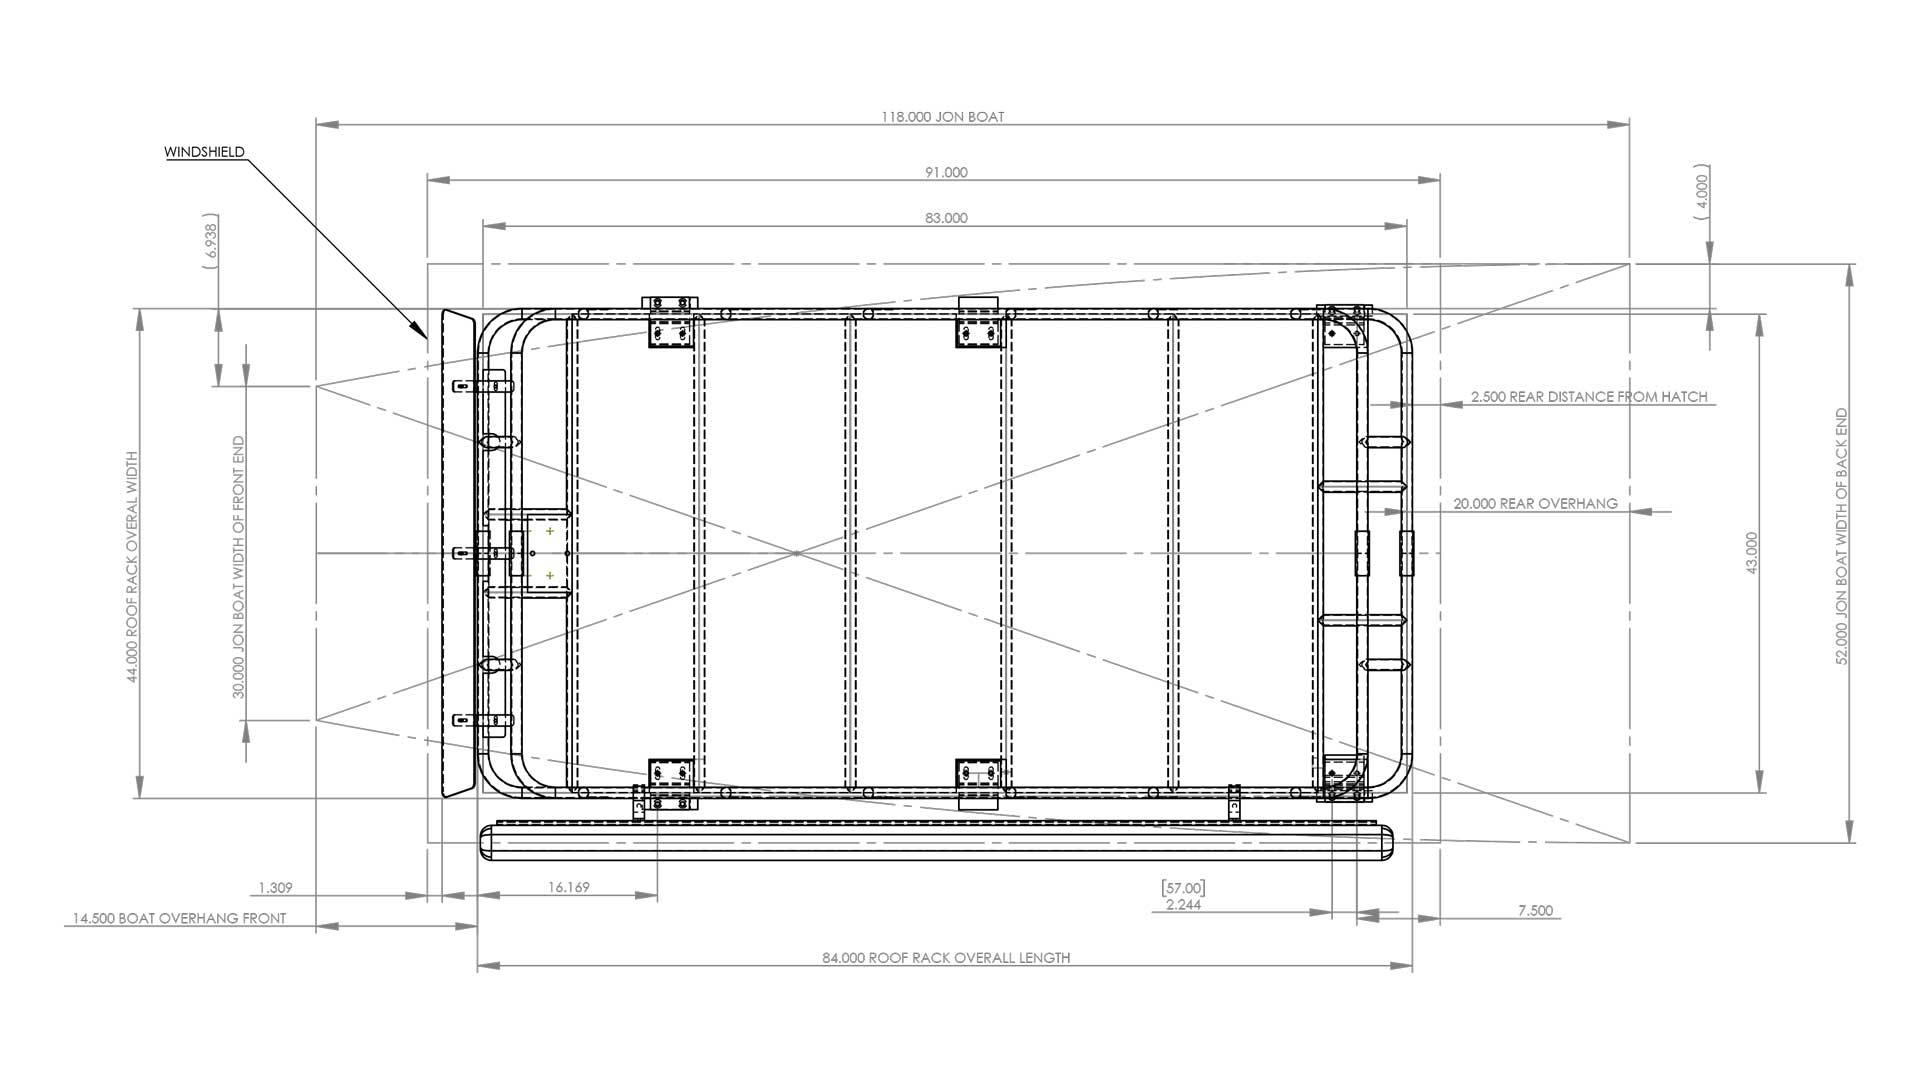
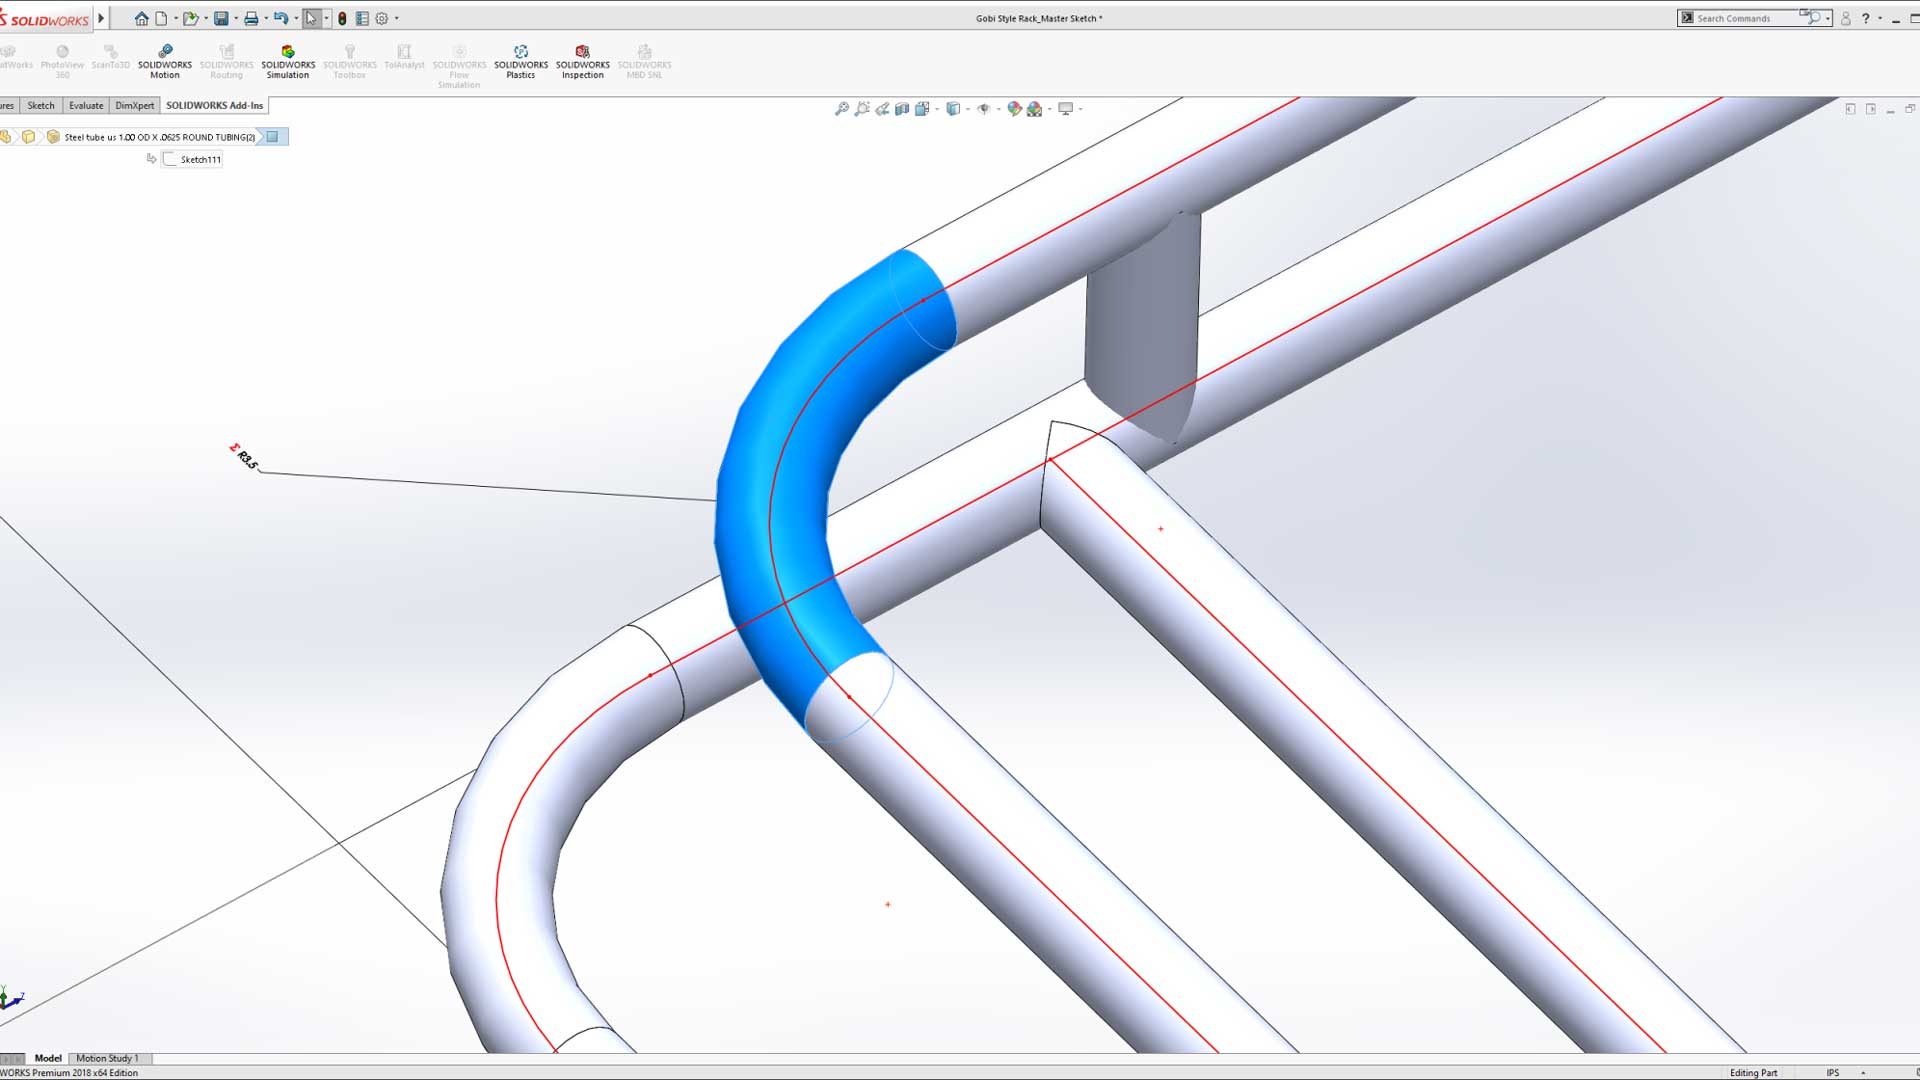
I spent few days detailing and refining the roof rack to make sure that each part could be made with the fabrication tools I had access to. For example, since I was using a tube bender with a 1″ OD dies with a center line radius of 3.5″ (CLR), meant I needed to model the bends at each corner to match the dies.
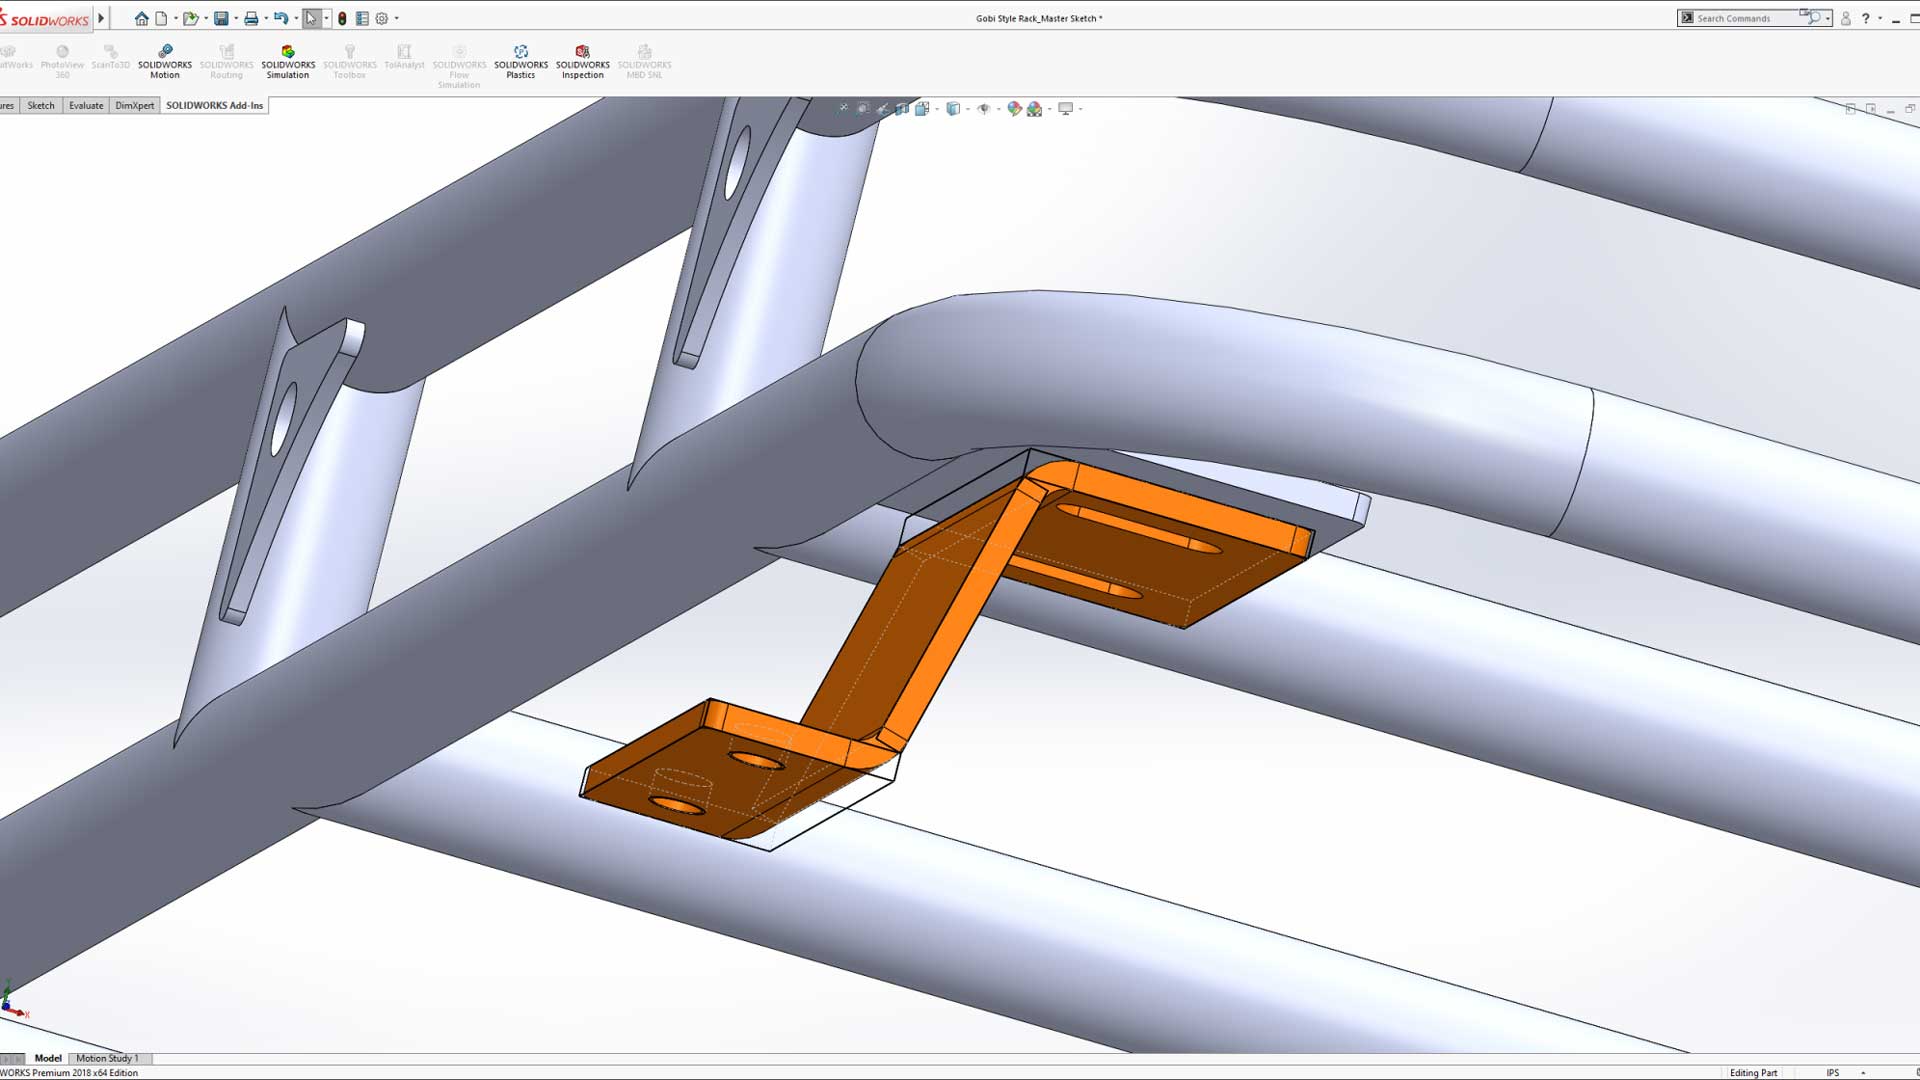
Same situation goes for the roof rack mounts. I wanted to have them laser cut and then bent. However the cost to do a one off didn’t justify going that route. Therefore I design the roof rack mount to consist of three pieces cut from flat bar then welded together. Hypothetically if I did have access to a CNC laser or water-jet I would of completely change how design the flat cutouts. But hey, you do what you can with what you have.
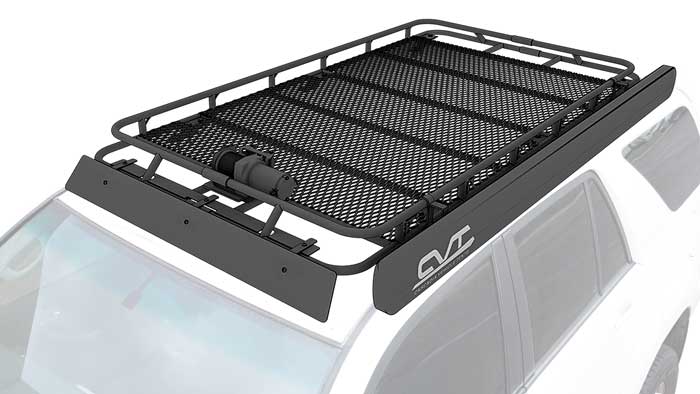
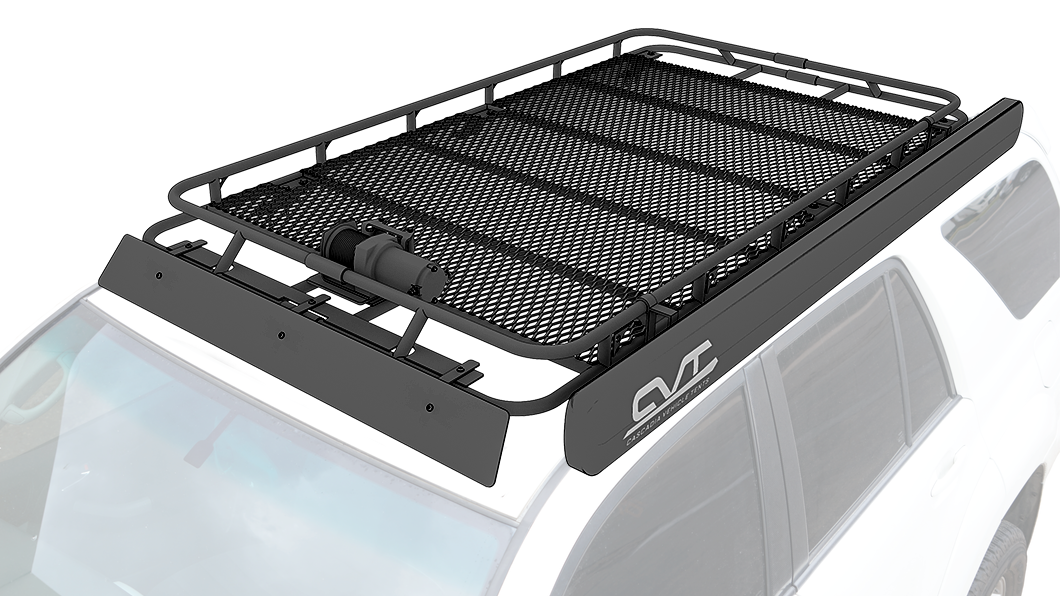
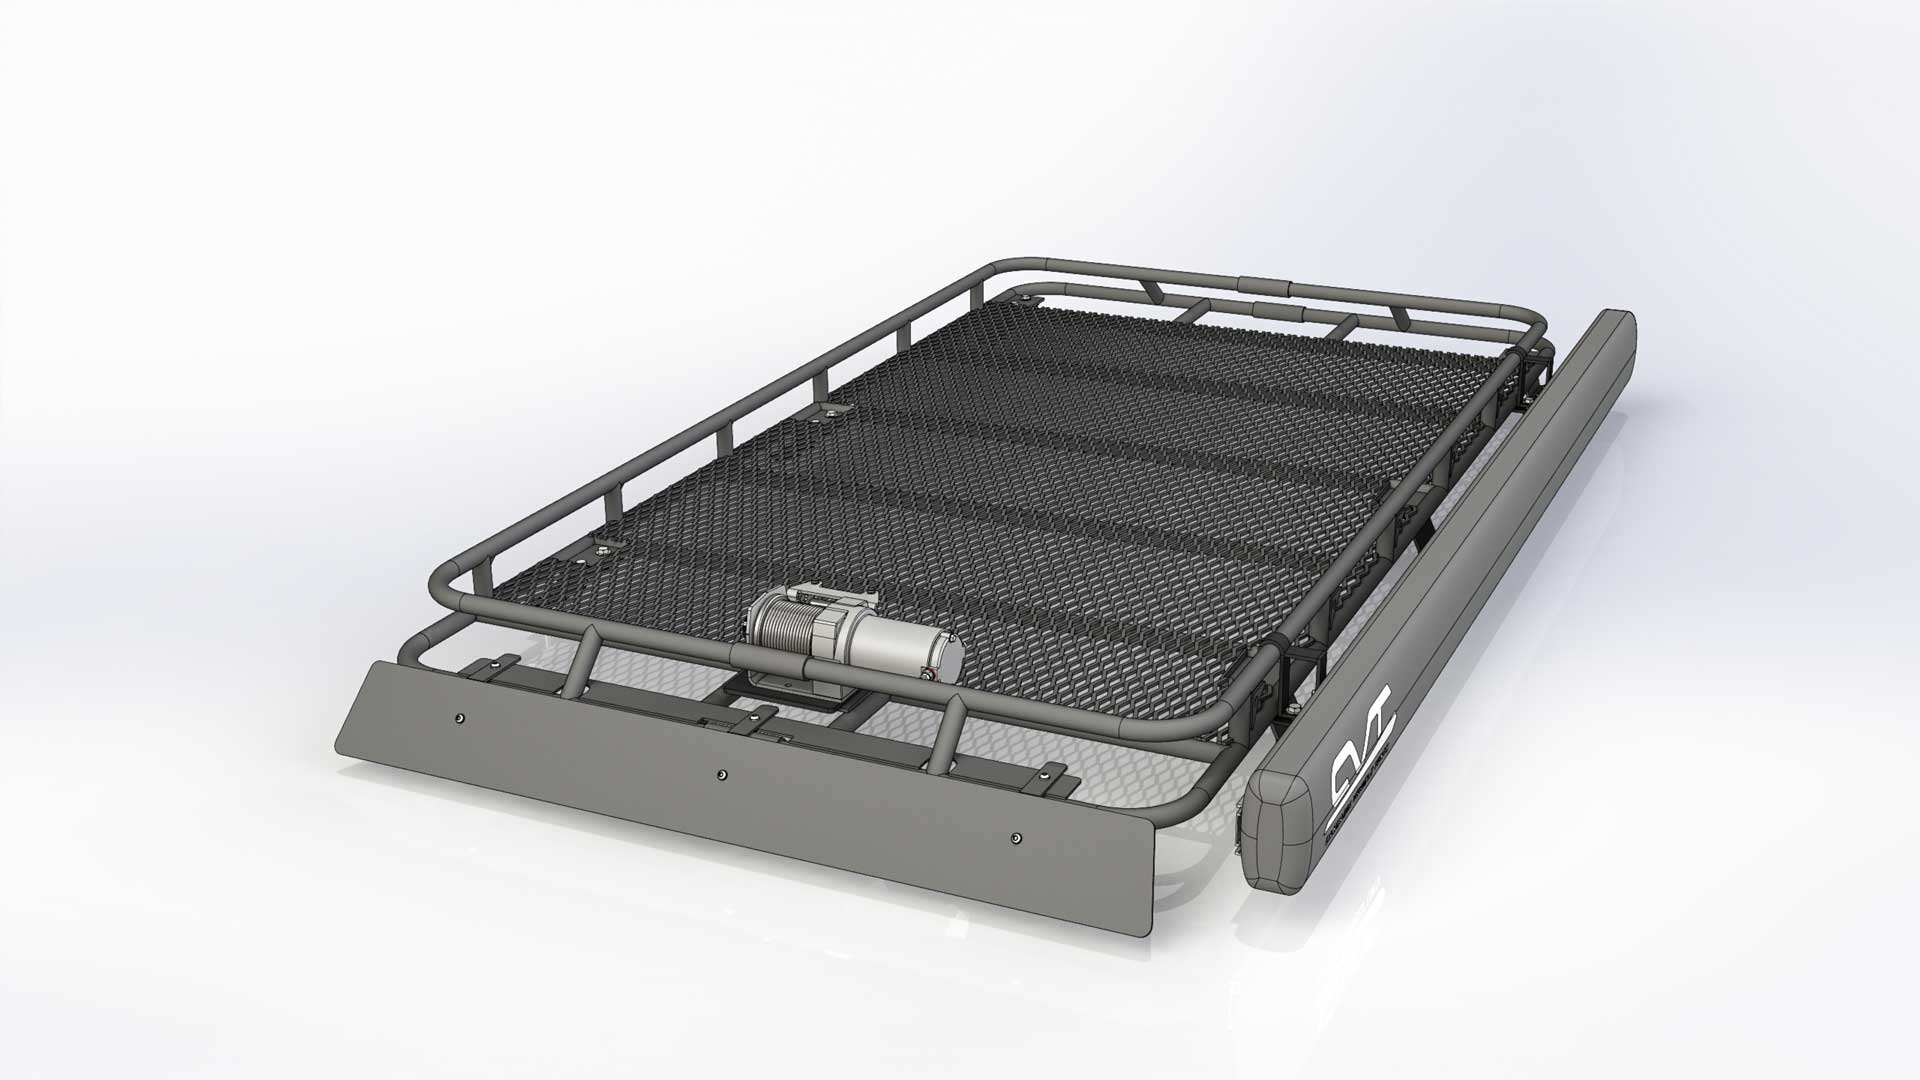
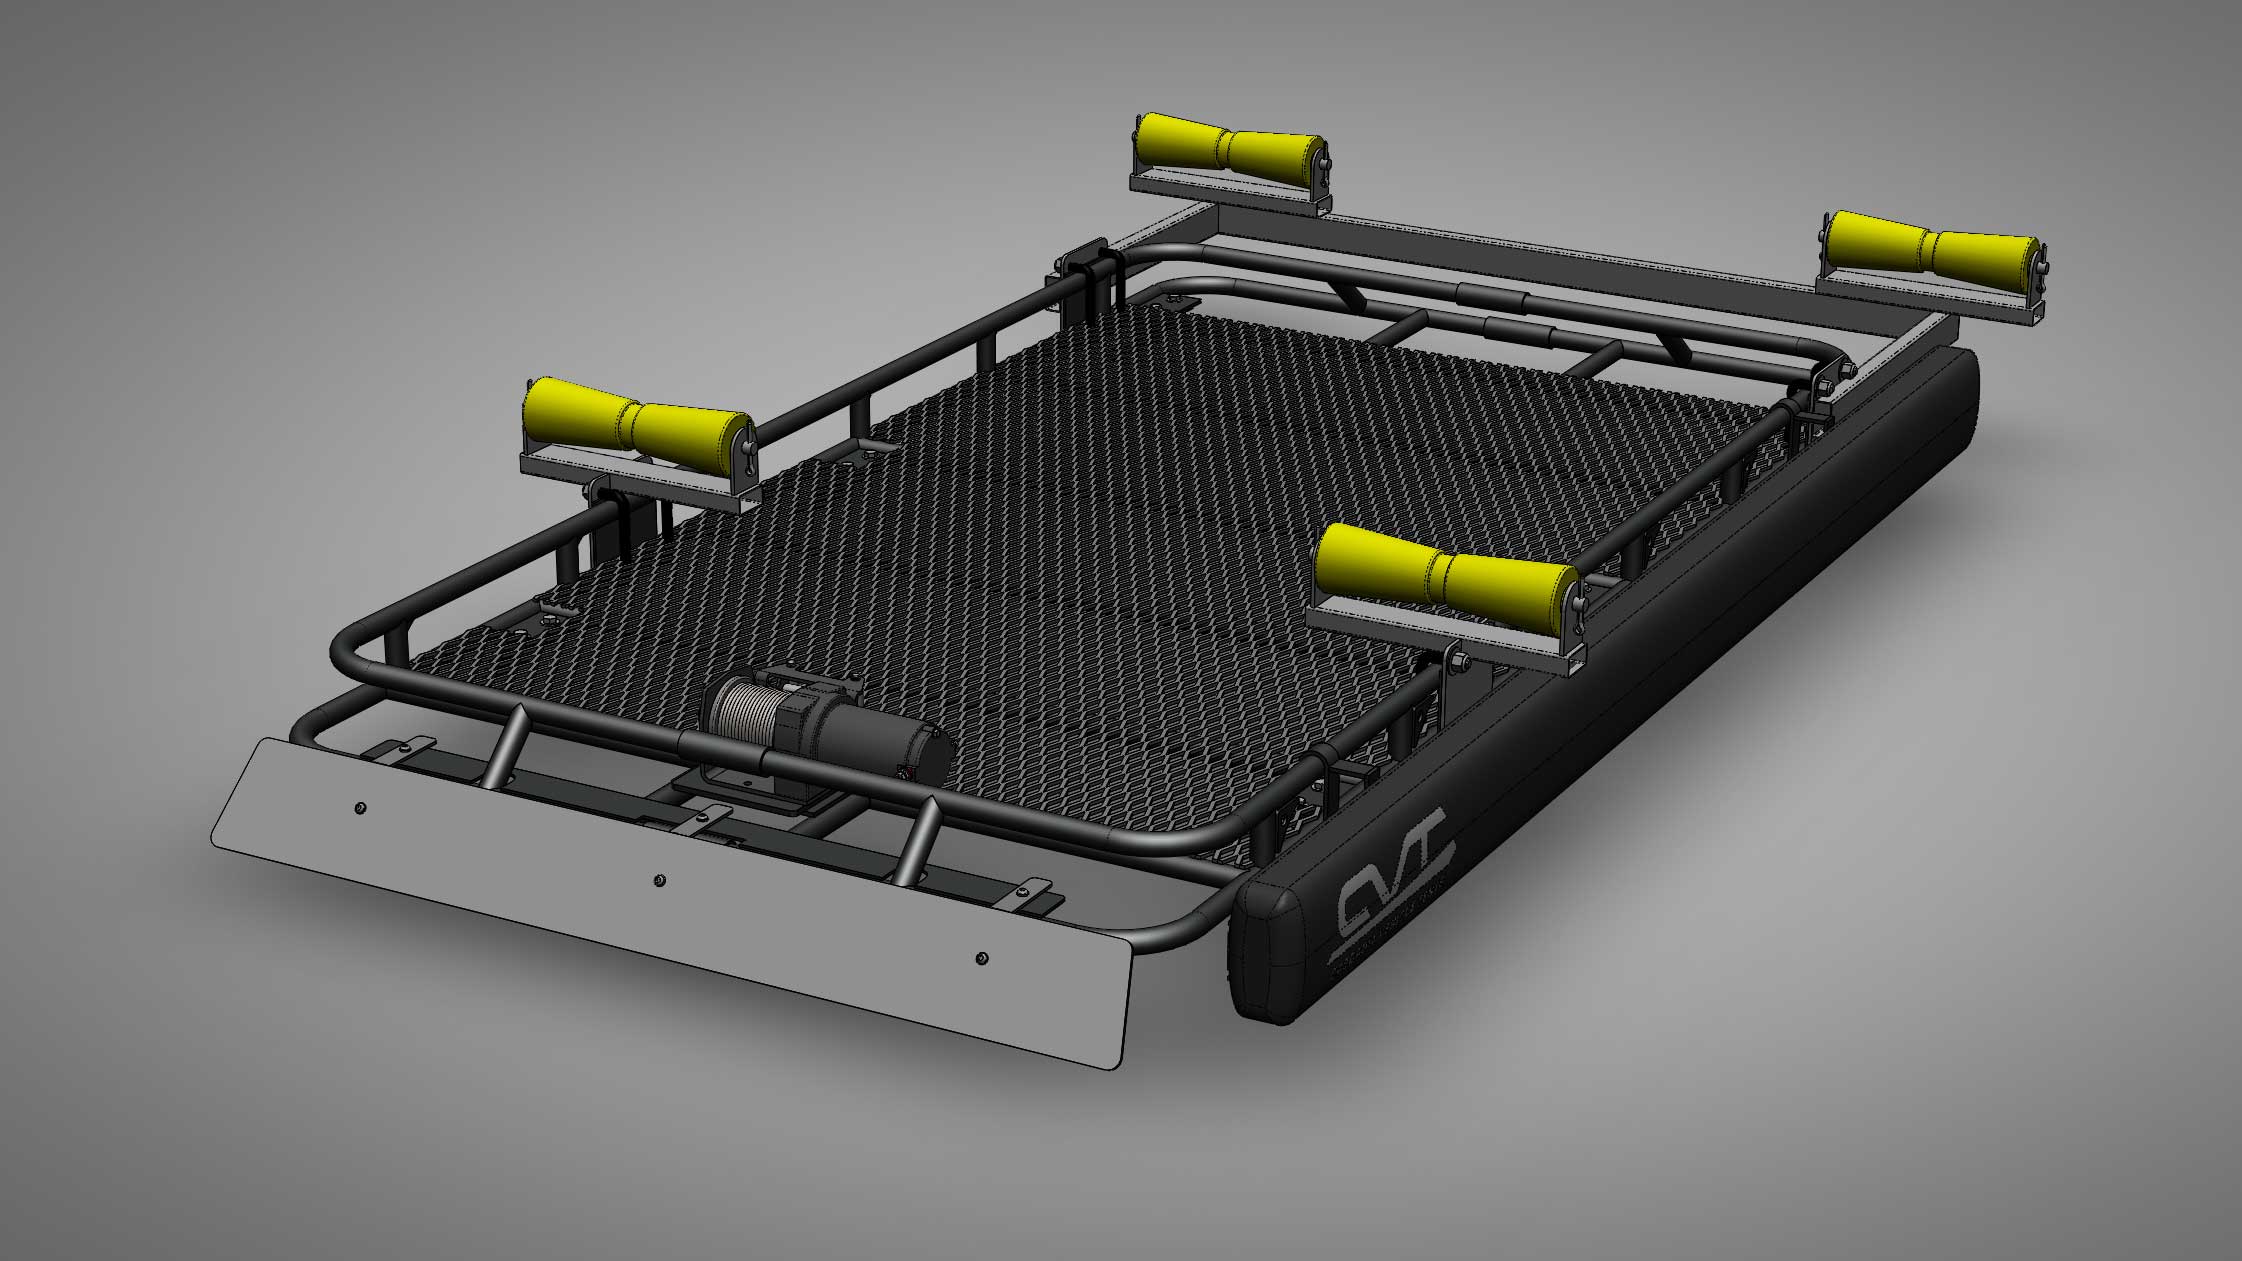
After a few design iterations to make sure all the details were dialed in this is what the overall design I envision for my custom roof rack on my Toyota 4Runner. I would have the winch mount at front of the rack to allow for enough travel to pull up the 10ft boat rolled on would slide over the keel rollers that were on a custom crossbar assembly that could be easily install and removed. Last, the awning would mount on the driver side and be flush with the top of the roof rack.
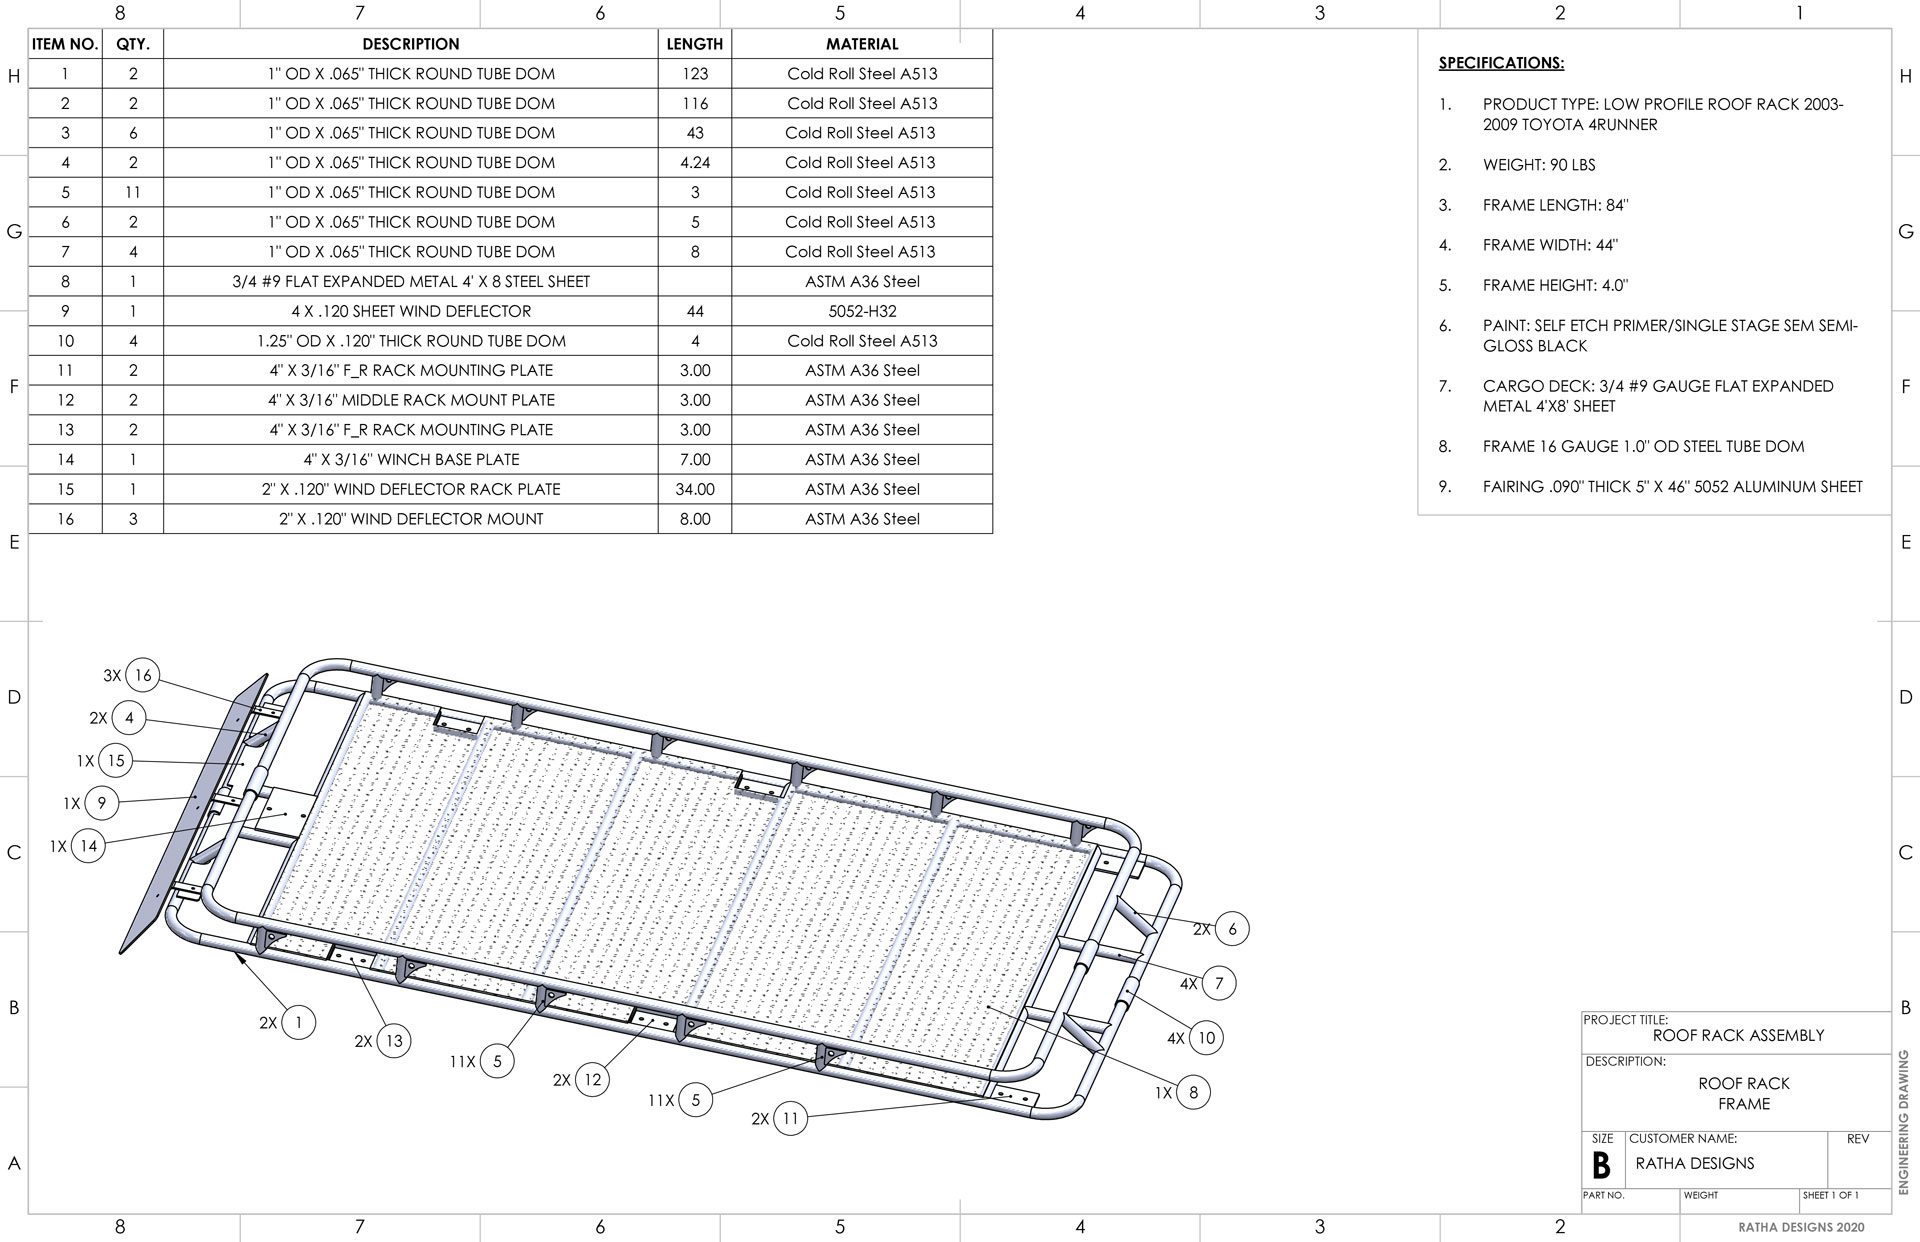
Specifications
I then create a cut-list to organize all the raw material I would need for the rack. This also gave me a total of what I needed to pick up from the metal supply shop. Sort of like a grocery list.
Fabrication
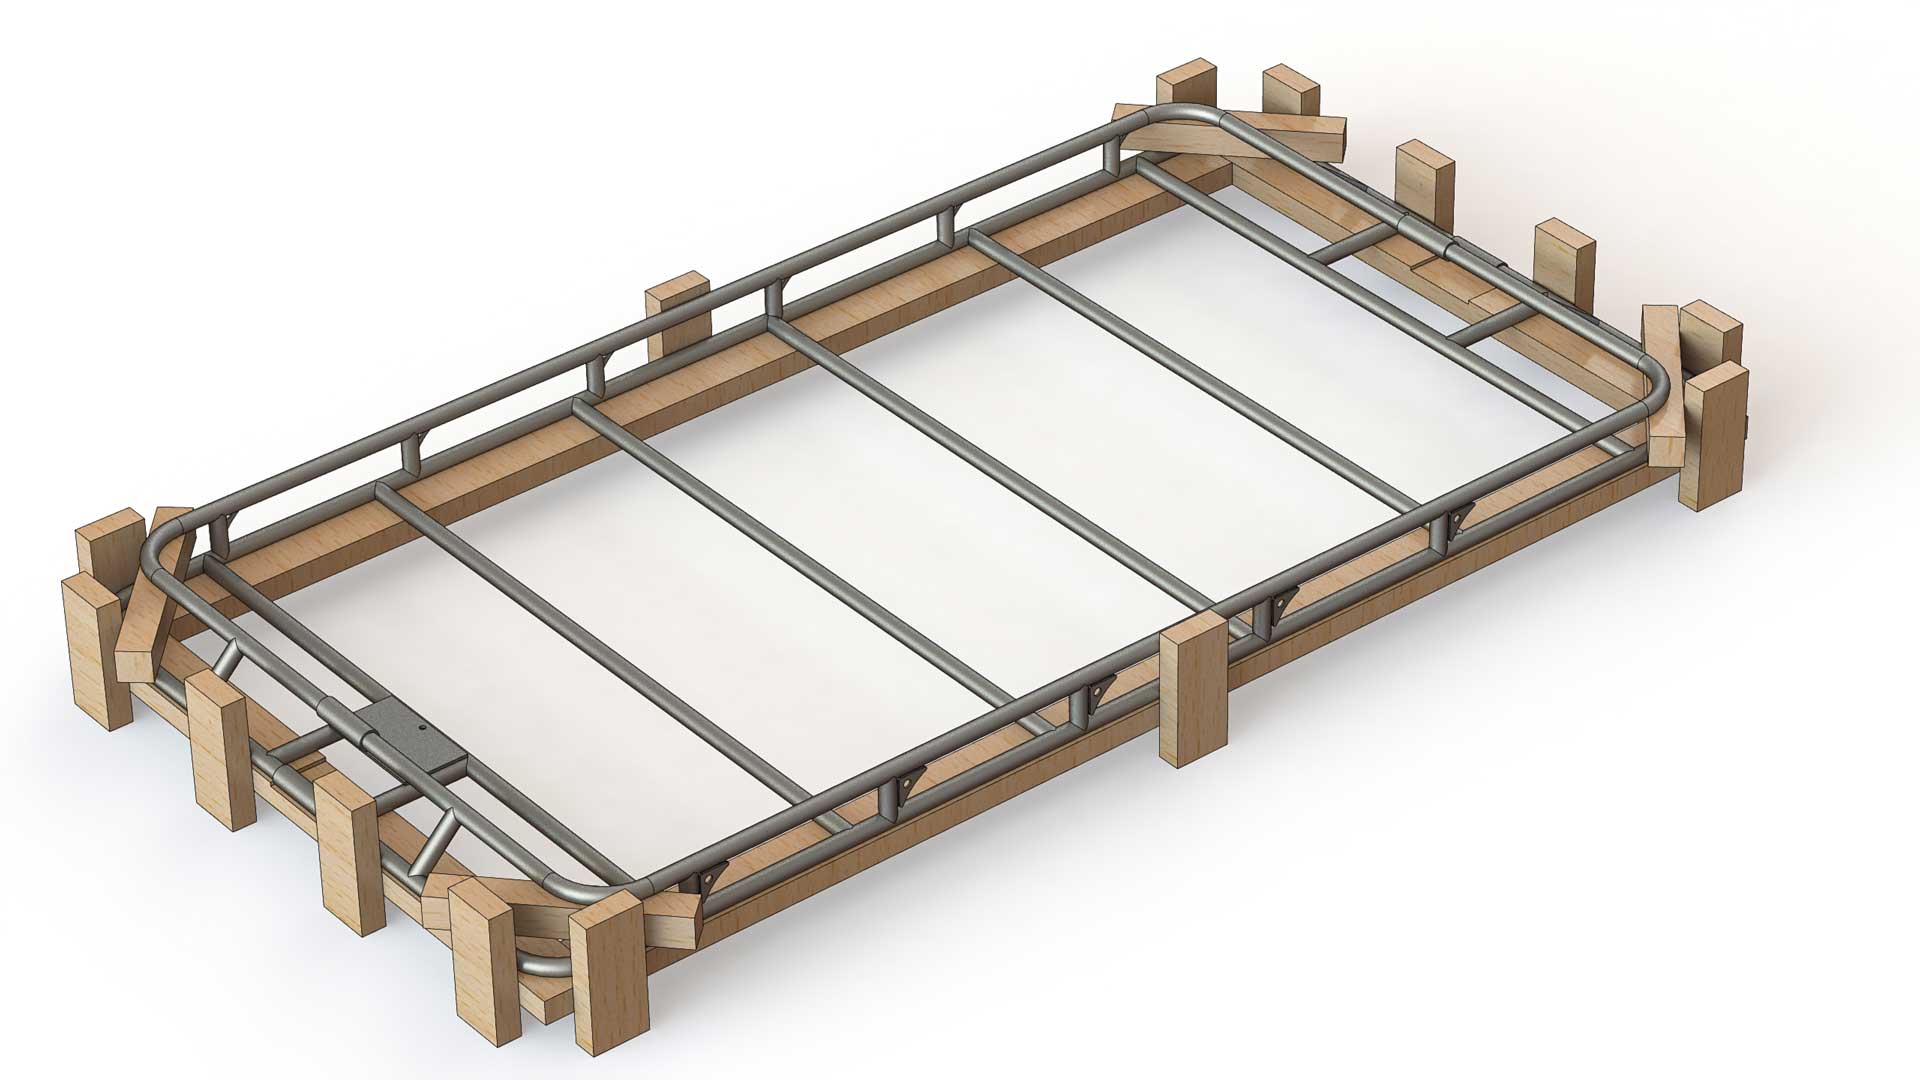
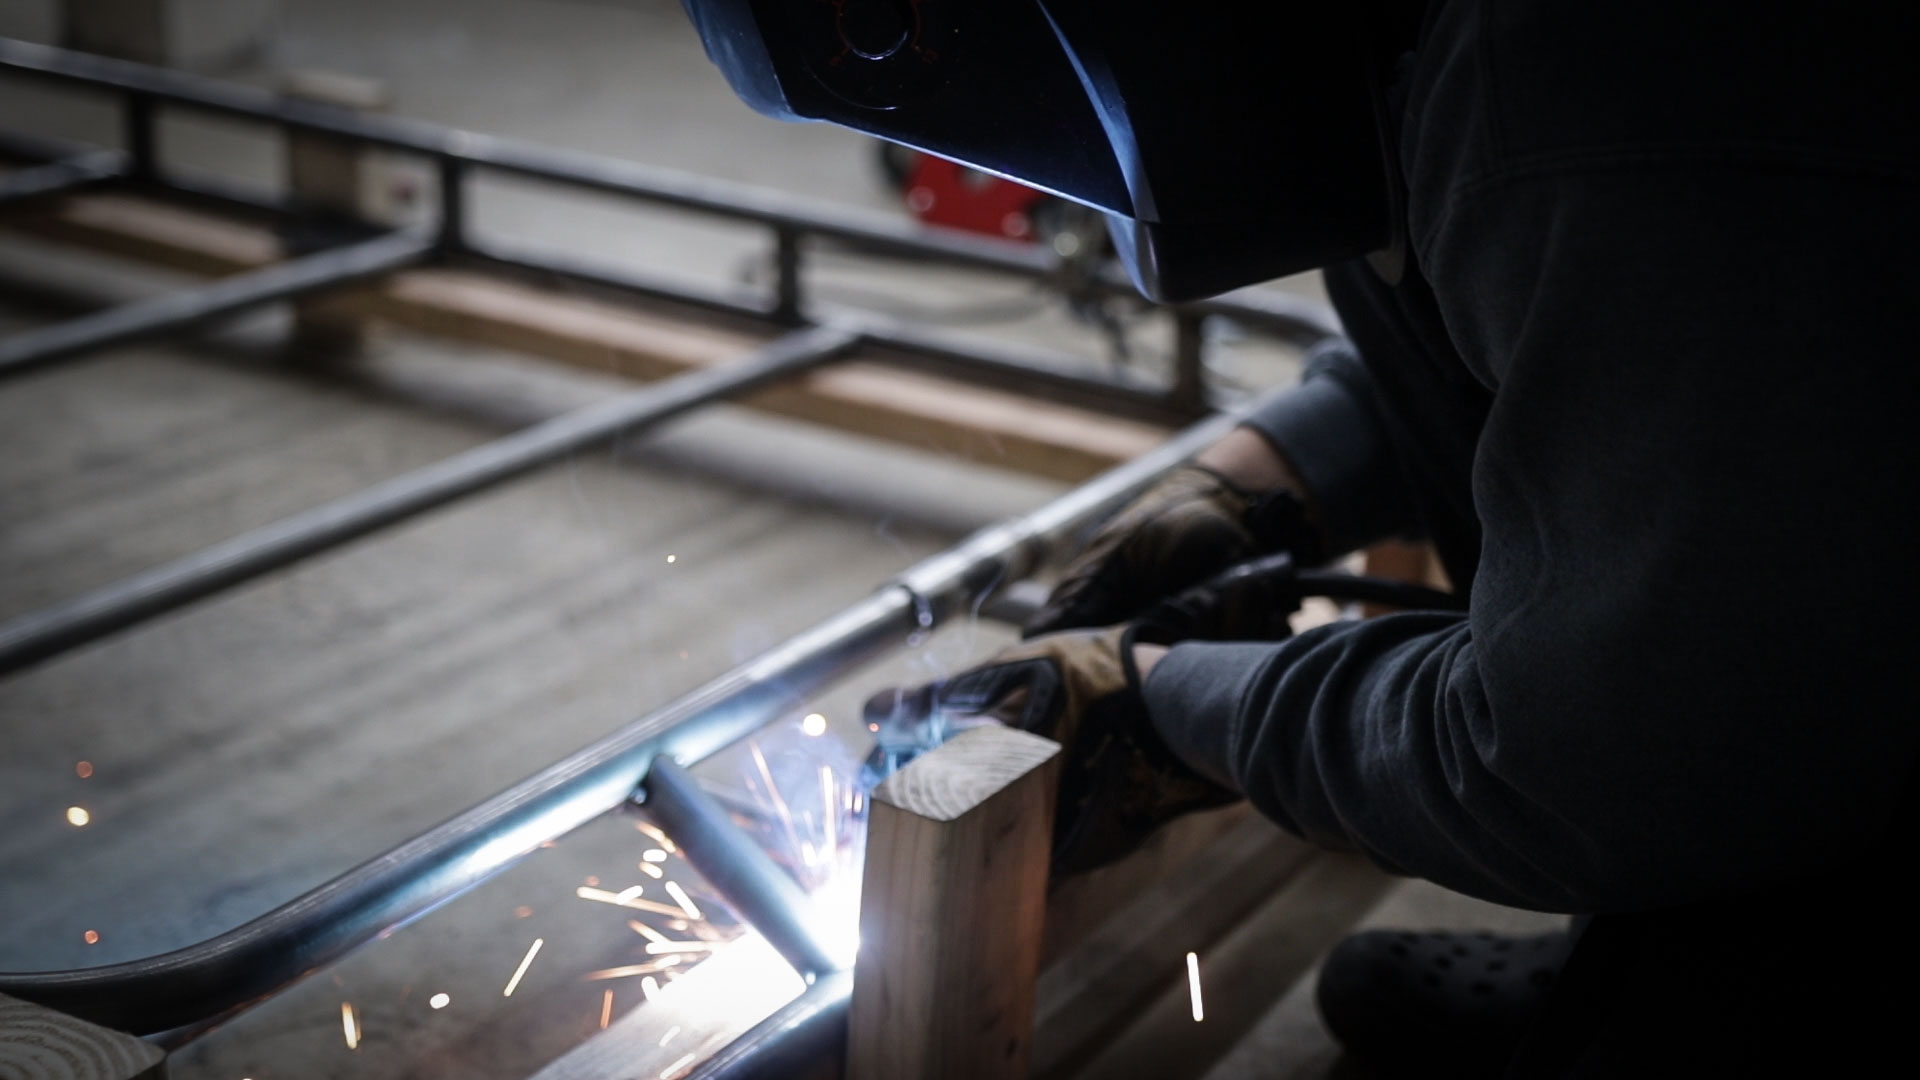
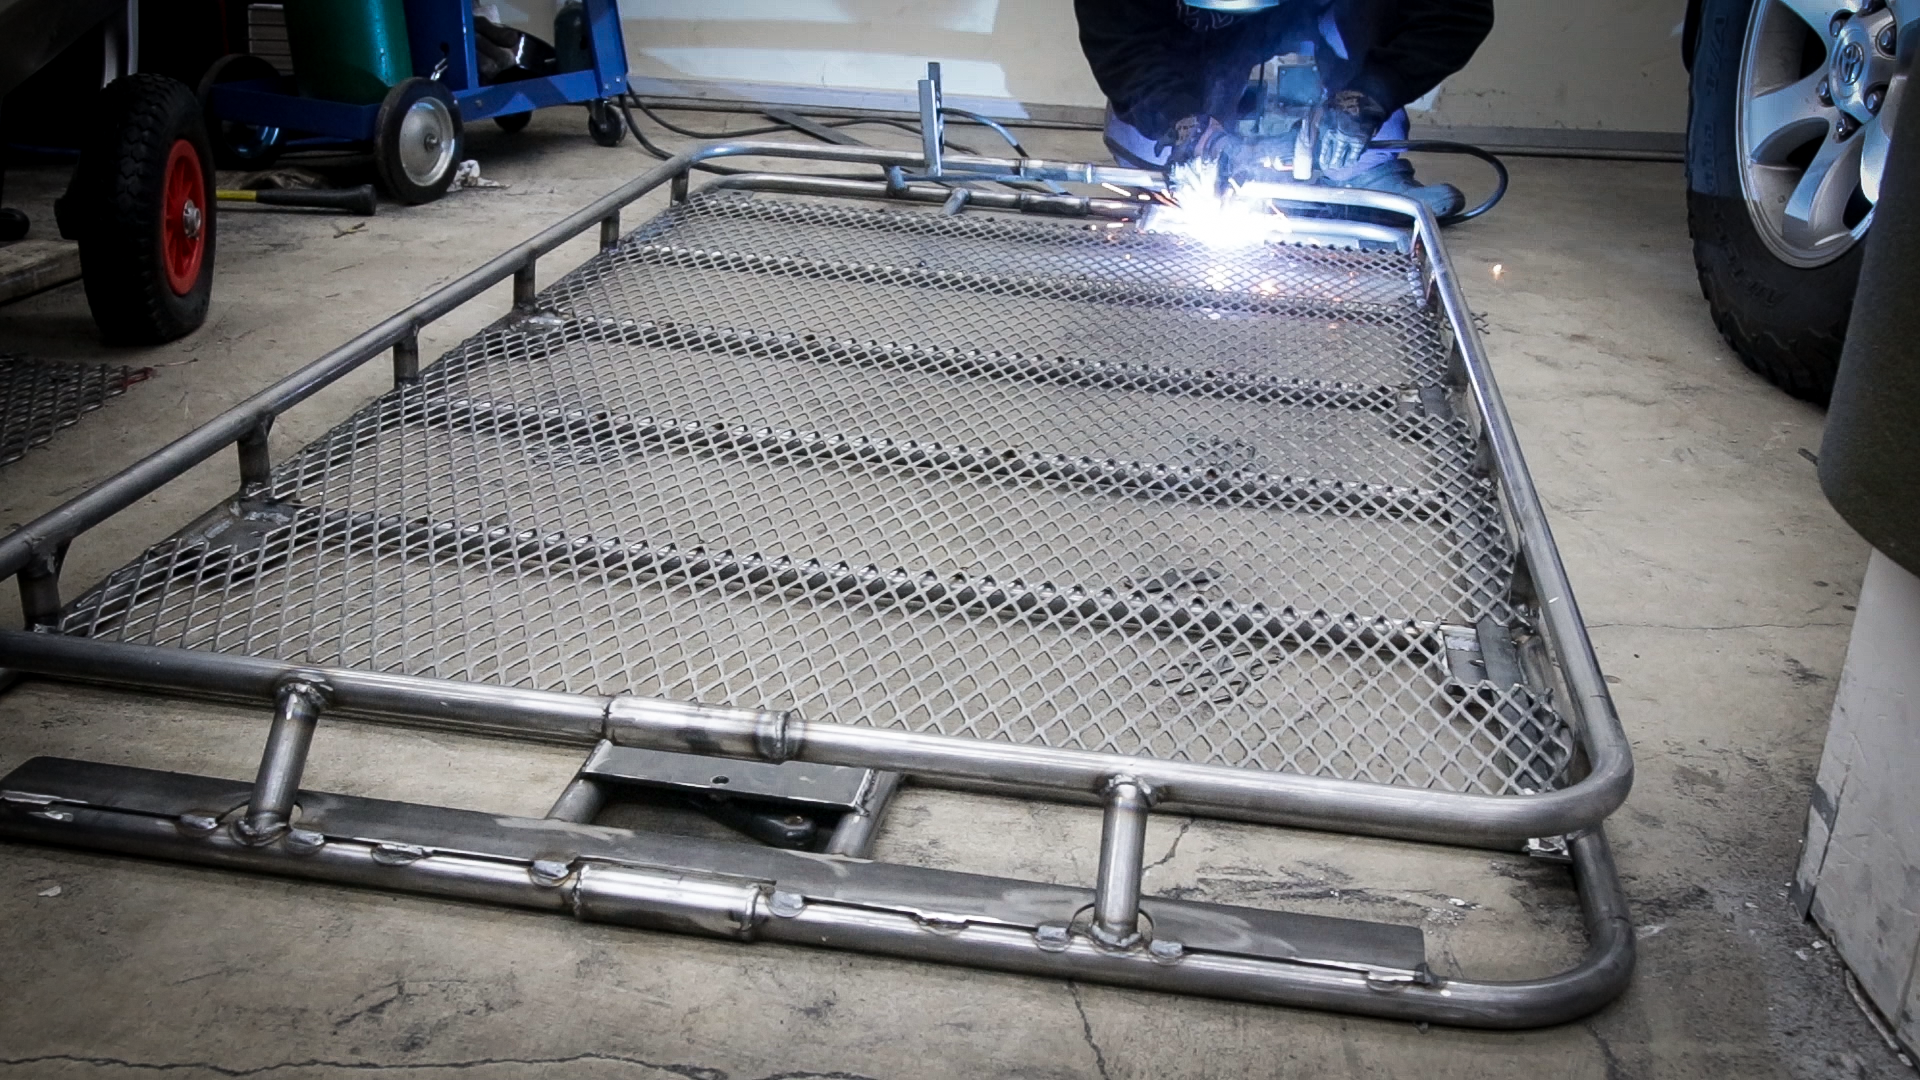
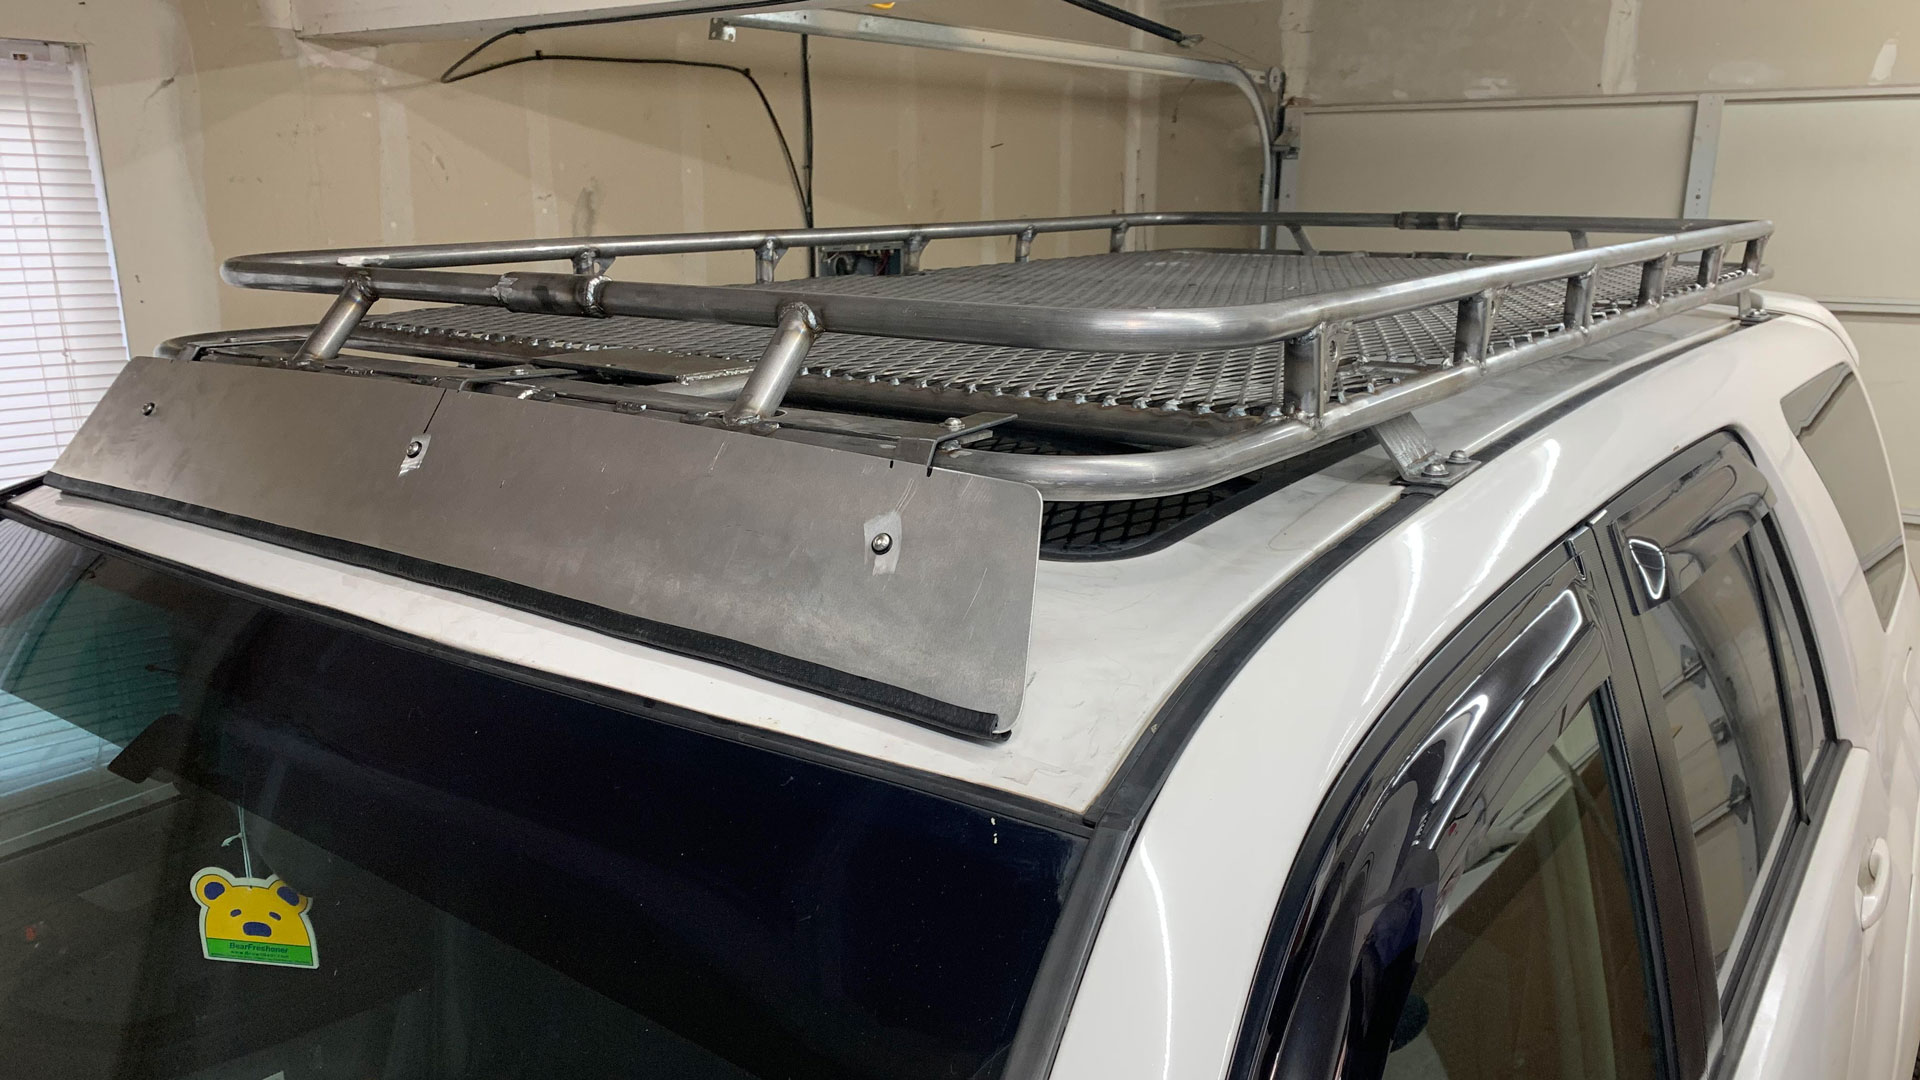
After making a trip to my local metal supply store I decided to designed a simple fixture and built it out of some 2×4’s. This would keep things from shifting while I welded and would allow me to clamp the tubes down to keep them flat and aligned.
Prep & Paint
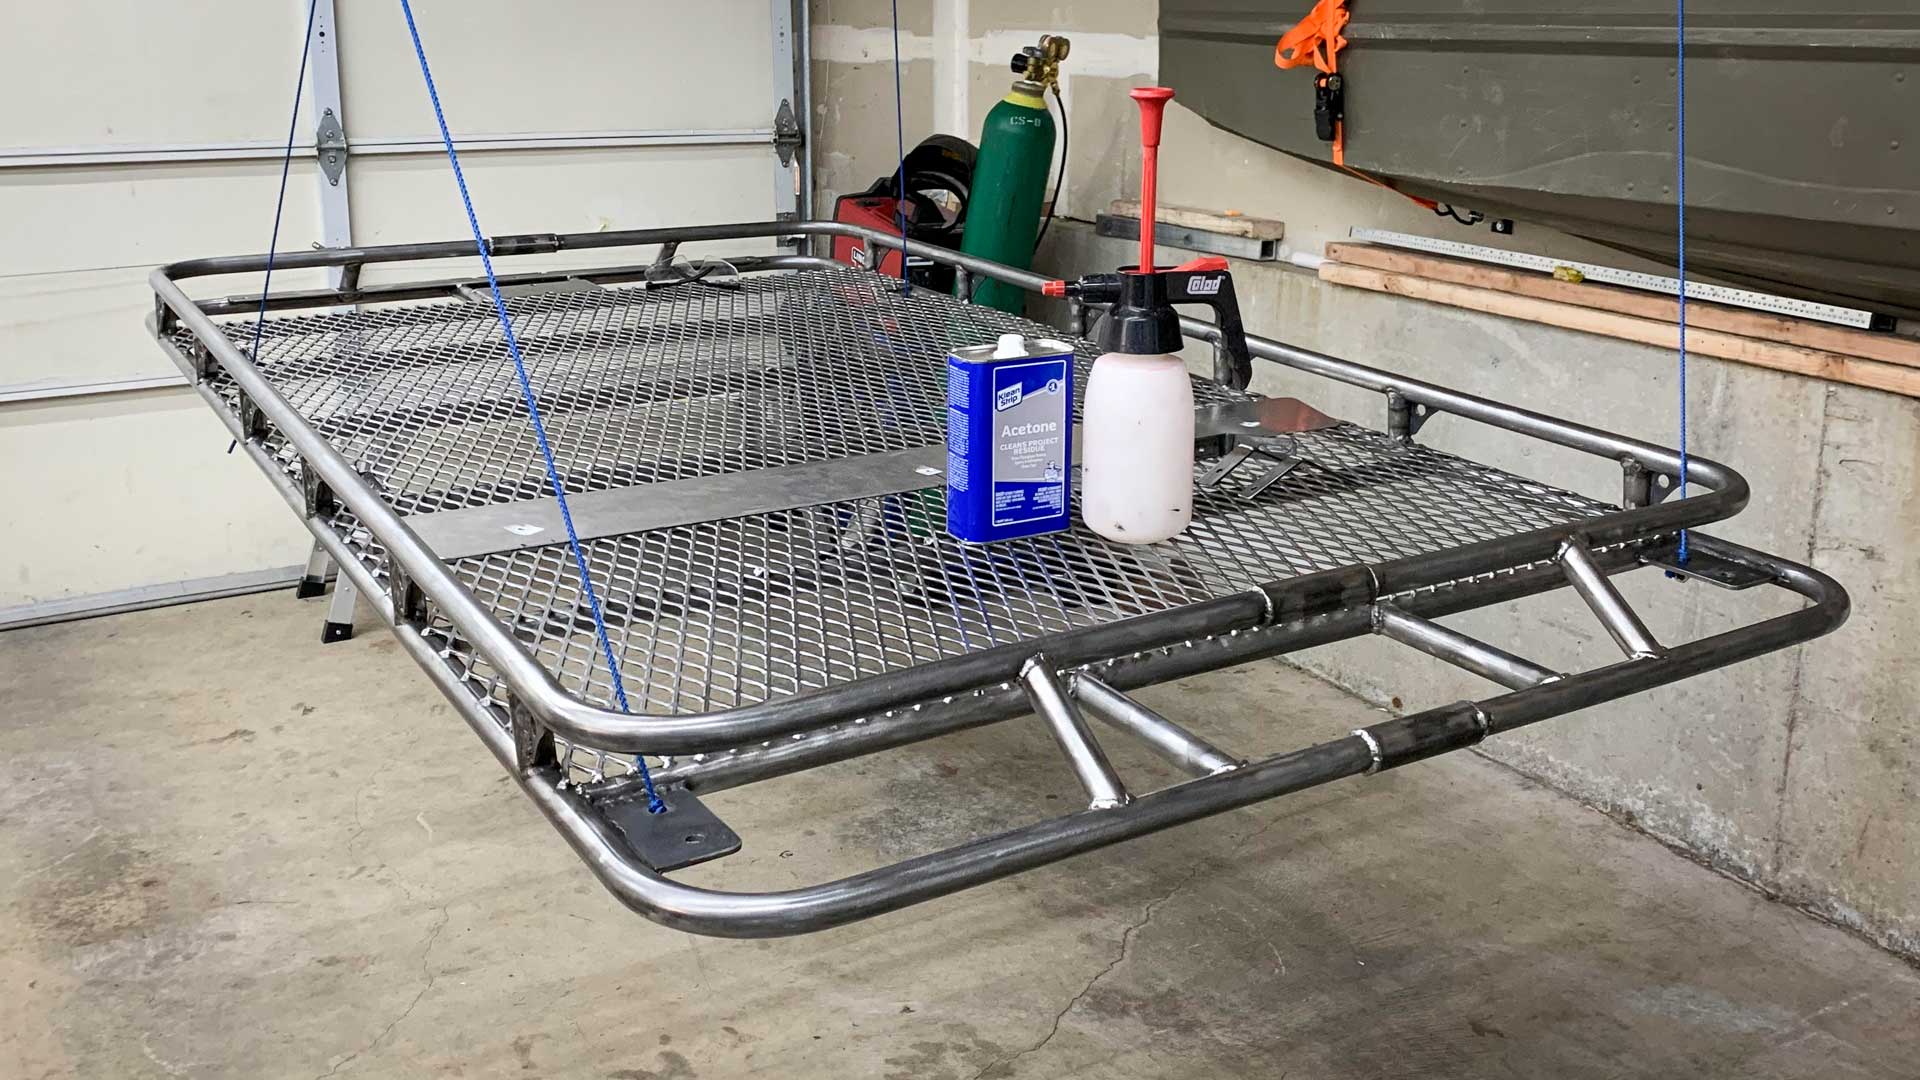
After all the metal splatter and had been grind down. I then went ahead and scuff the entire rack down with a scotch-brite pad to allow the primer to have something adhere to. I then gave it one last wipe down with some acetone to clean off any dirt or grime that was leftover.
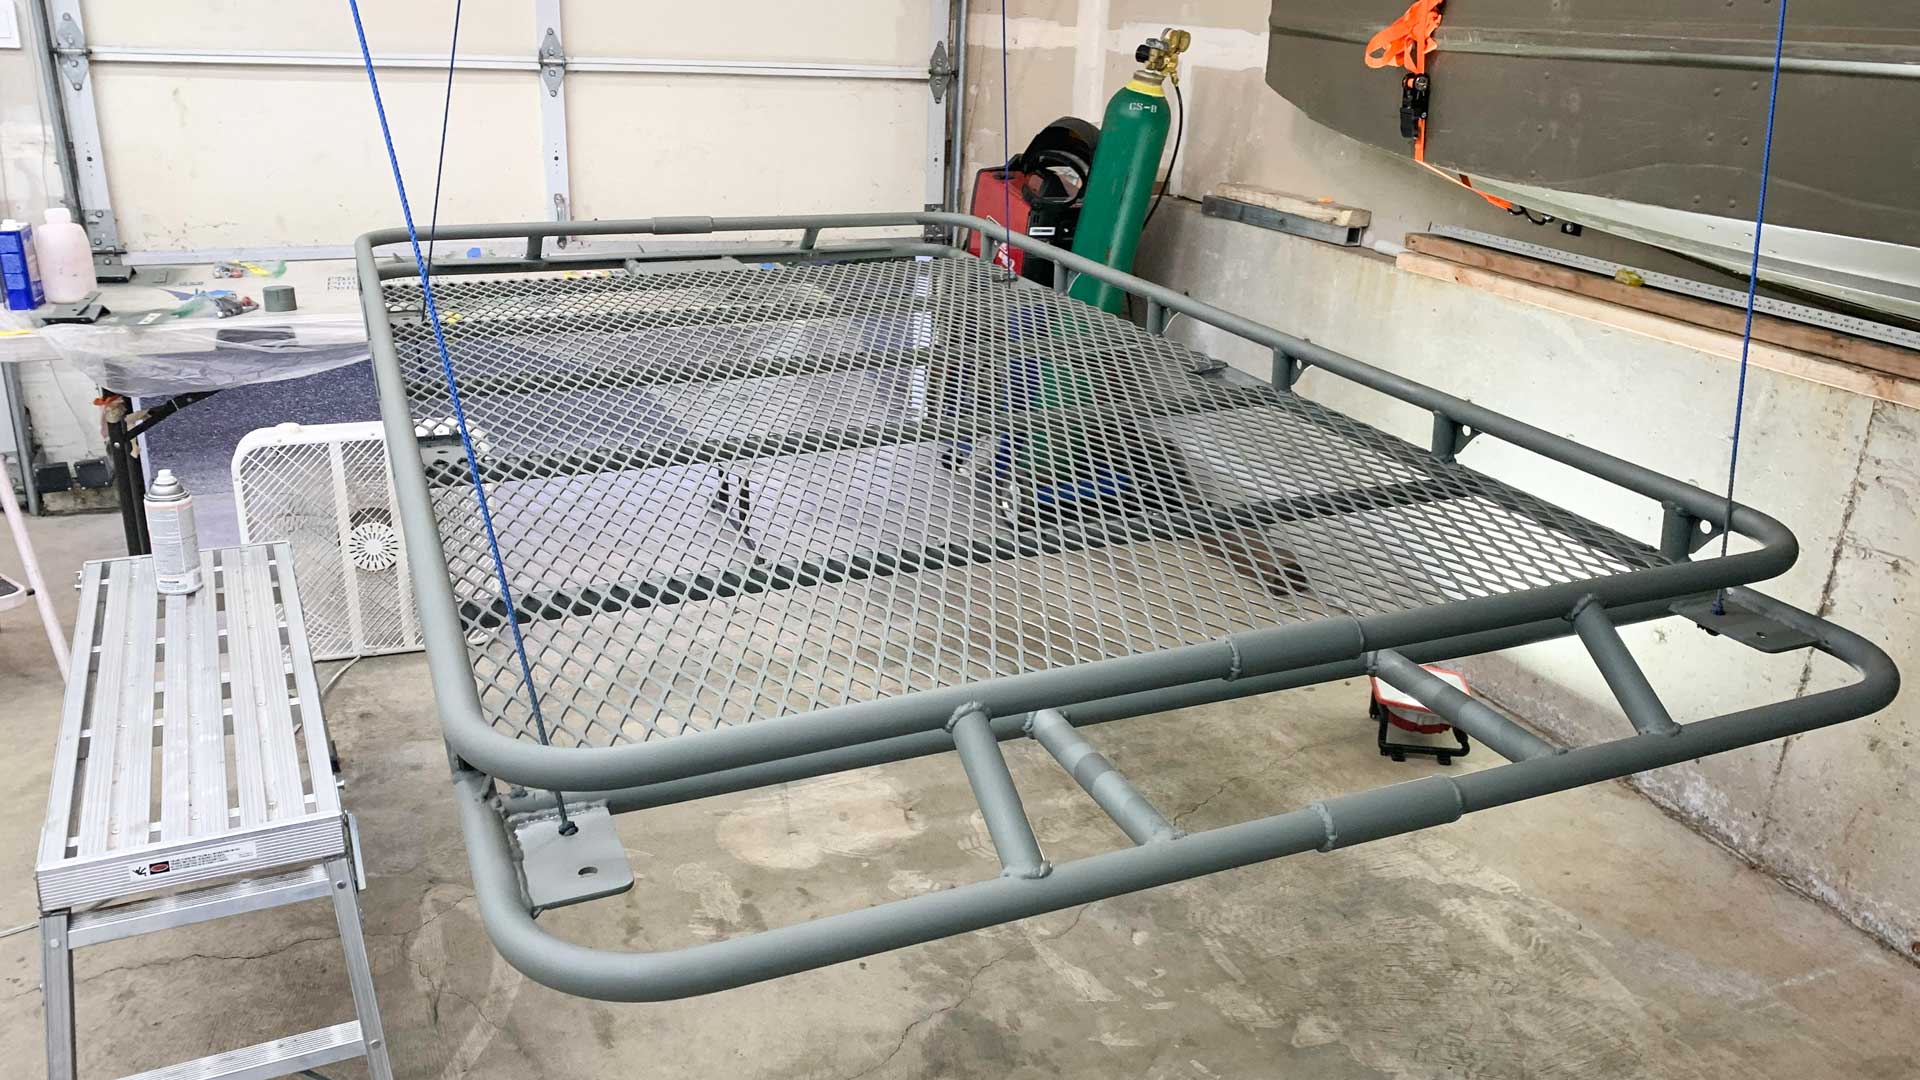
The surface was now prepped for primer. I applied a self-etching primer from rustoluem. I went through about 4 cans that gave me about three coats of coverage. I then decided to let it cure over night just to make sure it was ready for the topcoat.
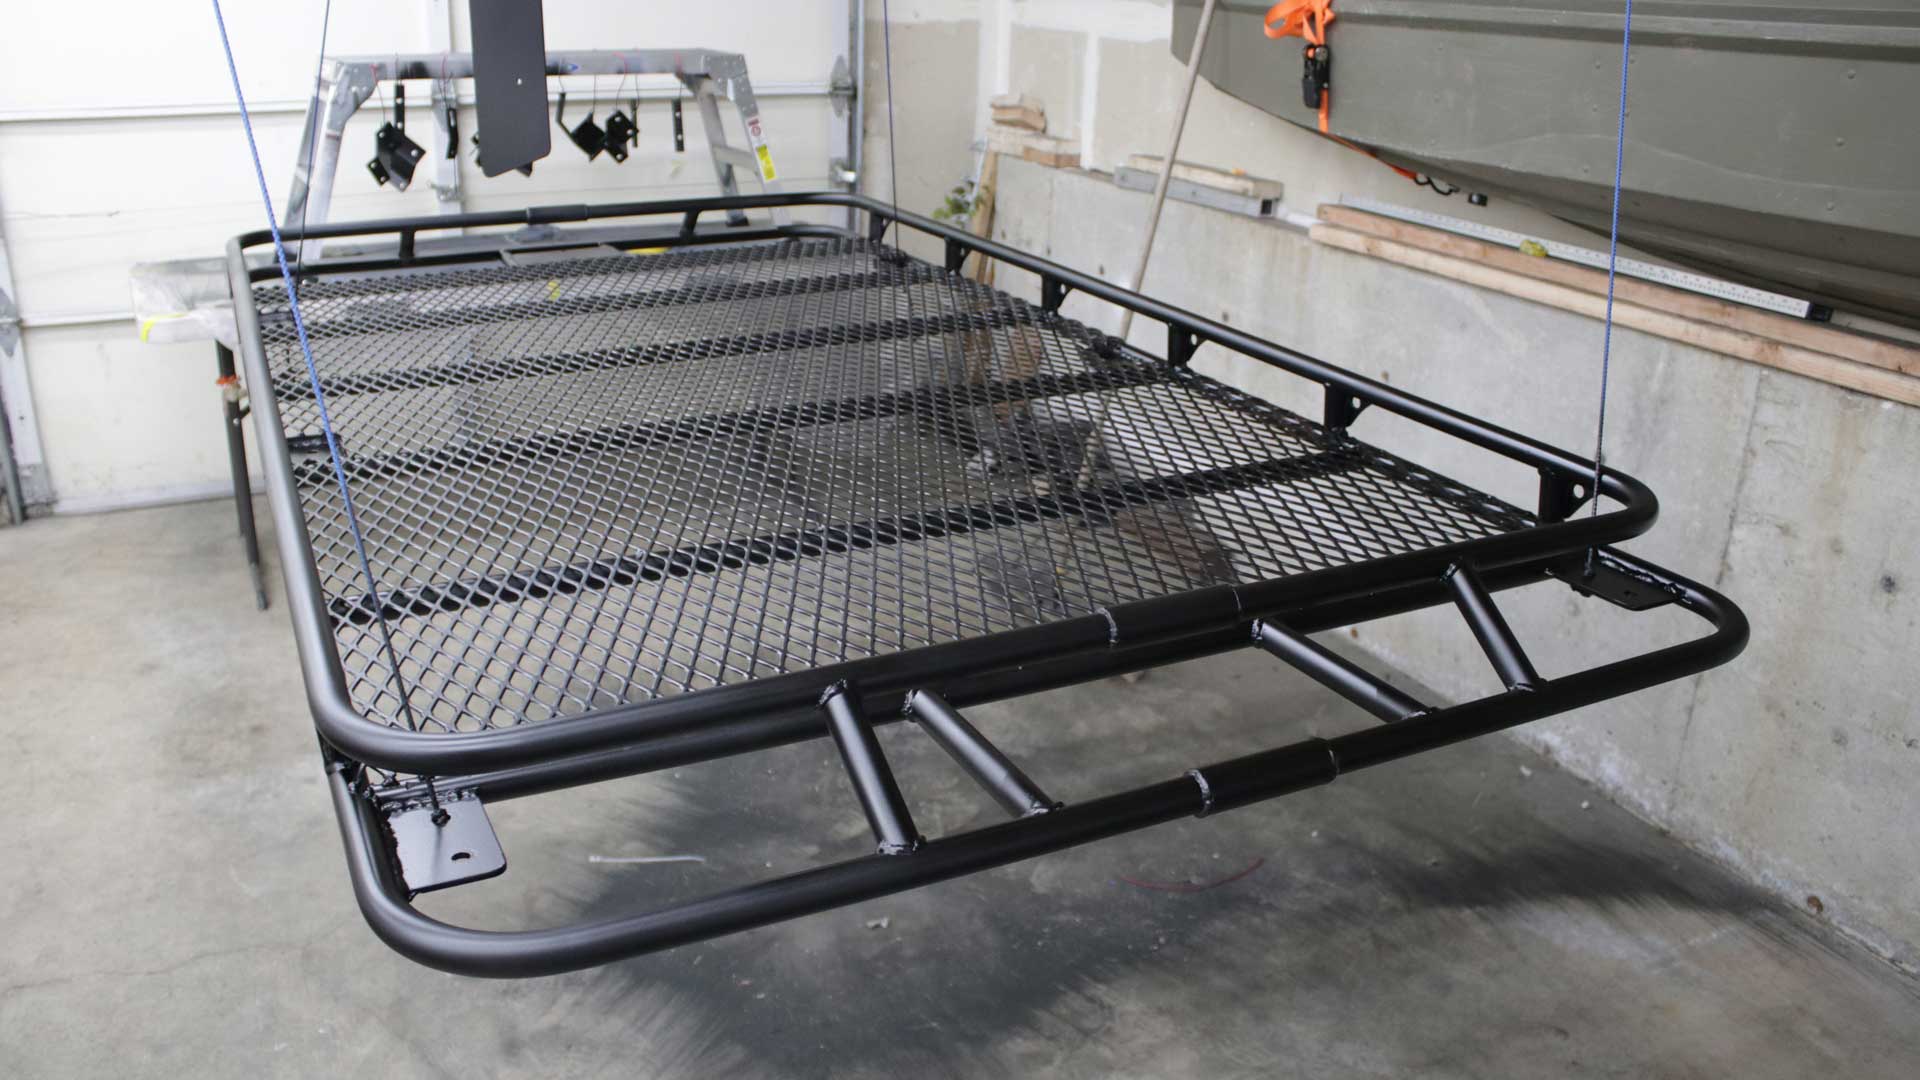
After doing some research I had three options, power-coat, two-part single stage paint, and rattle-can black paint. Ultimately I wanted to power-coat the rack as it would offer the greatest durability and finish. However, I knew I would make modifications to the rack down the road so grinding off the power-coat and then reapplied wasn’t in the cards. The rattle-can was the cheapest option but I wanted to lay down and even finish therefore I end up using the SEM Hot Rod Black two-part paint to be sprayed with a HVLP gun. This would give it a nice even semigloss black finish and be slightly more durable then the rattle-can paint.
Project Outcome
To document it all I create a video to show my process for if you decide you want to build your own.
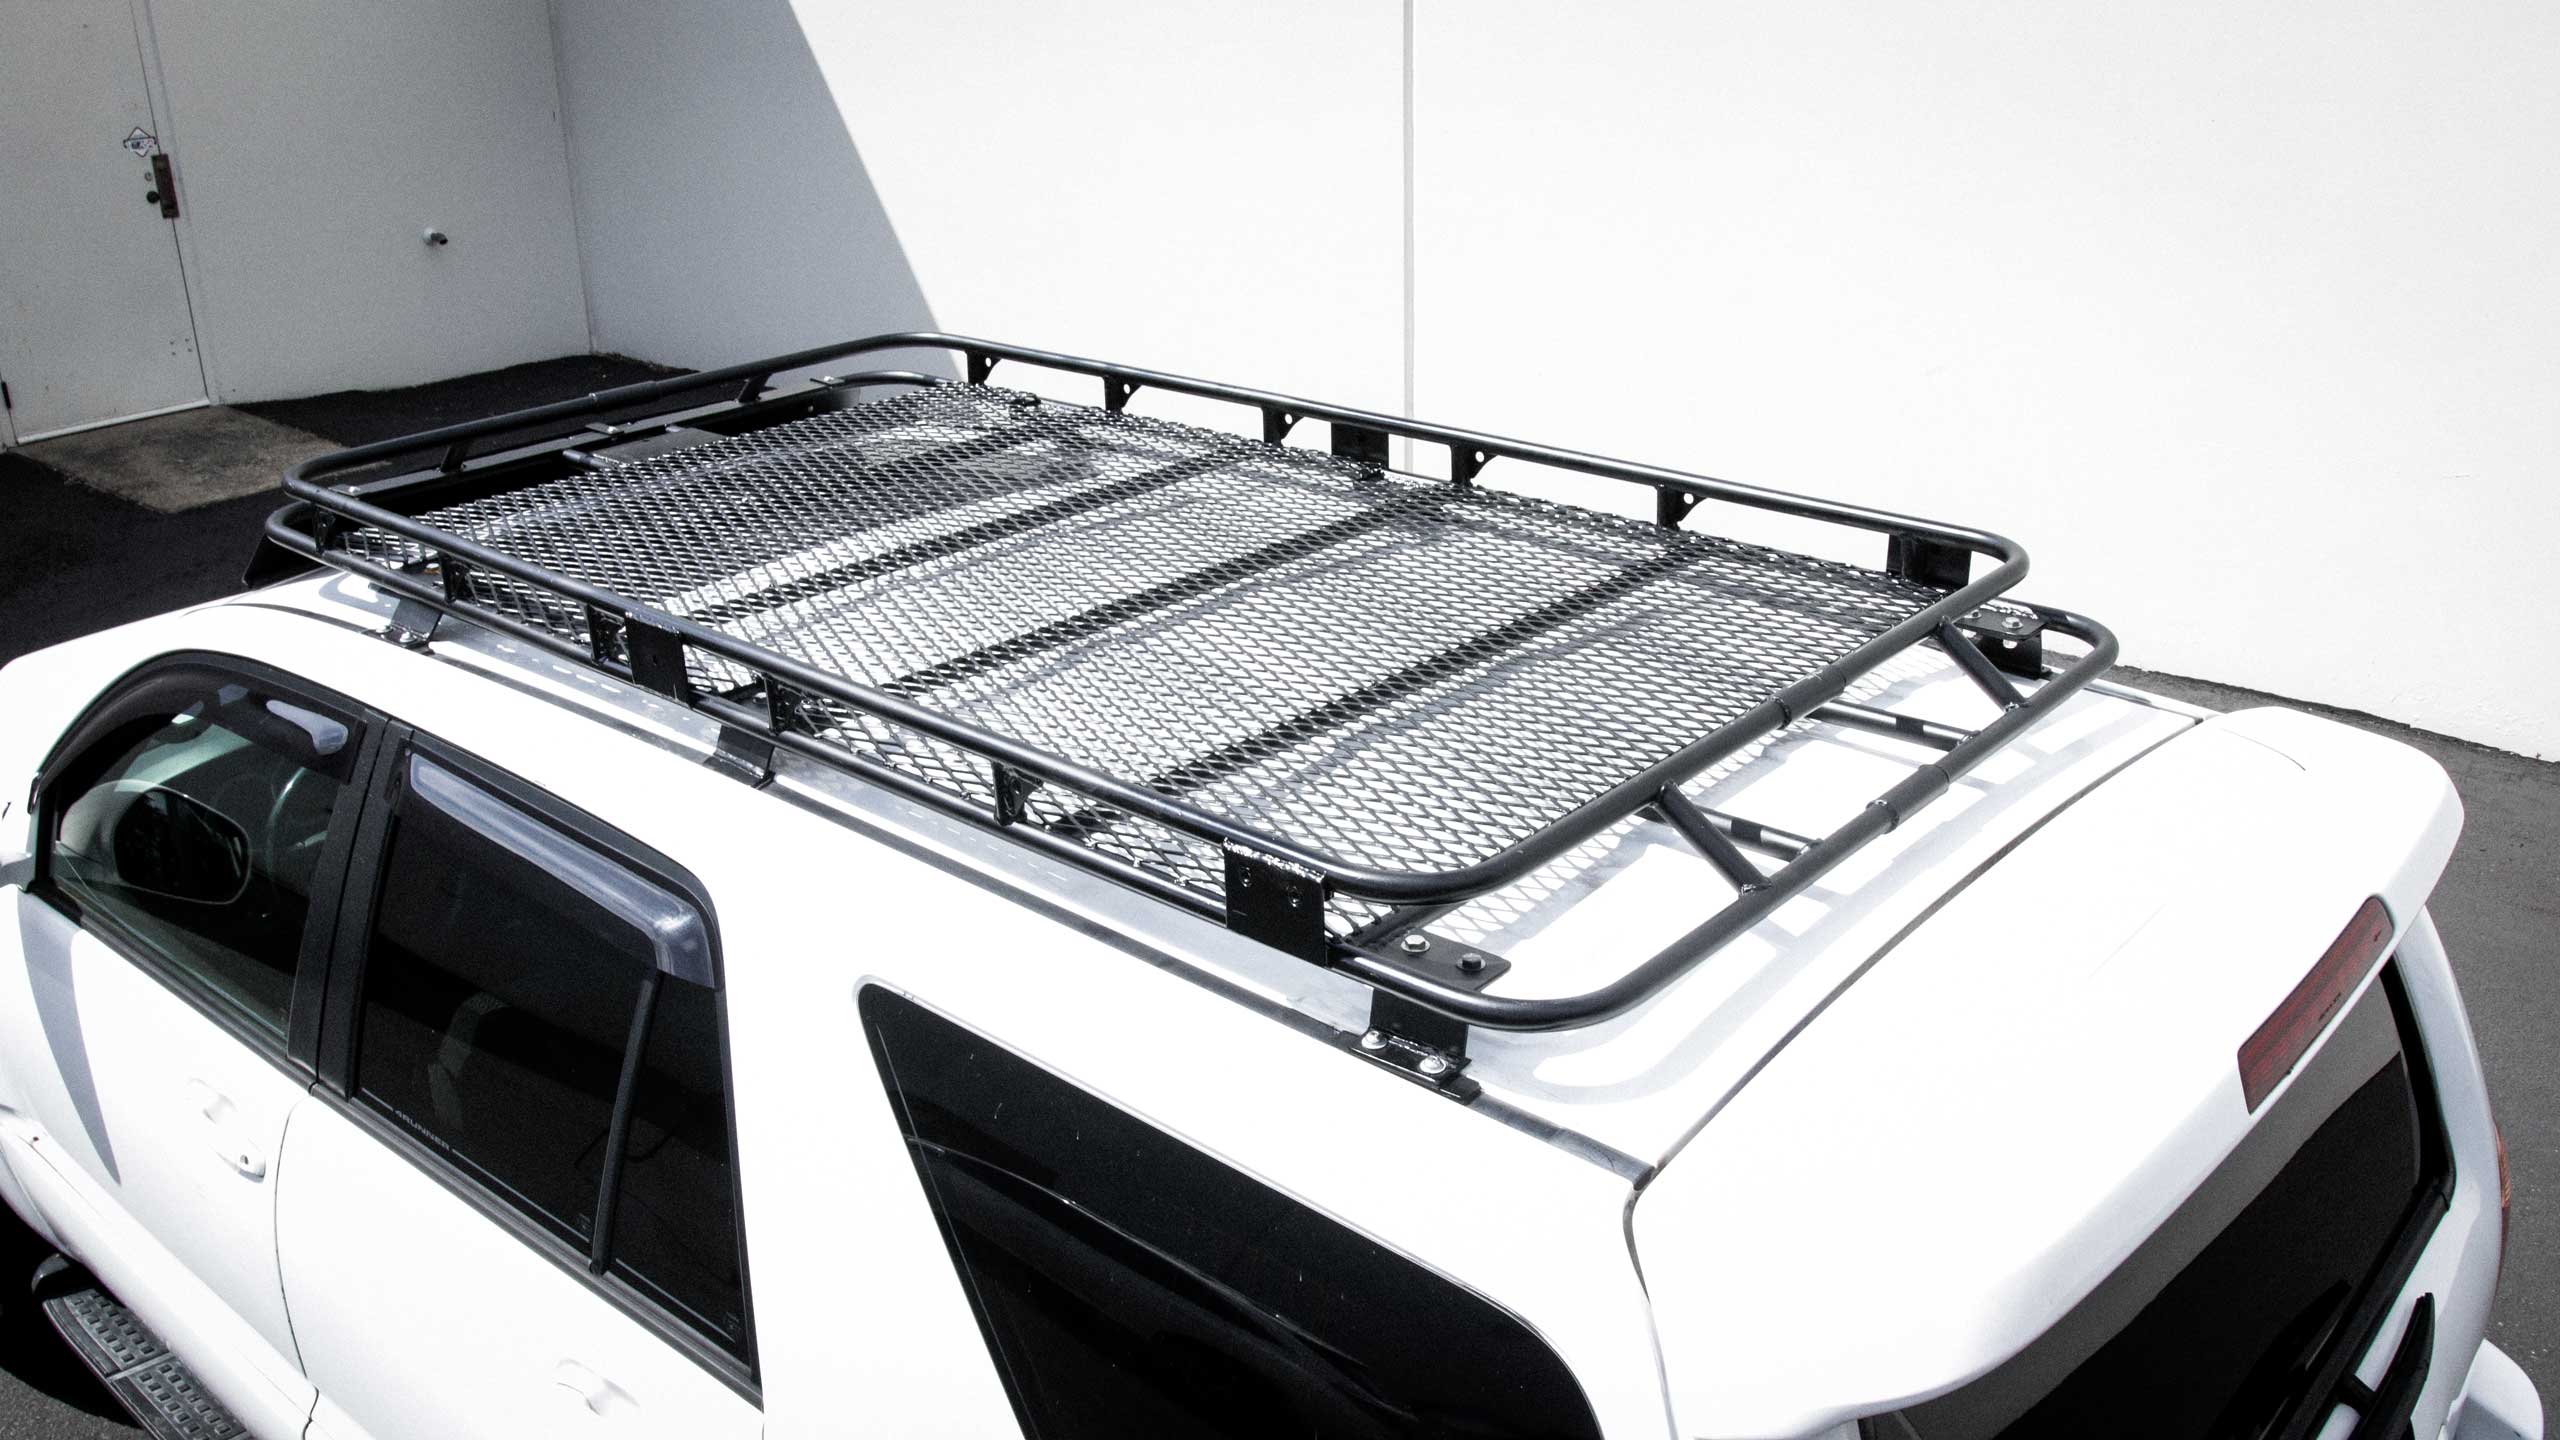
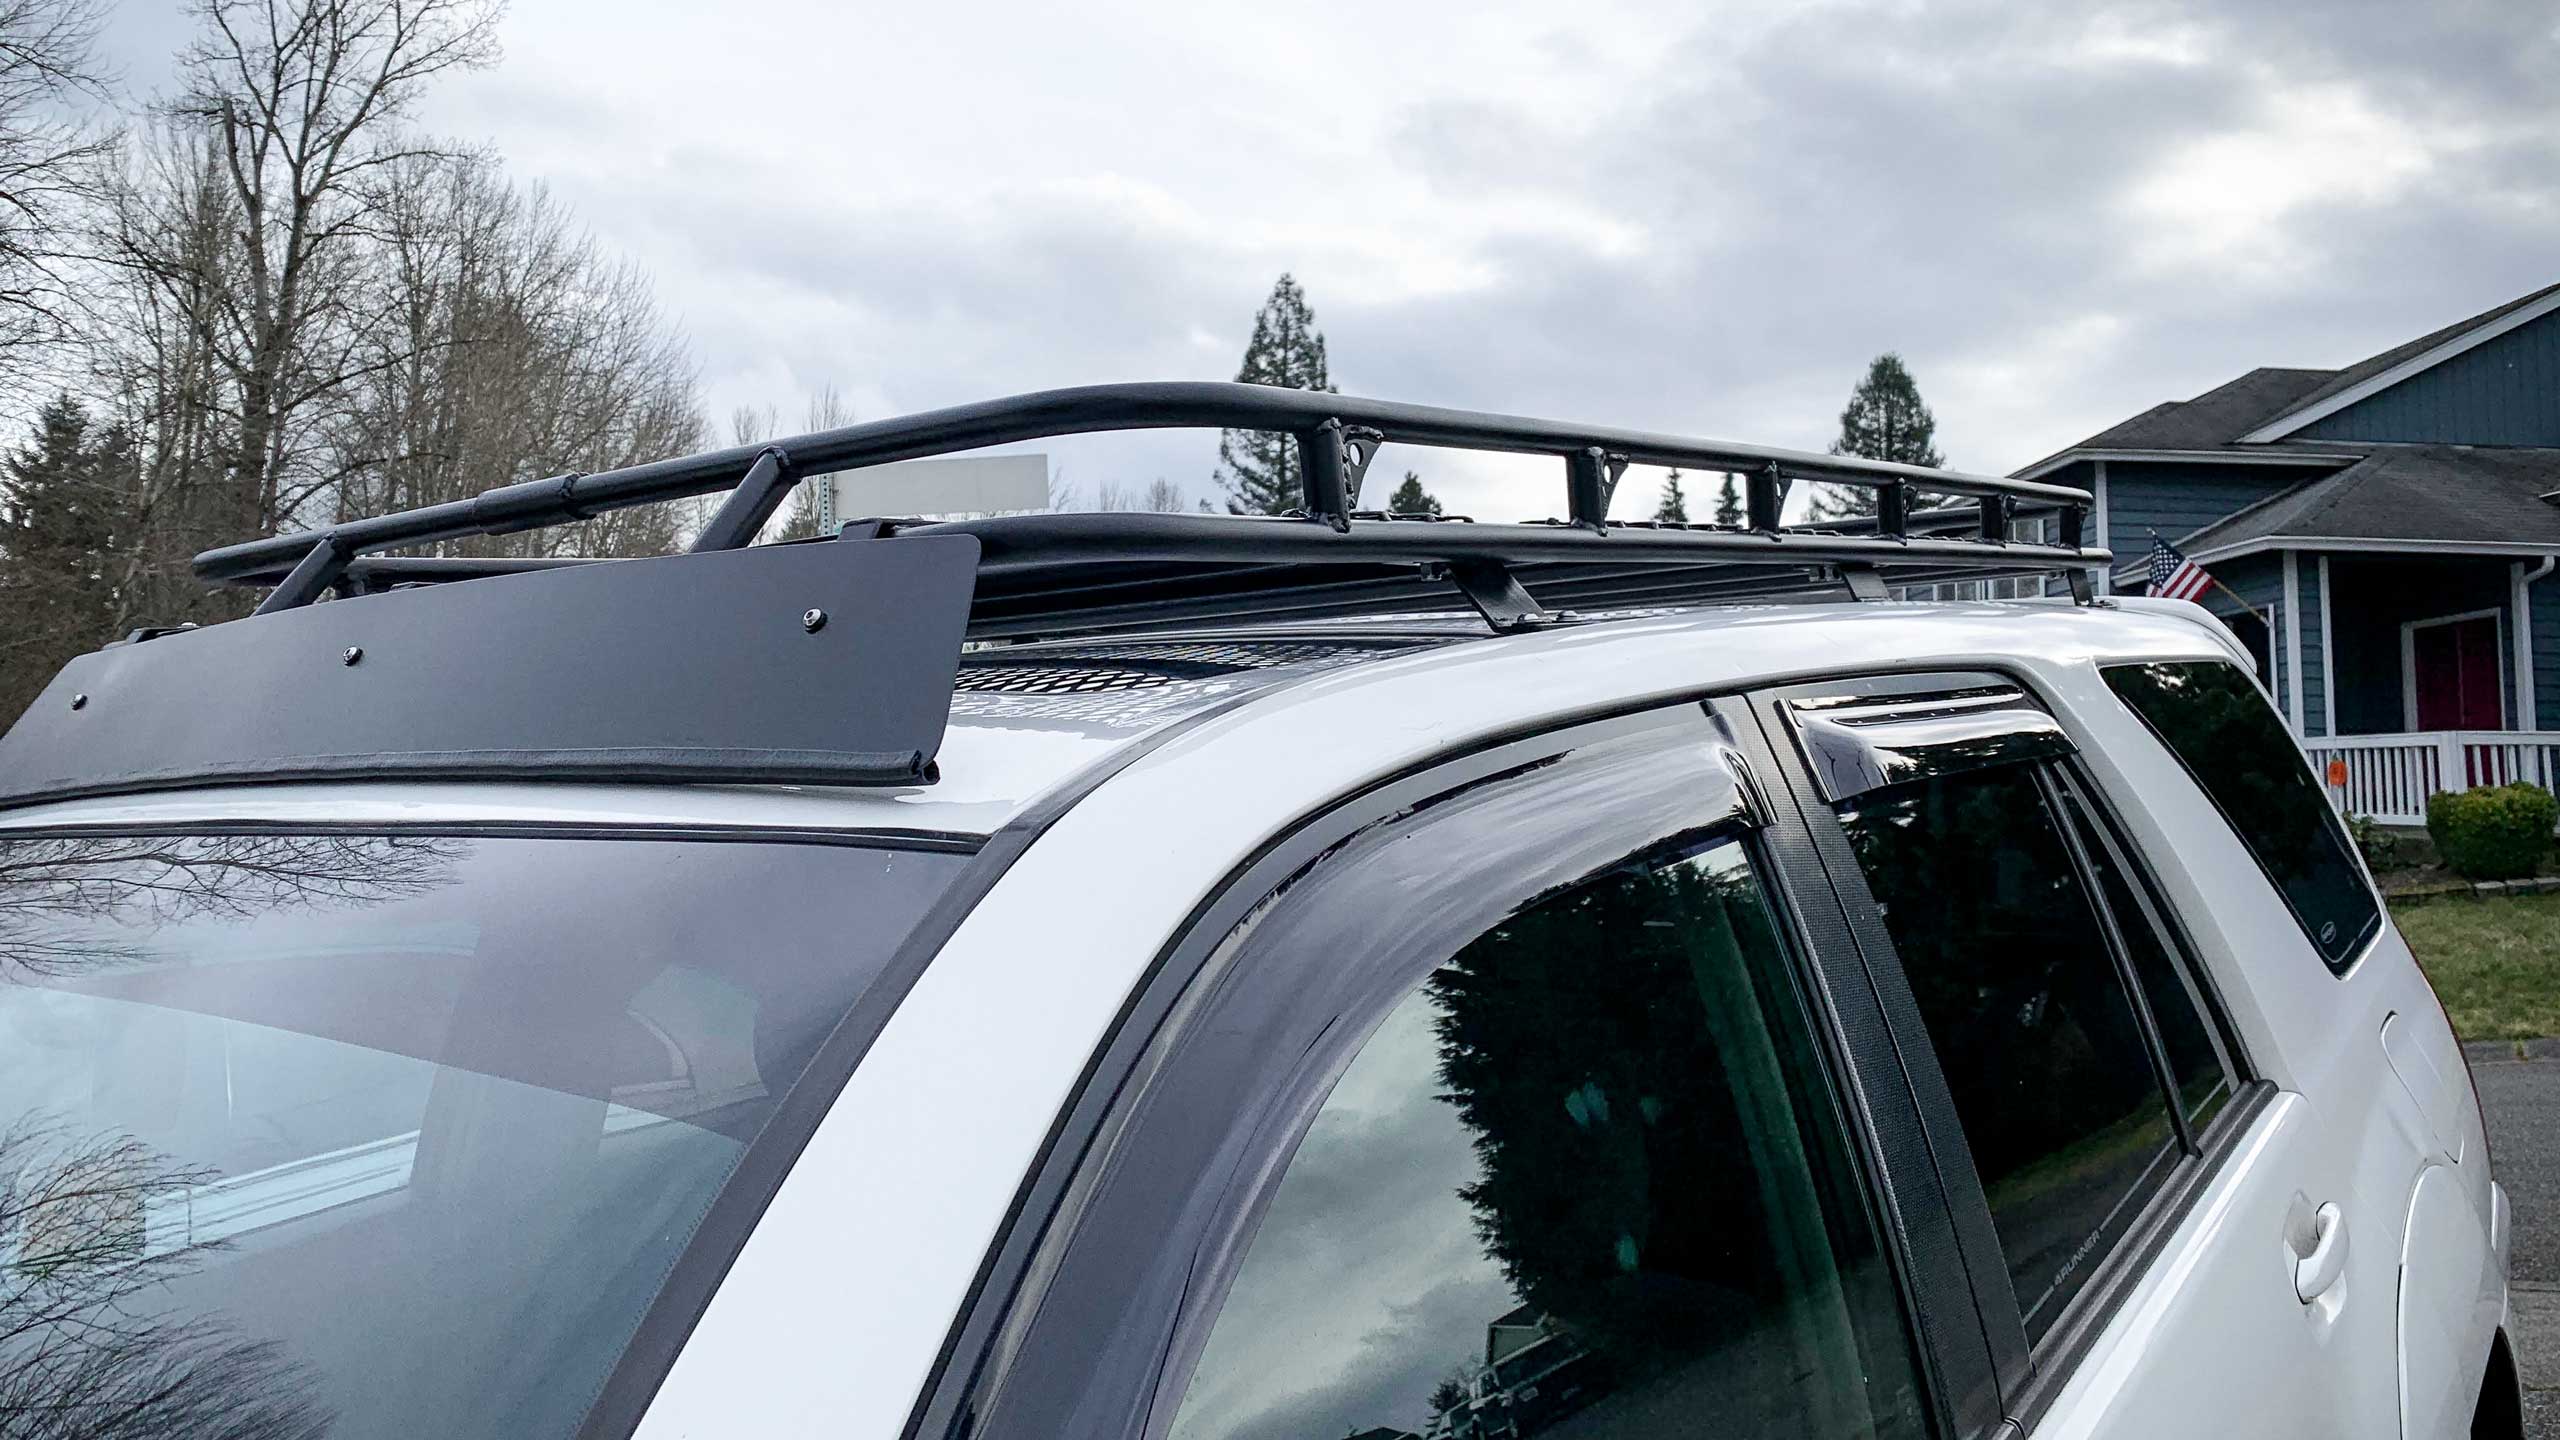
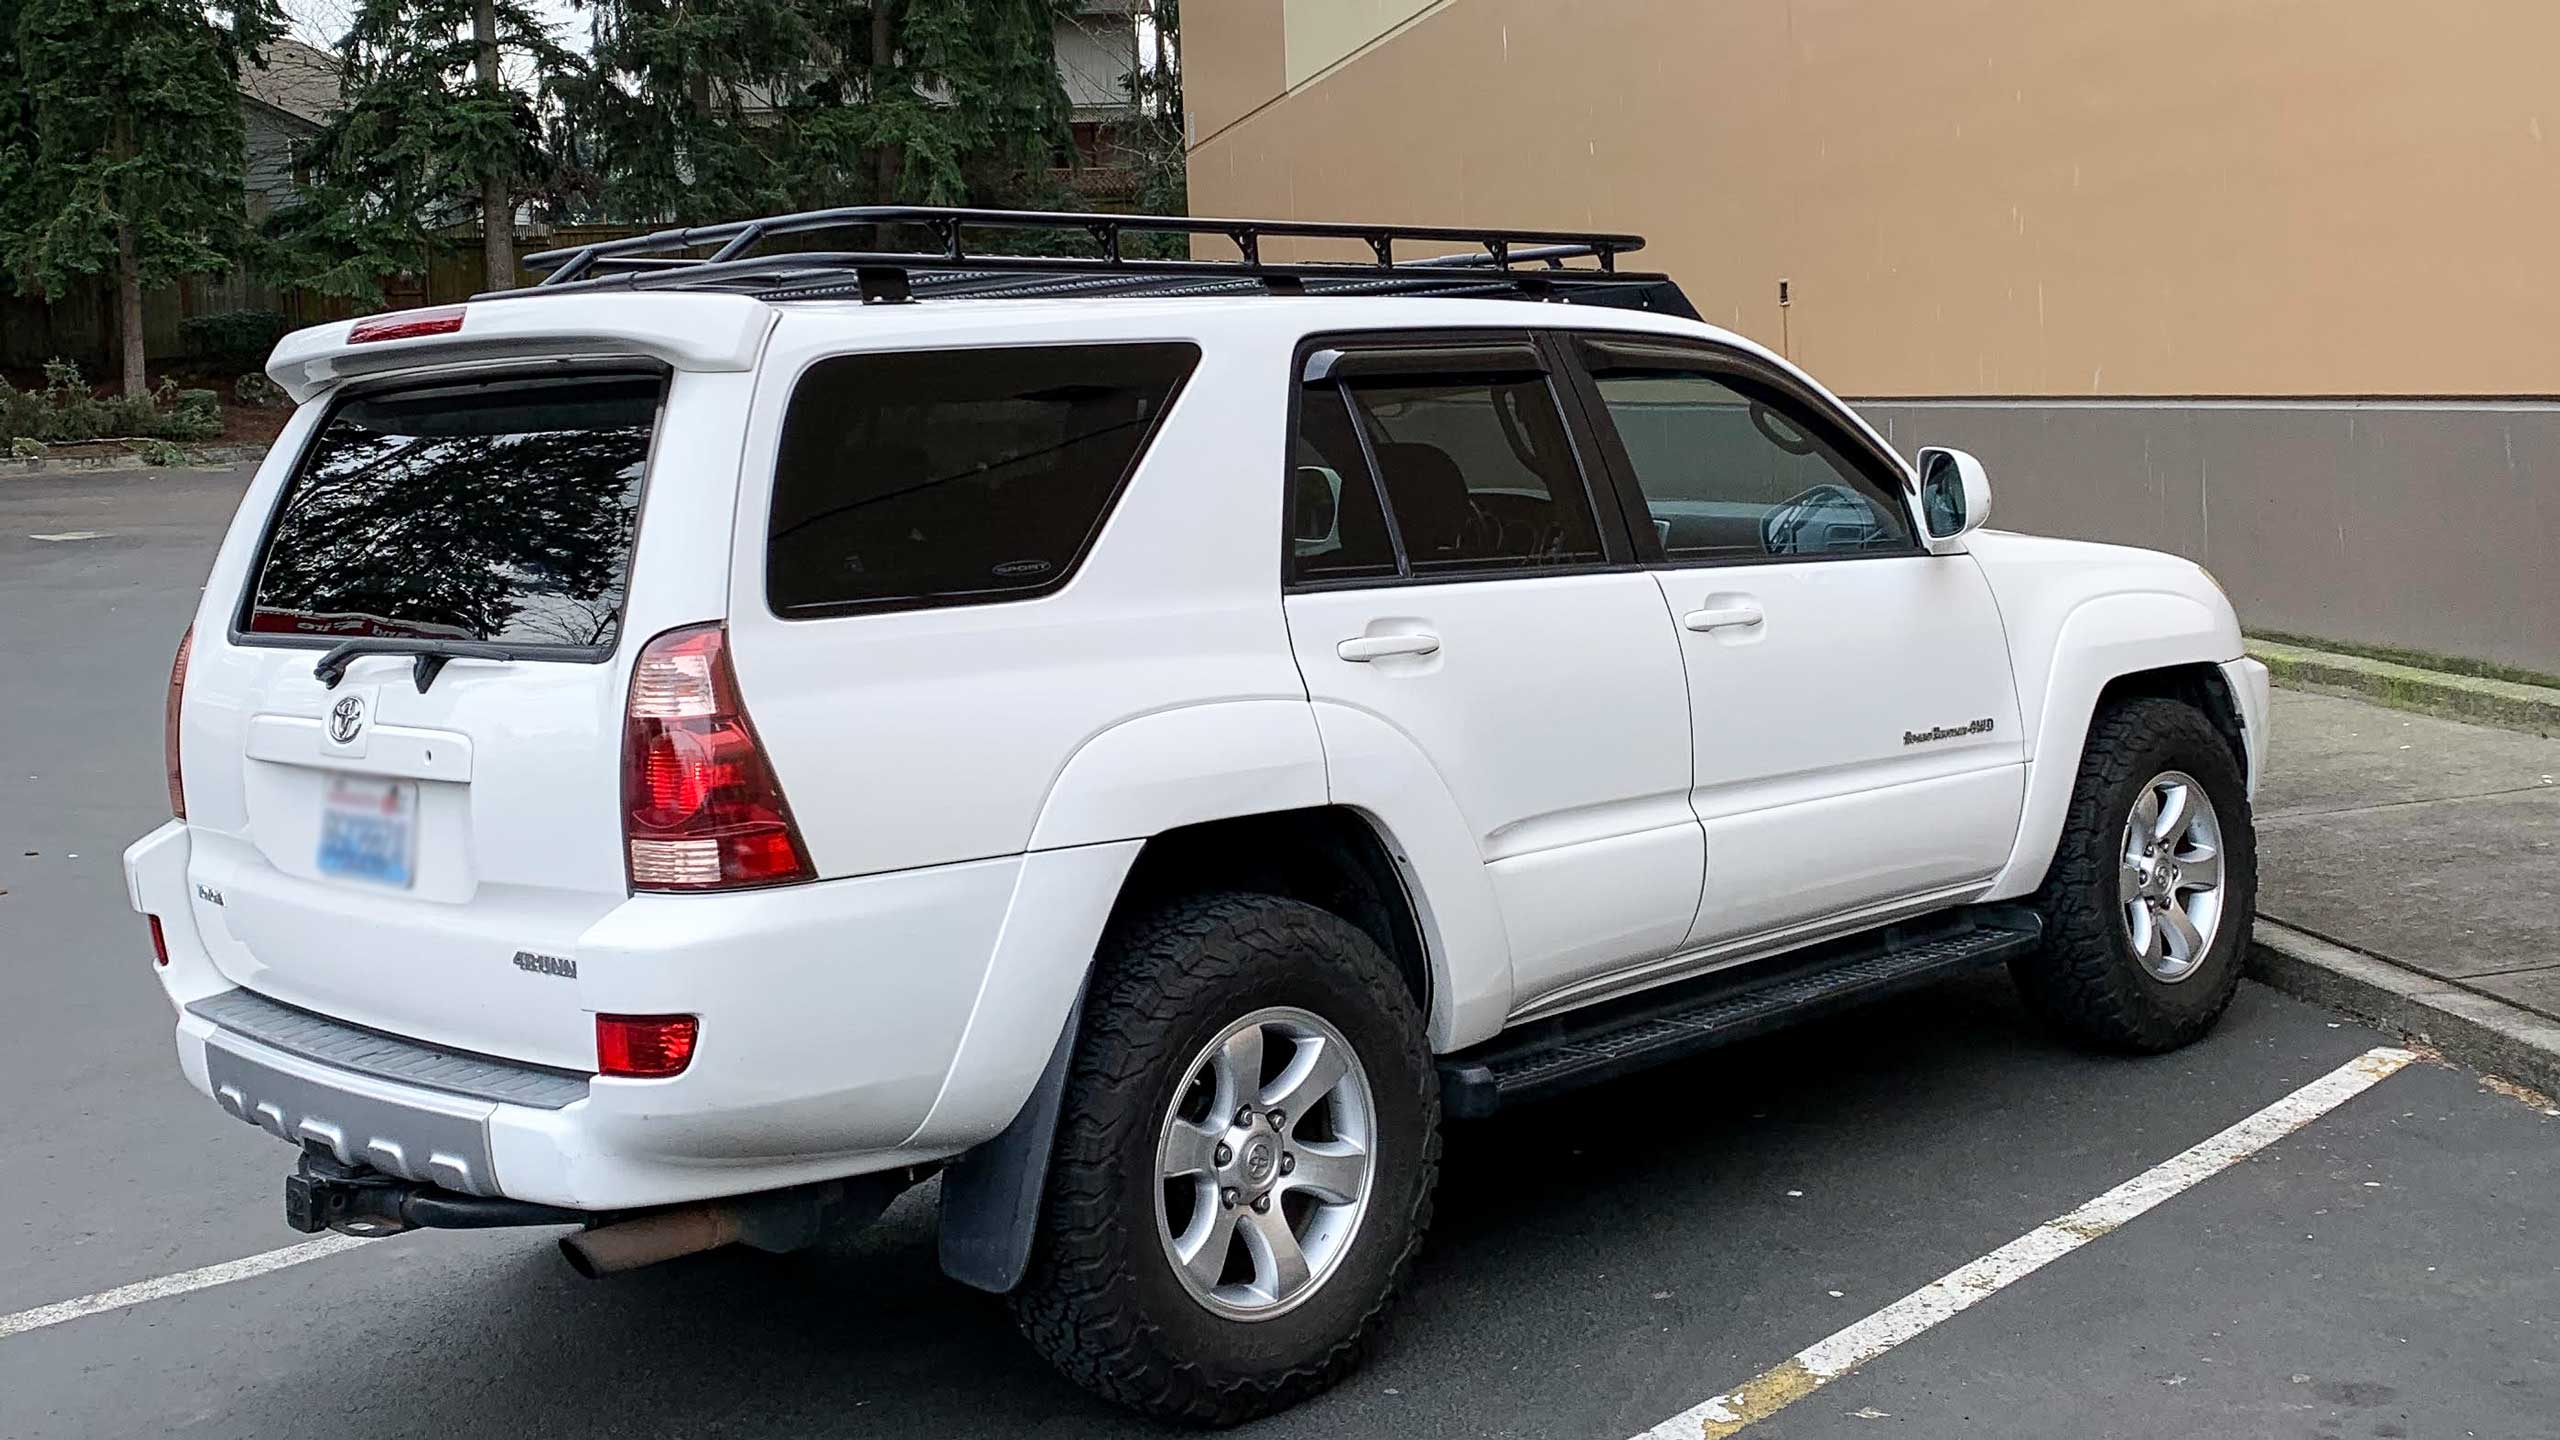
Ready to get started?
Credits
