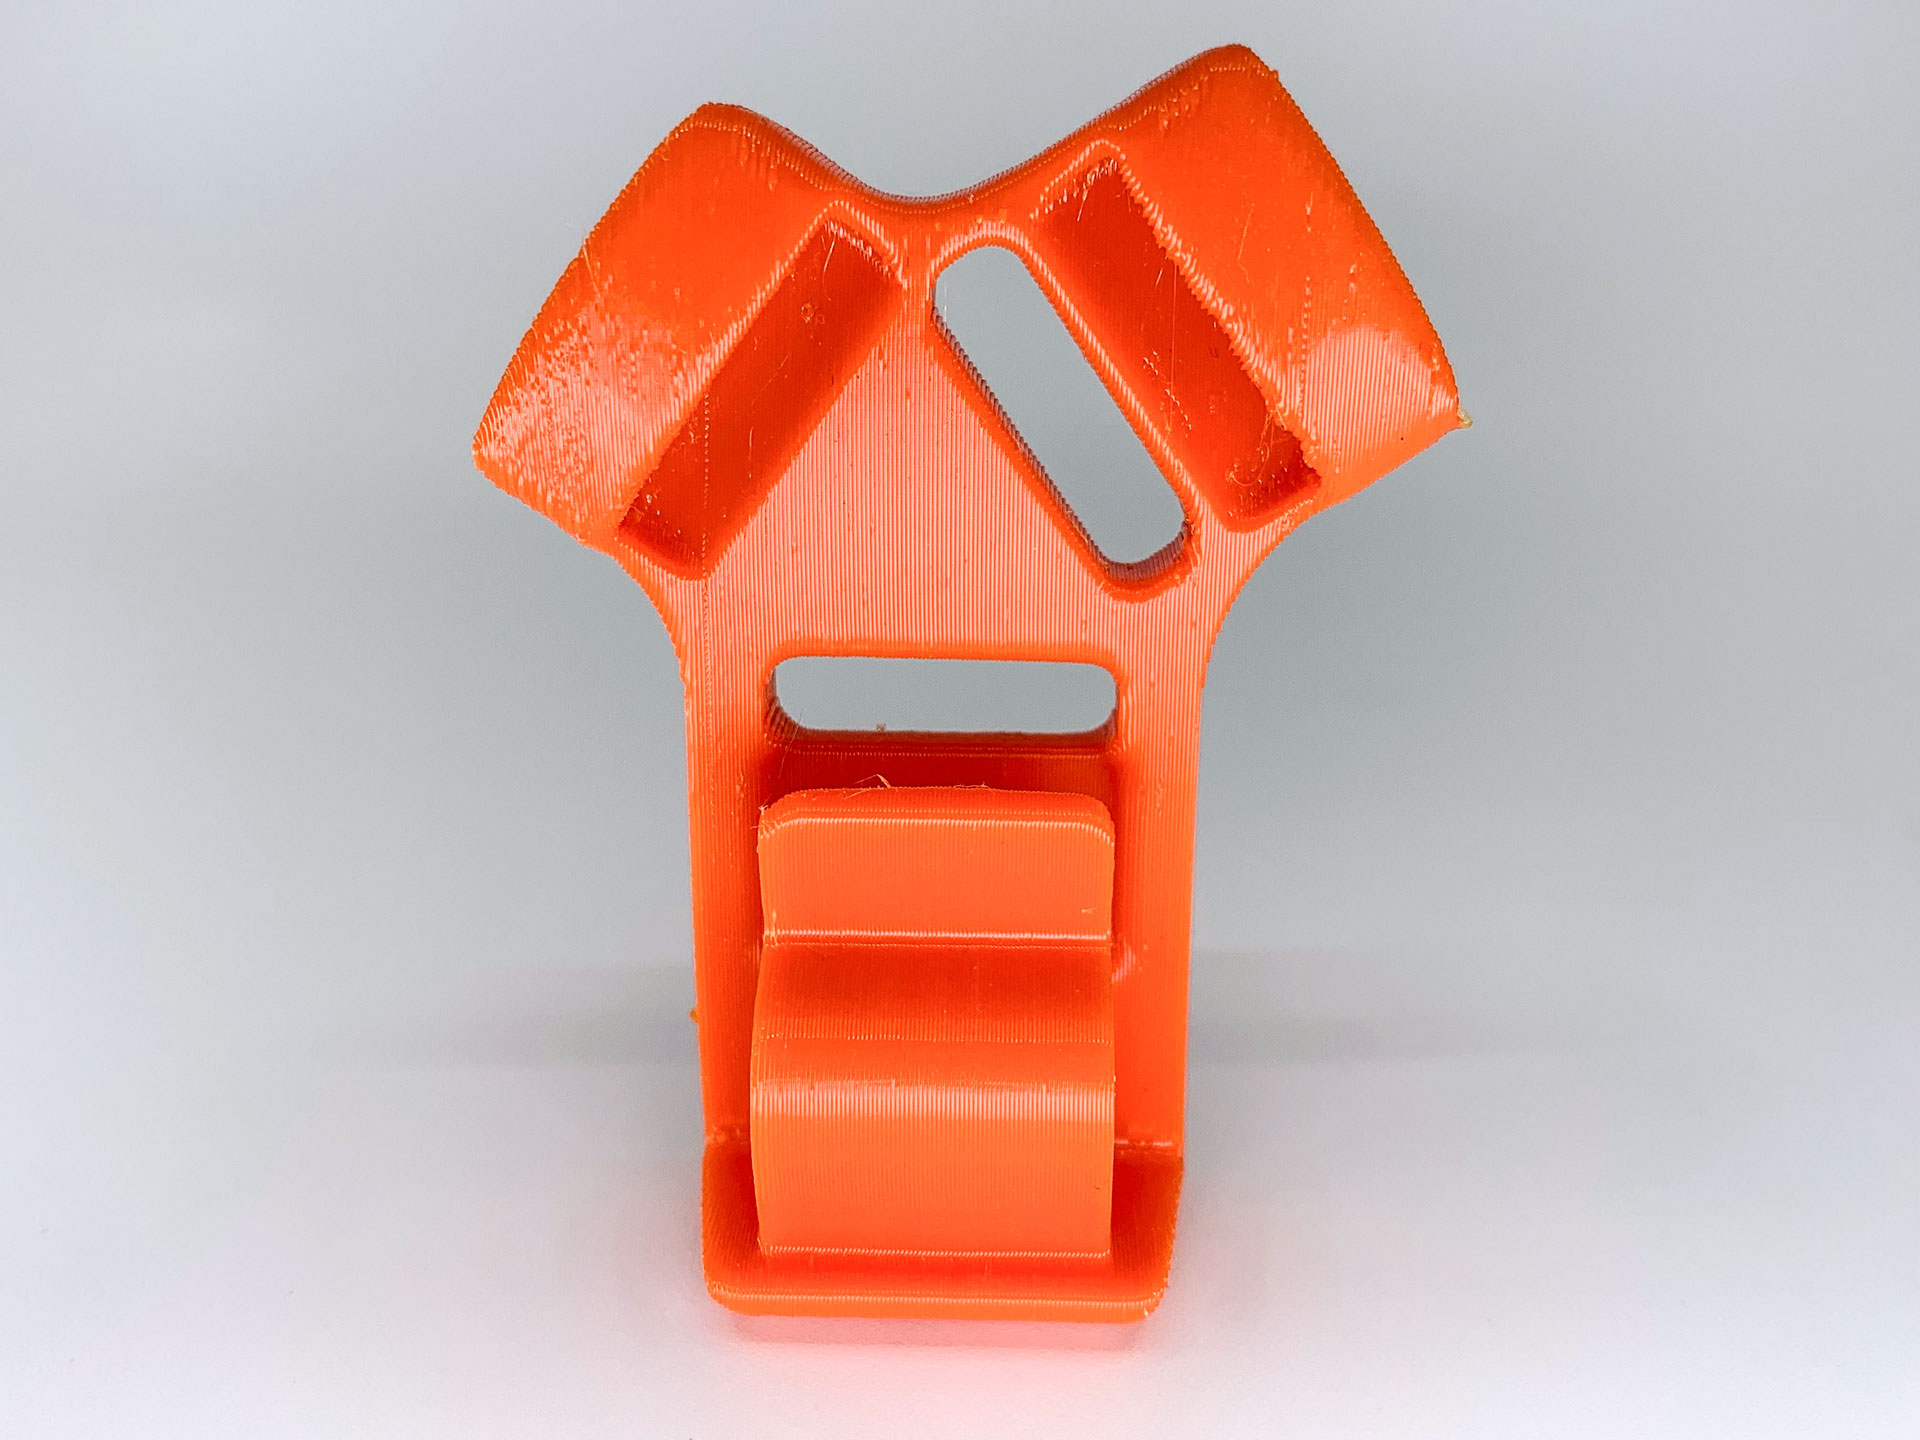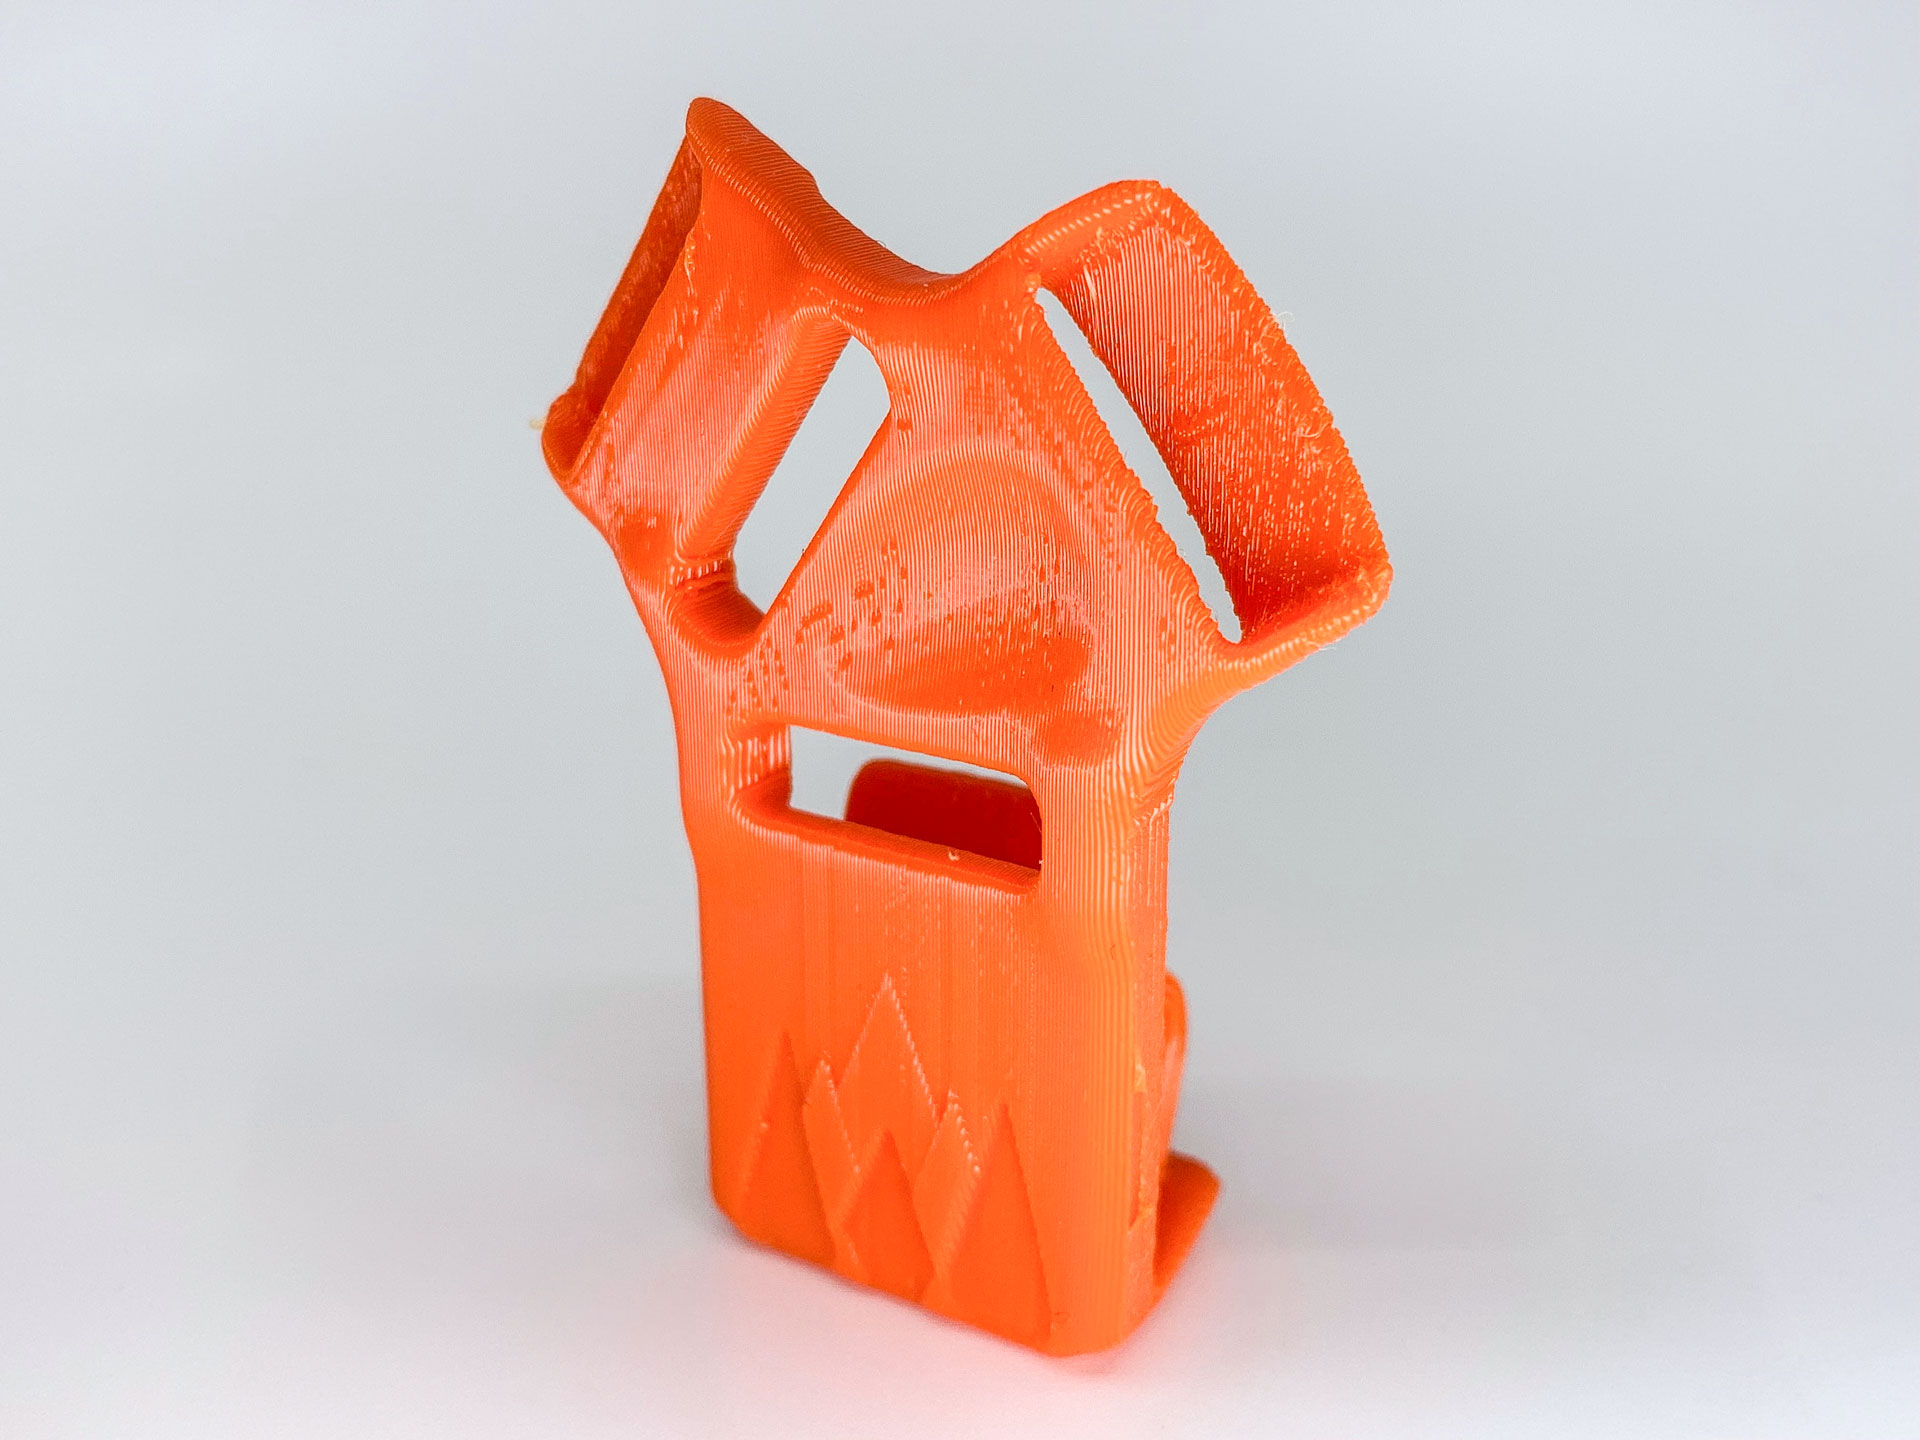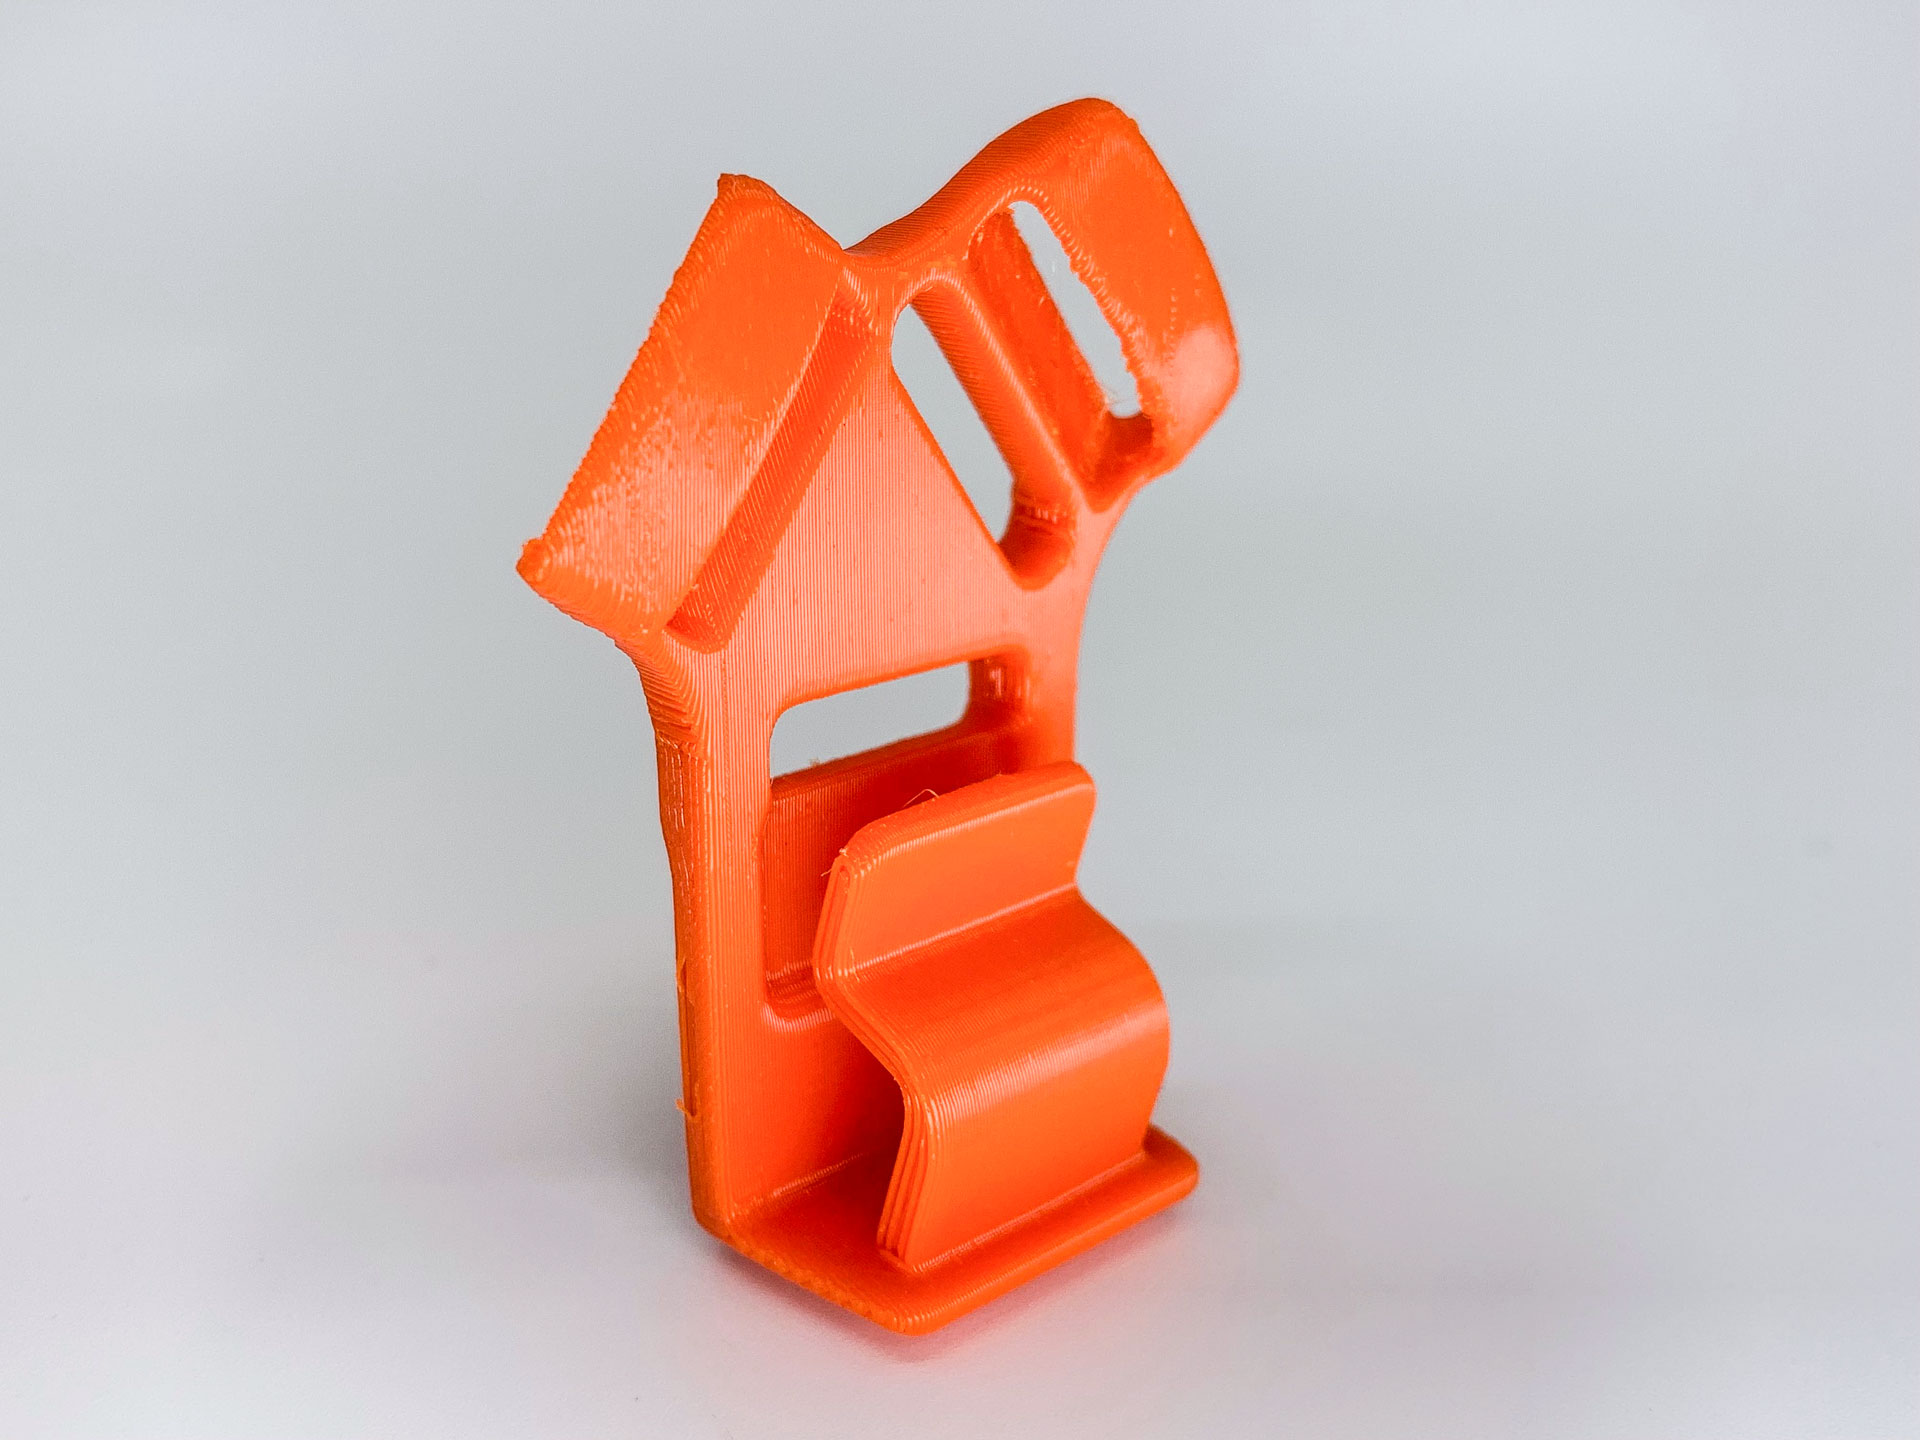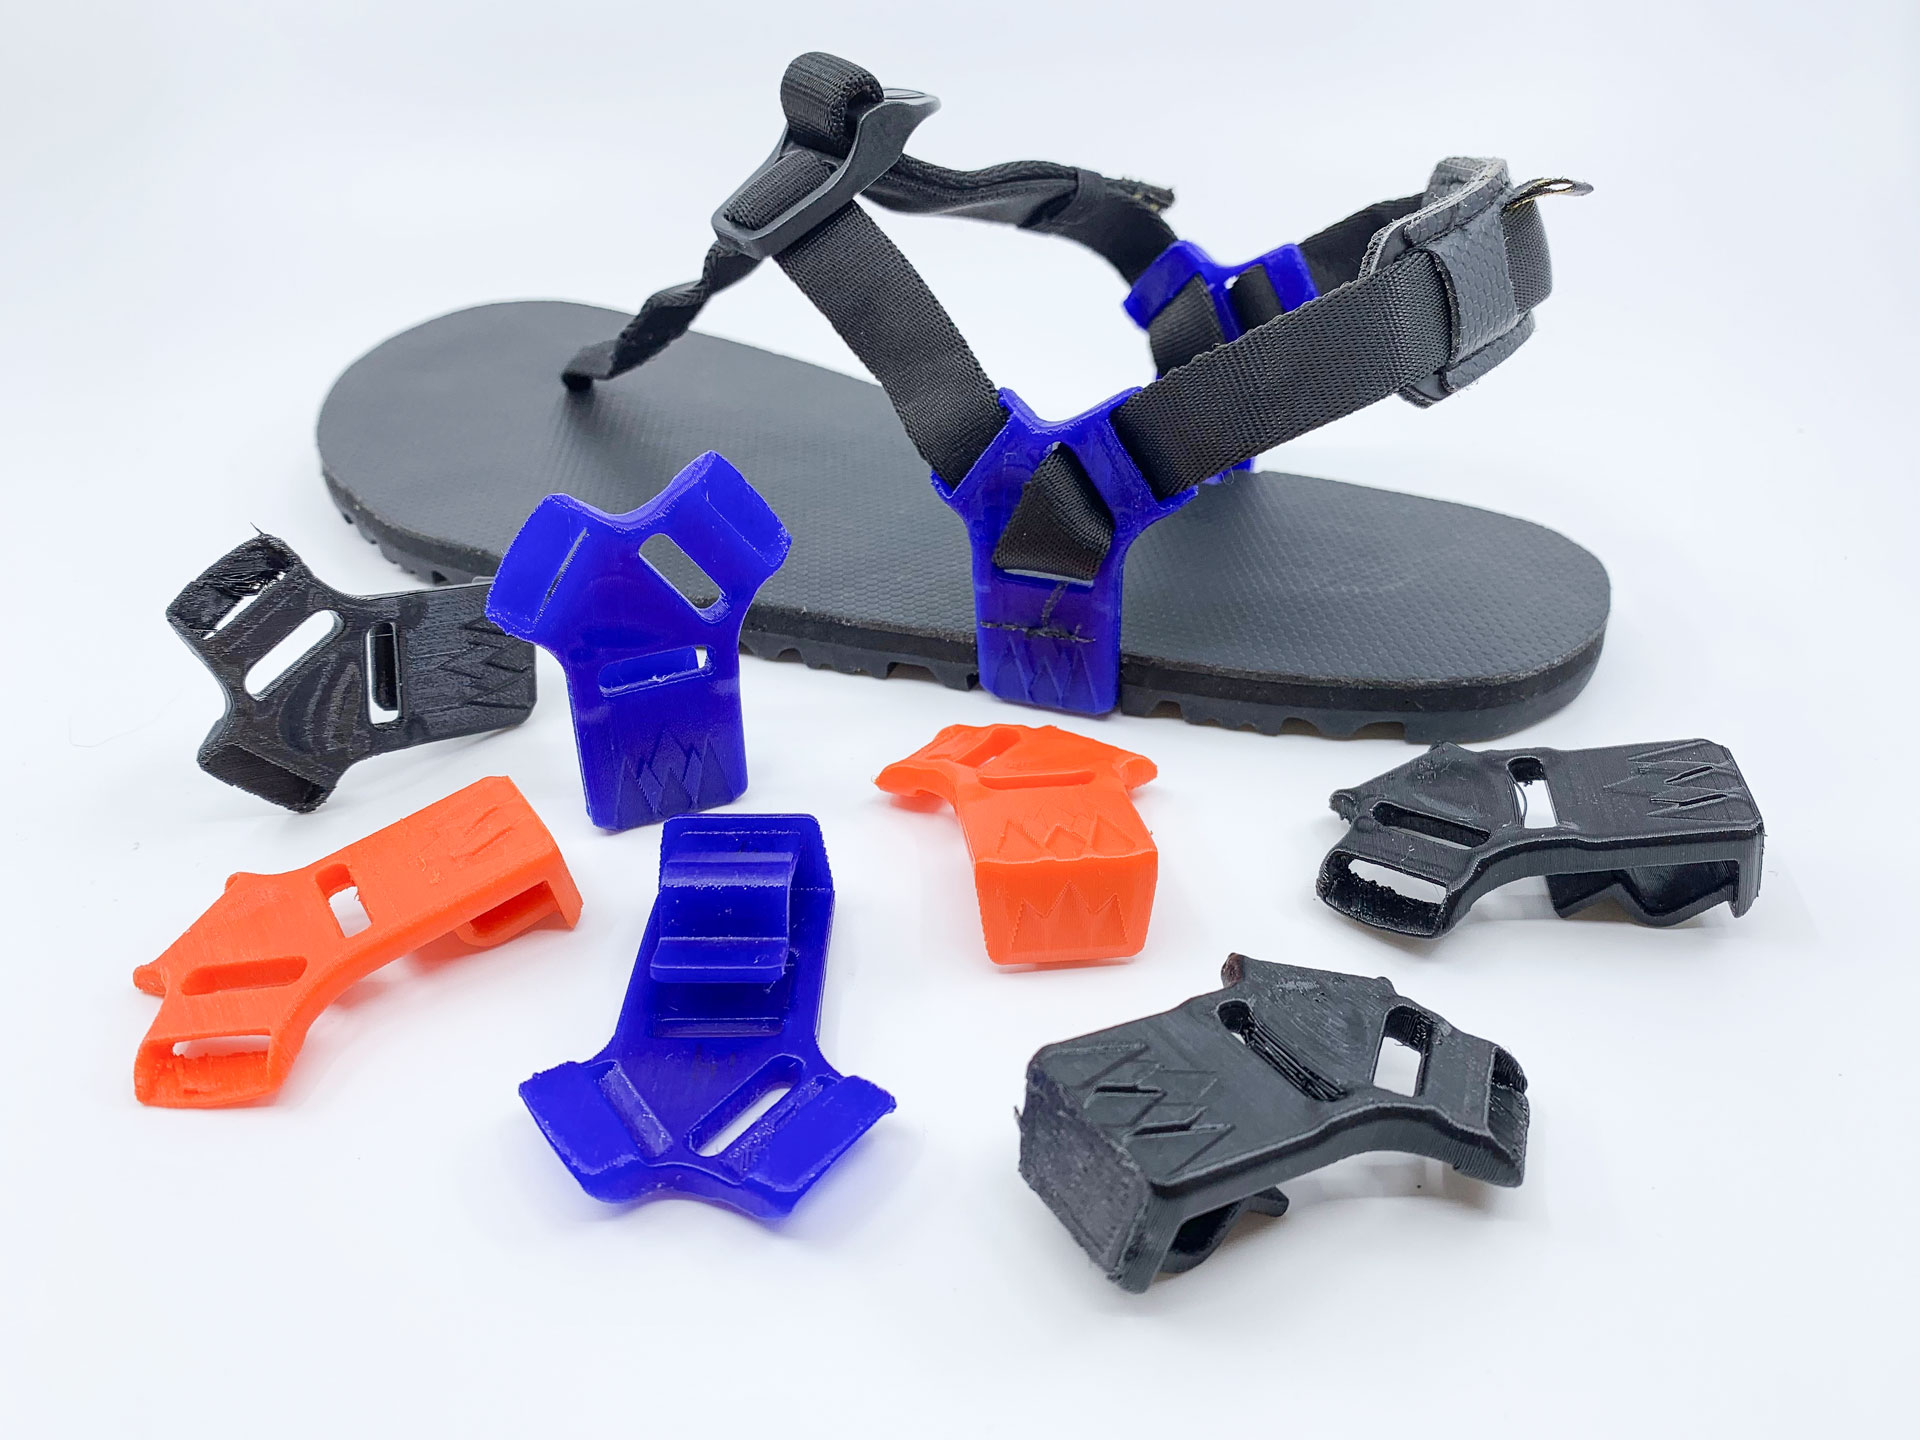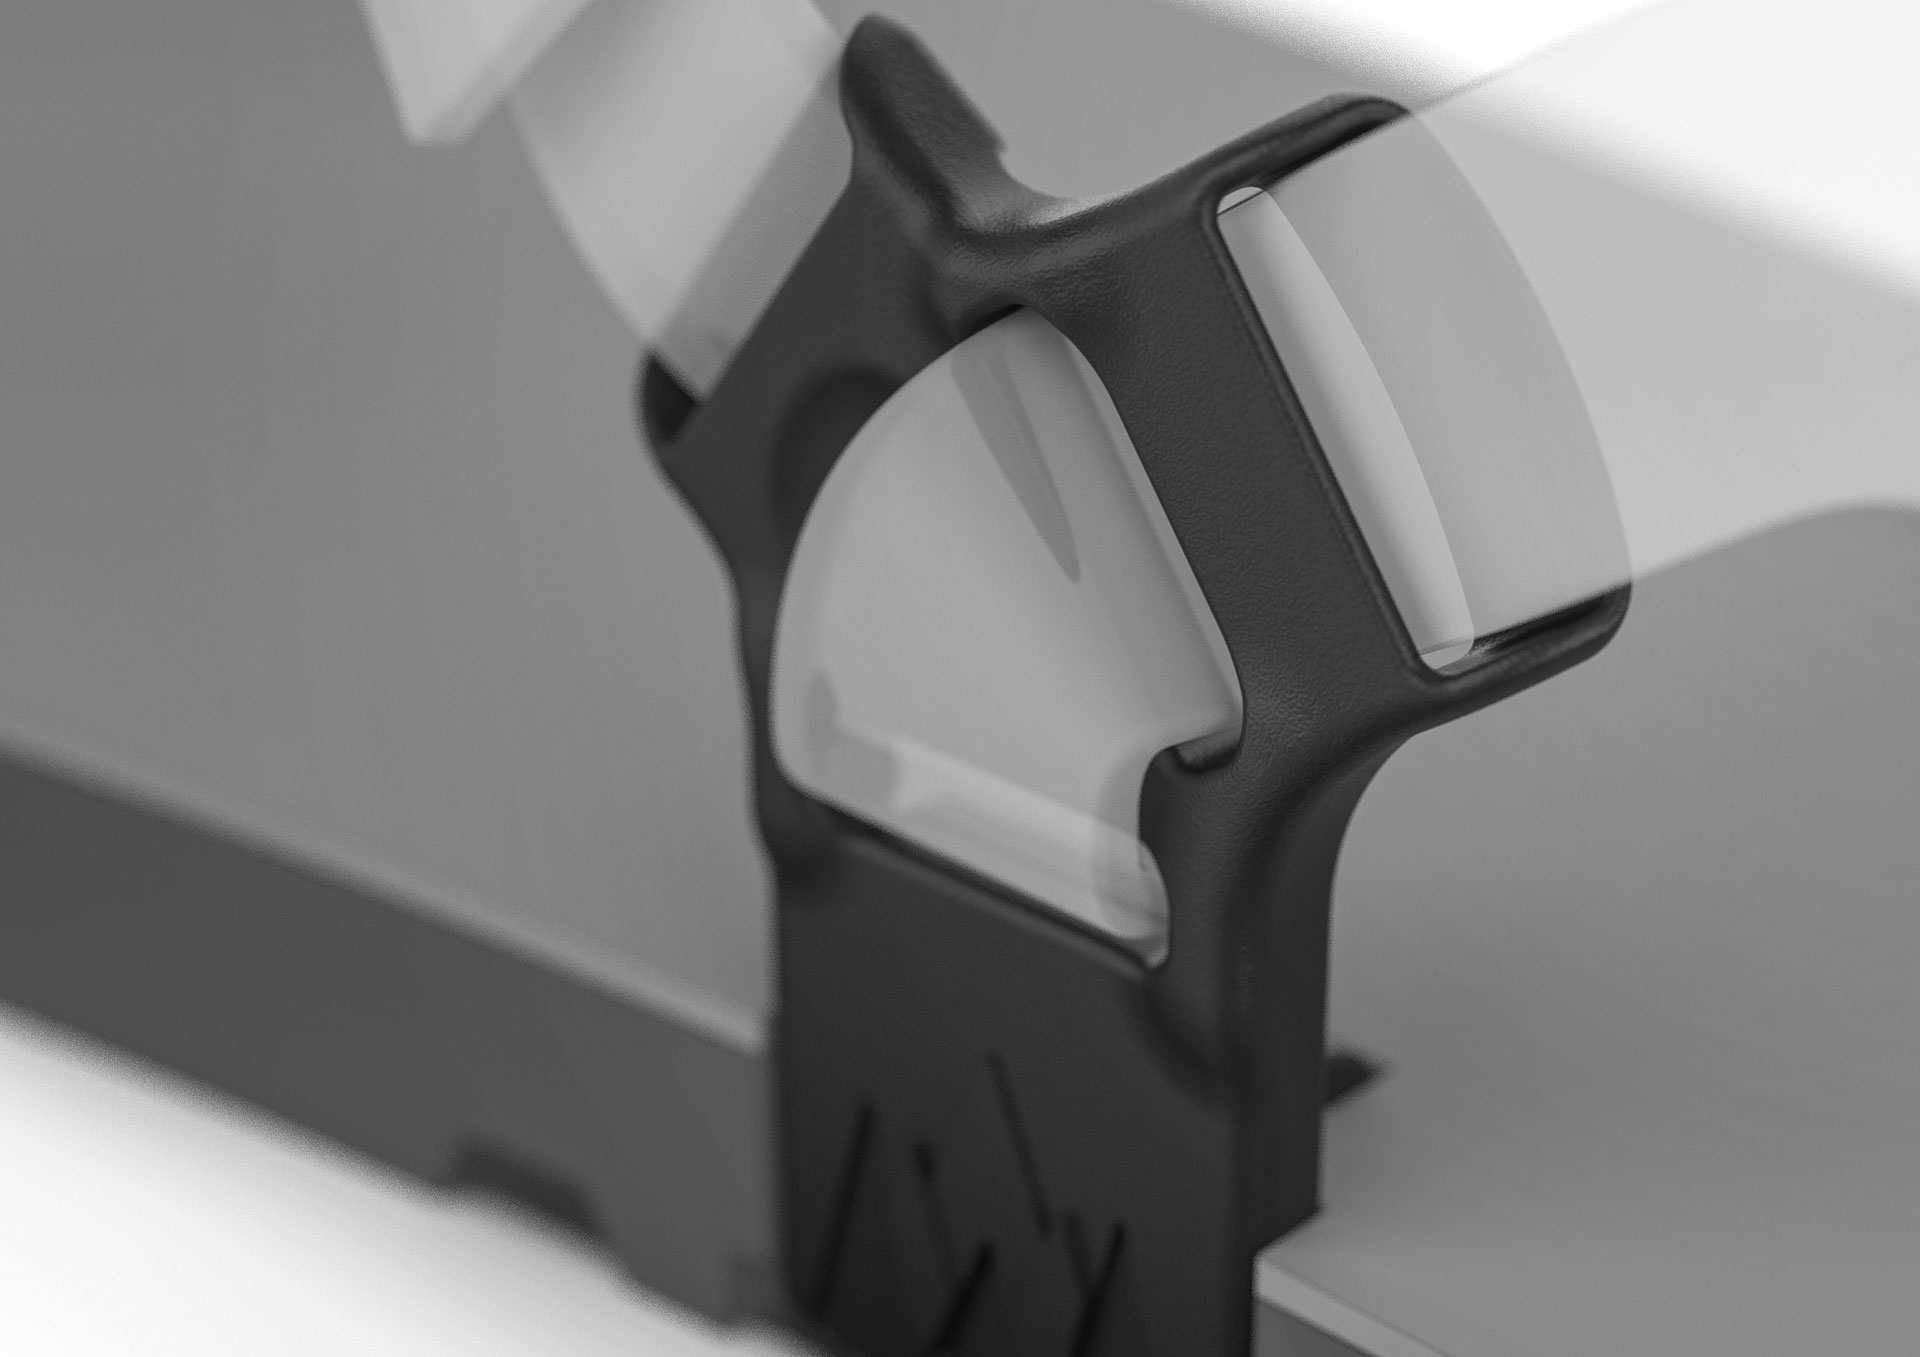
LUNA Sandals – Wing Post
CASE STUDY
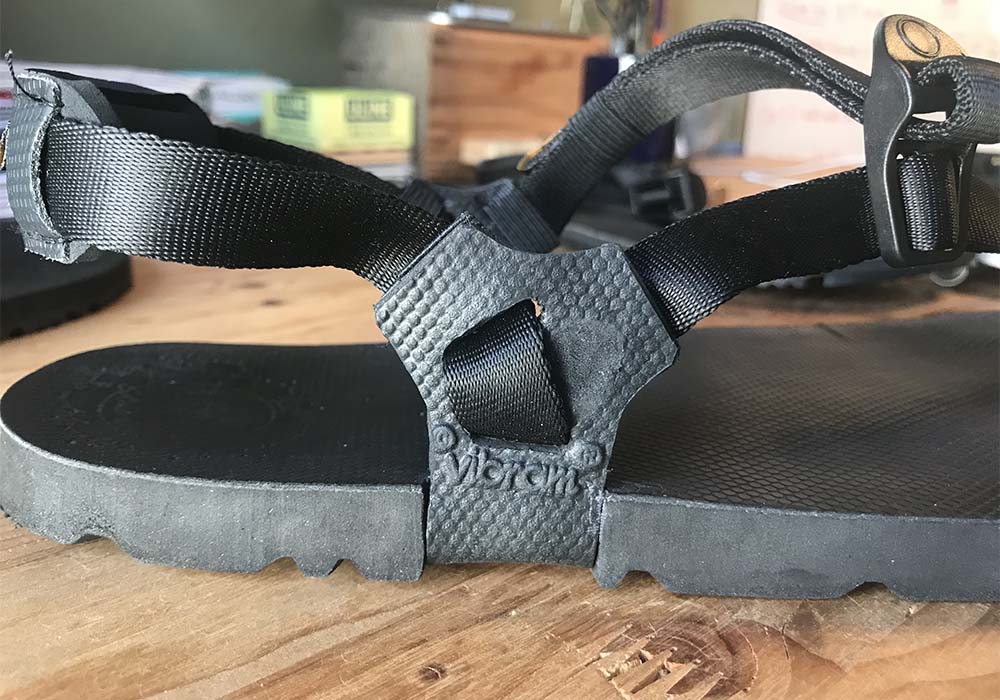
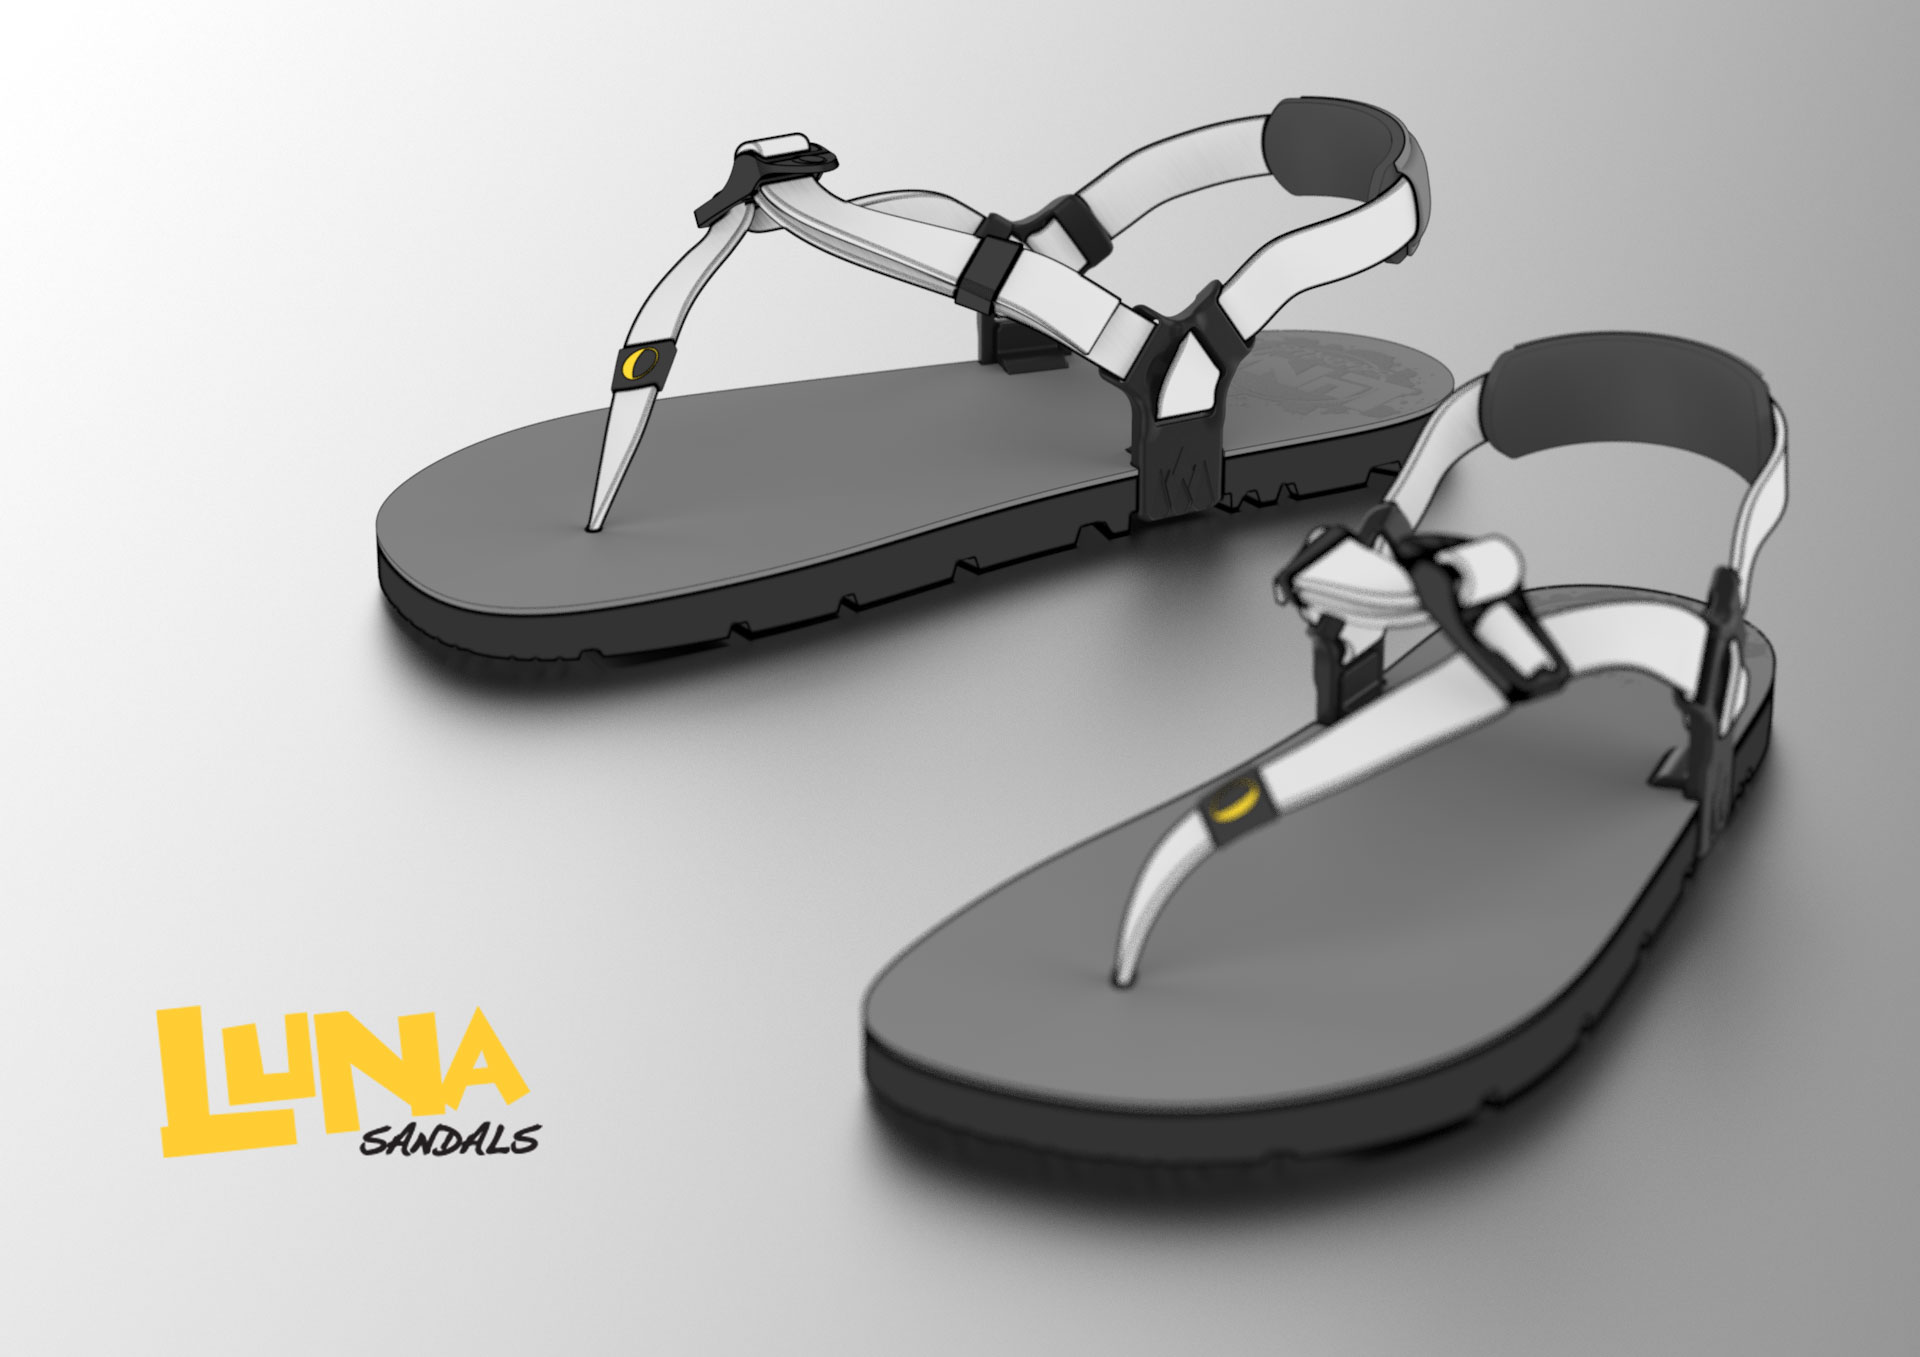
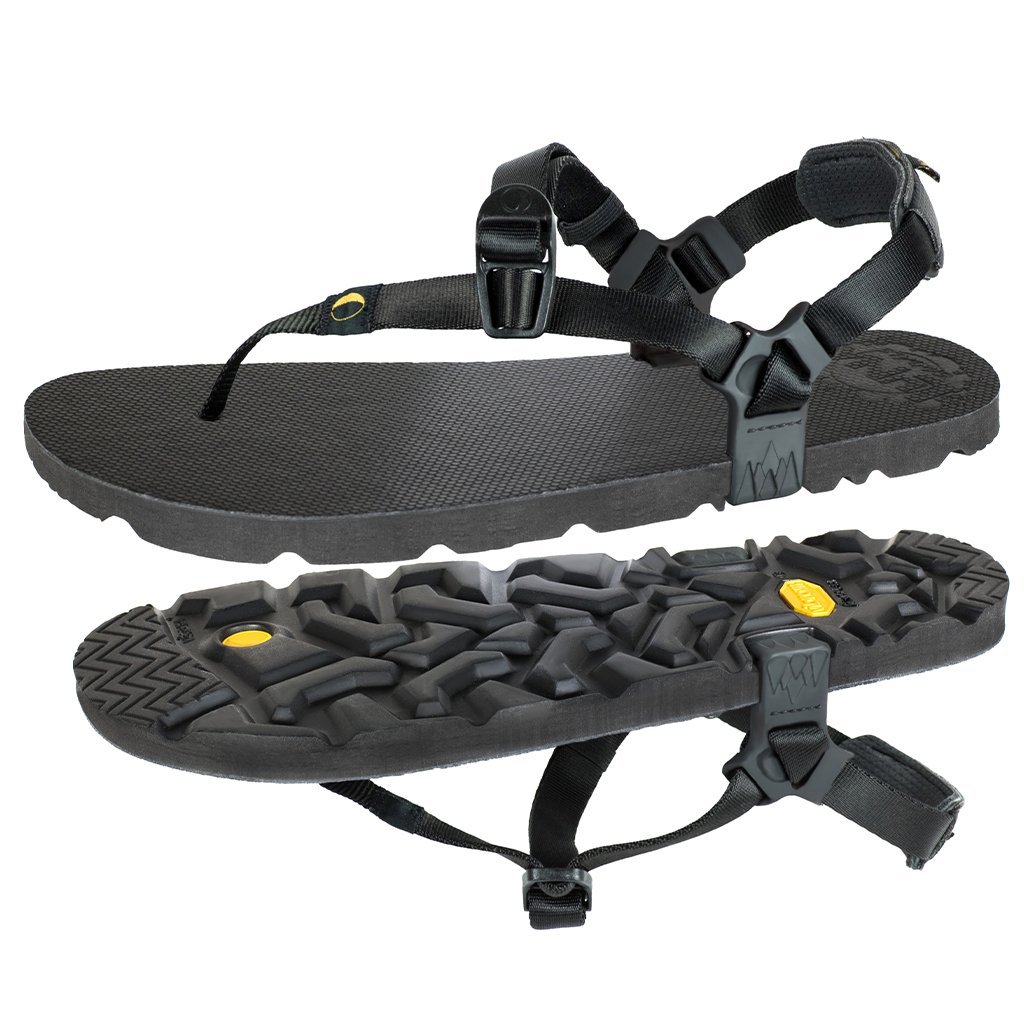
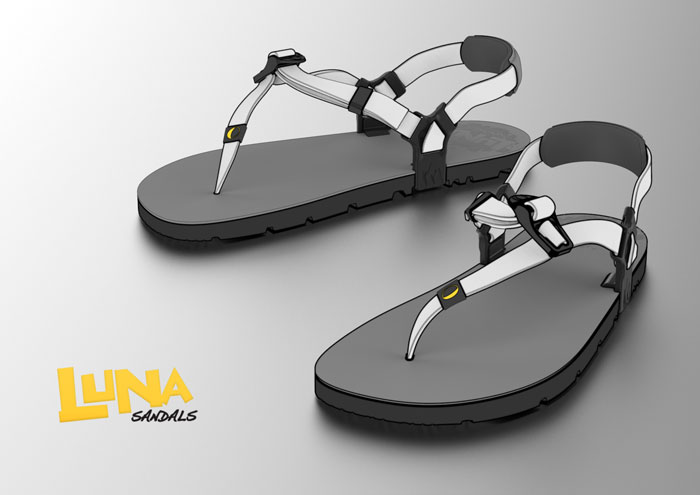
Scott, CEO of Luna Sandals reached out to me with some rough design solution for their existing sandal. I was task to help fill some design gaps within some features including designing the details needed to meet manufacturability.
My primary role:
- Provide expertise on the design solutions presented by LUNA and to refine some unknown parameters.
- Produce a working prototype to test and validate using inhouse 3D printing and materials.
- Collaborate with overseas manufacturing to get to a production ready sample that would meet our goals on cost per unit, quality, and build a working relation with LUNA.
CHALLENGE
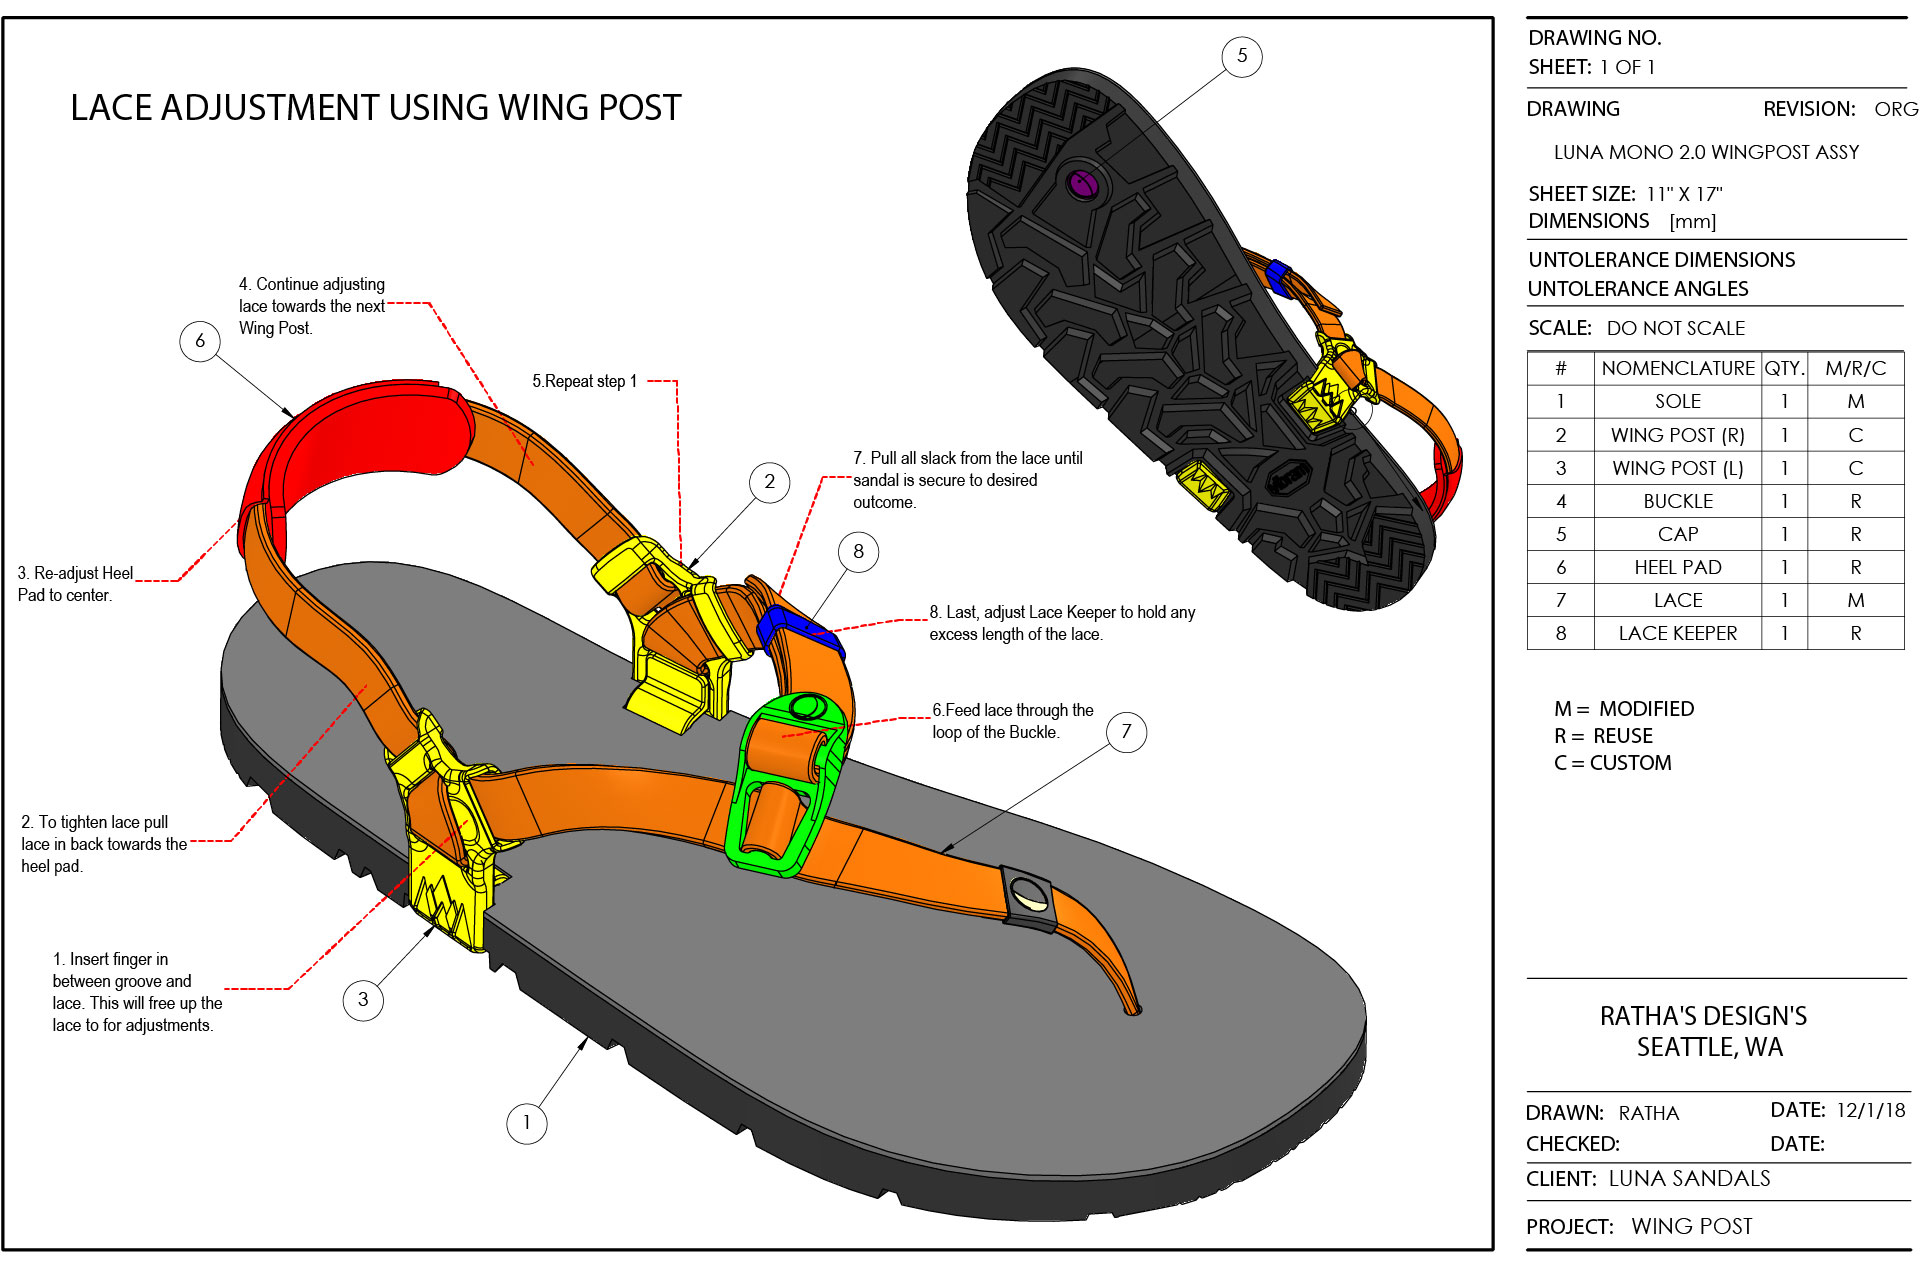
To refine the existing sandal design by adding additional adjustment for the lacing, allowing the user to better secure the sandal to the foot while running.
OUTCOME
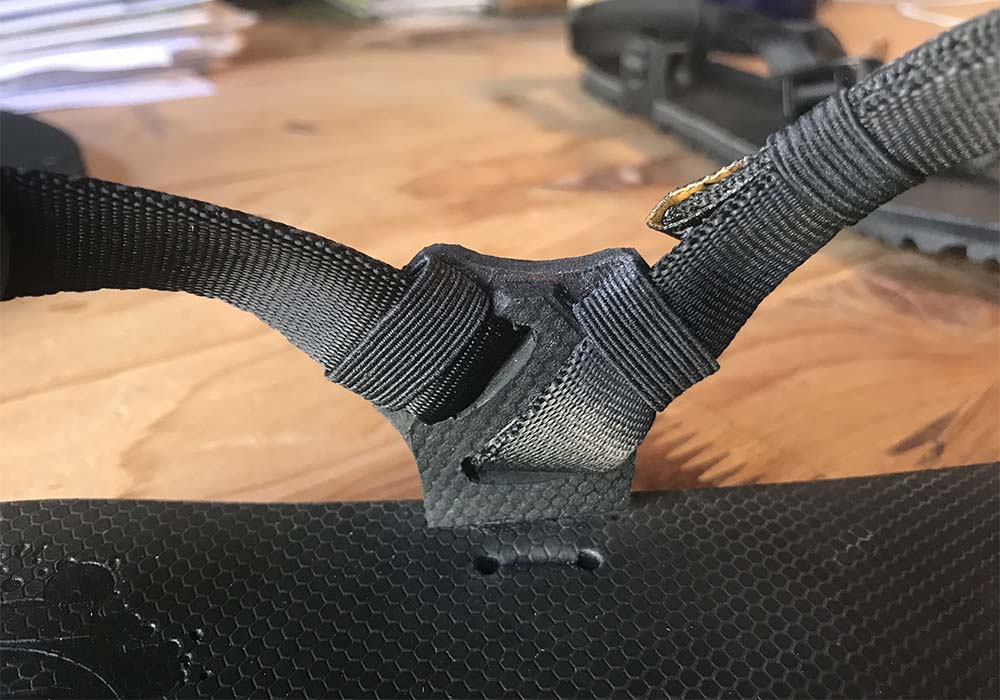
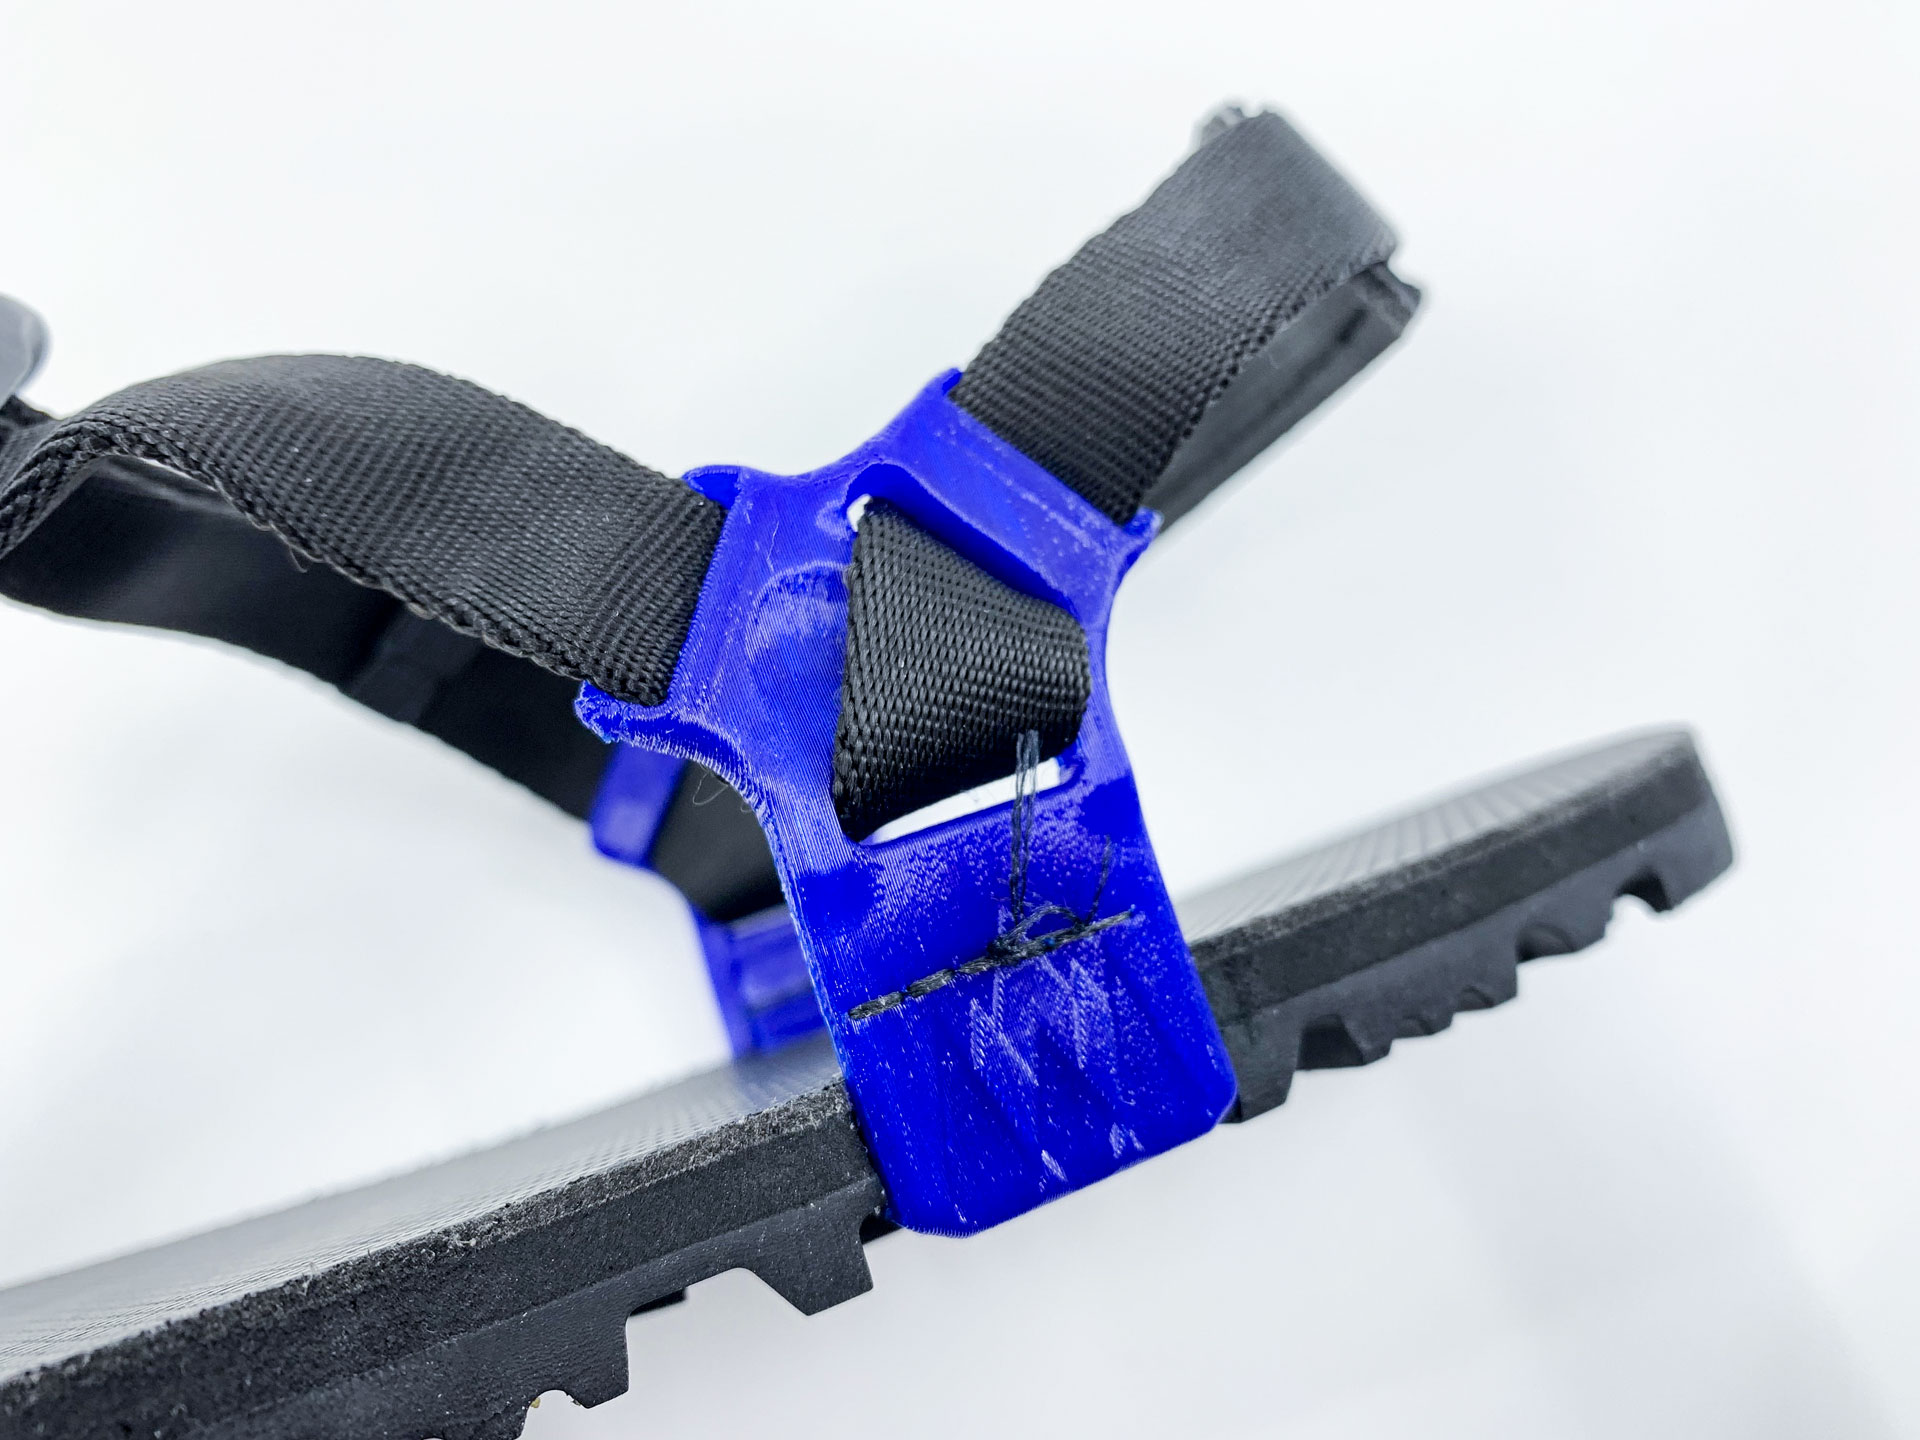
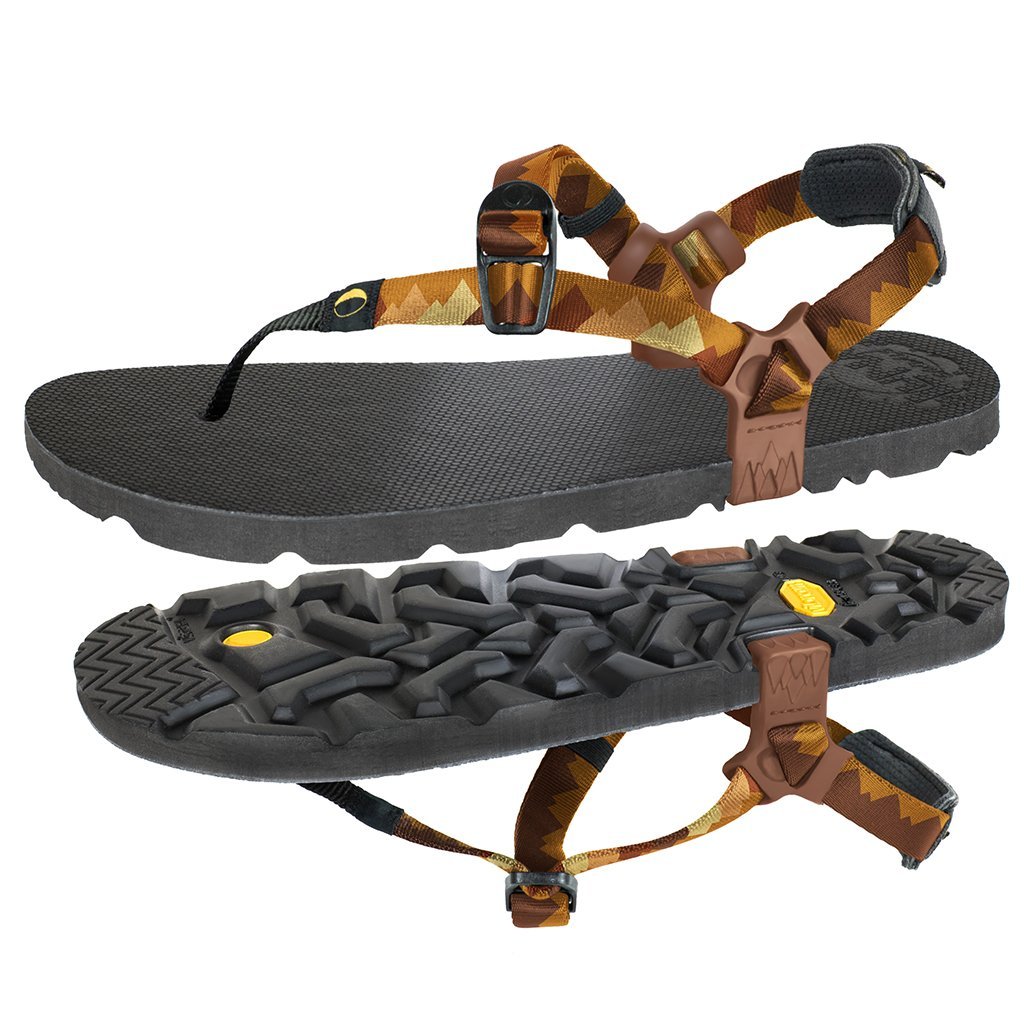
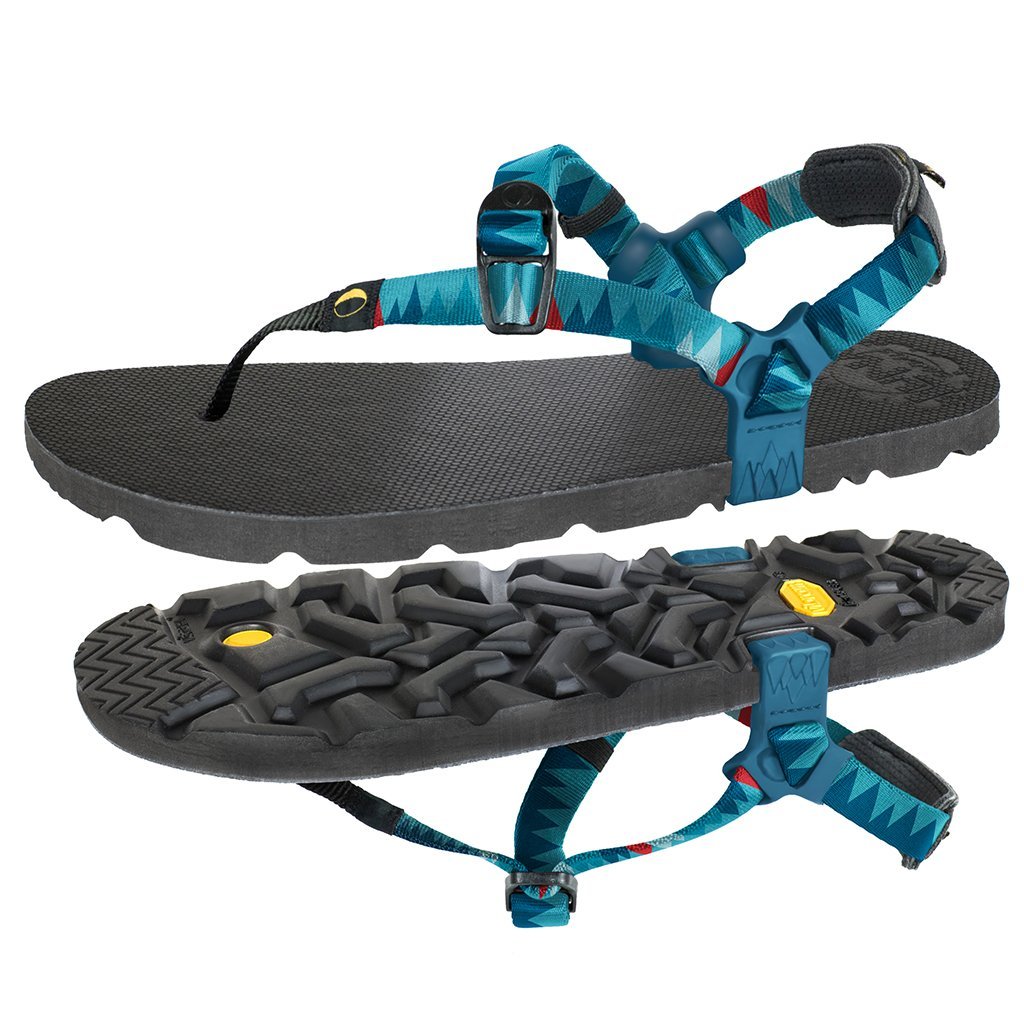
The end result was a production-ready part that will be used to modify the current sandal design, providing the added benefit of adjustability for a more secured sandal fitment for the end user.
Sketch Ideation/Rough Mockup
Early on we explored the problem through sketches and physically through full scaled mockups to quickly test our various concepts for feasibility. This would help narrow in on the design exploration and address the overall issues.
Reverse Engineering
Since we were building off an existing sandal sole I wanted to capture all the details of the design in combination with the wing side post into a digital format to see how things would integrate with one another. To do this we 3D laser scanned the sole and all other parts that make up the sandal assembly and then brought it into SolidWorks. From there we could dial in on tolerance or any clearance issues.
CAD Development
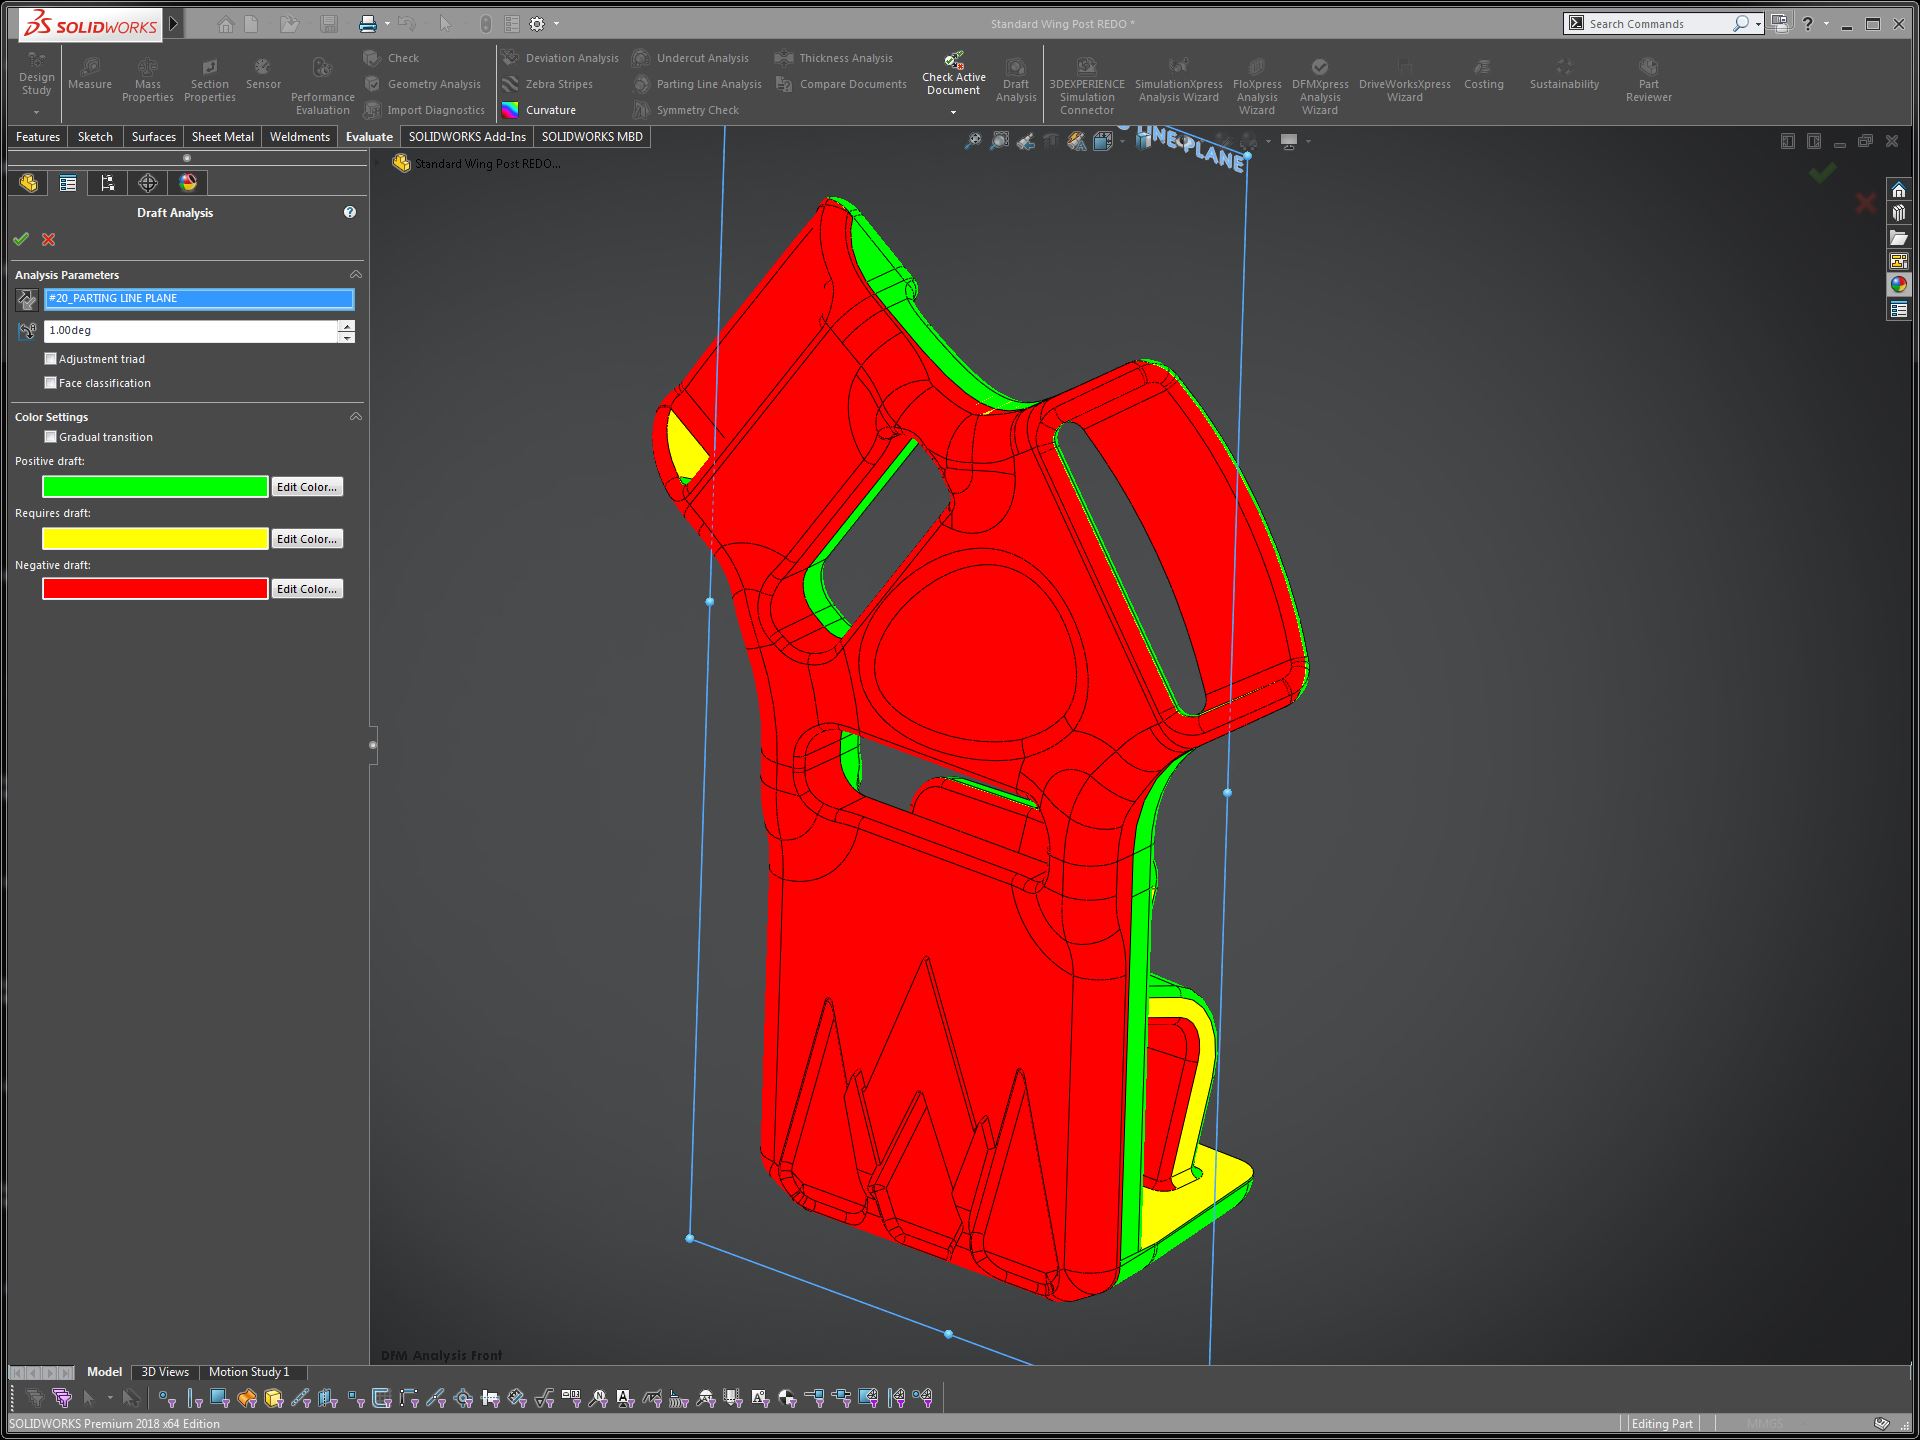
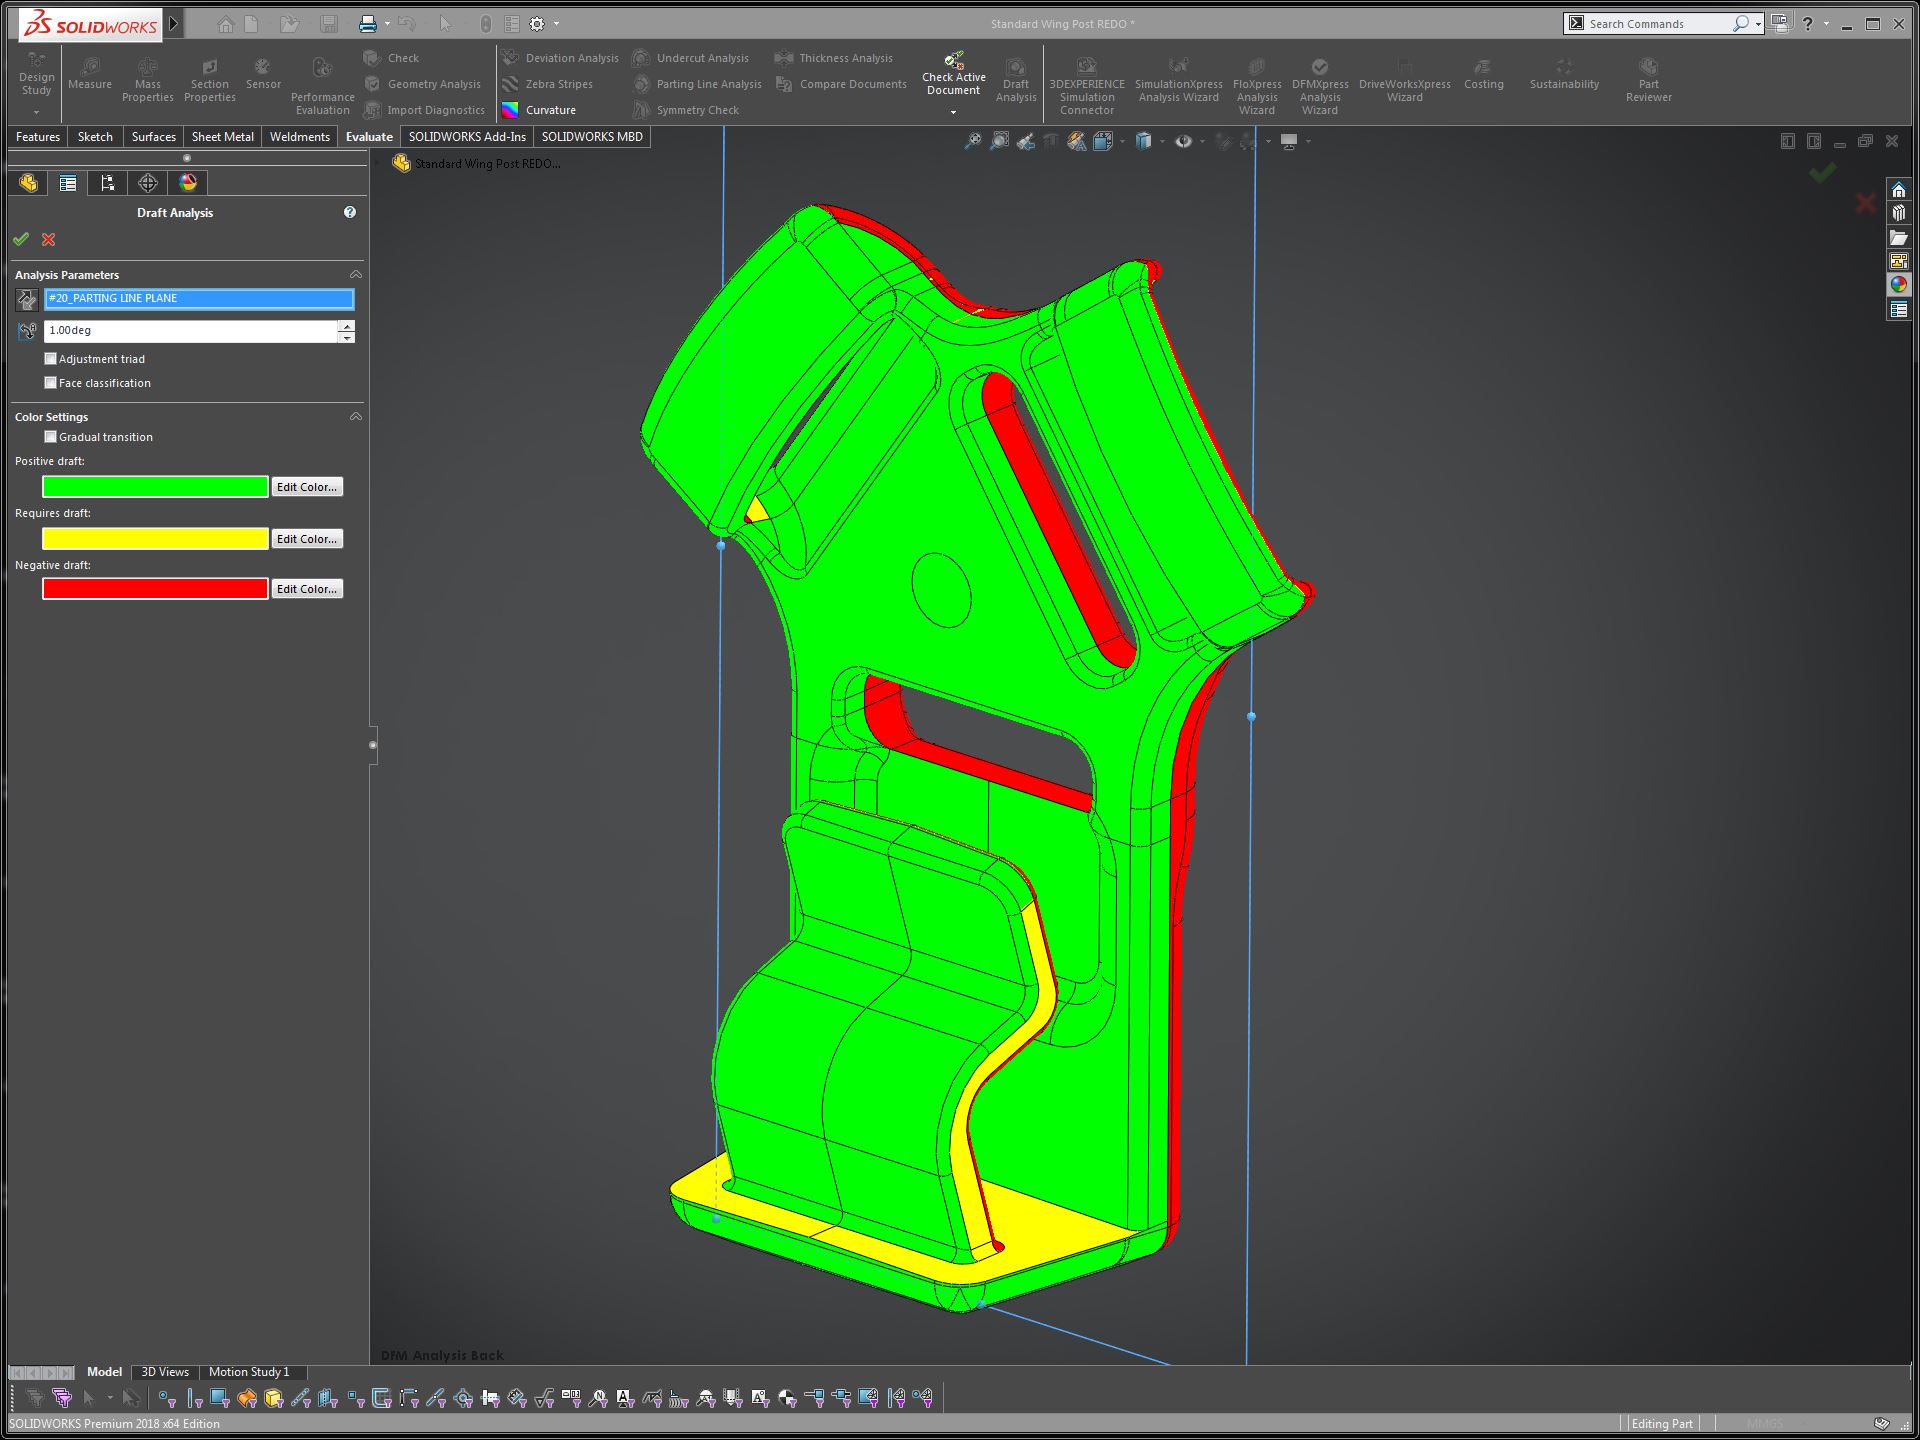
Now that we have the imported geometry of the sole into SolidWorks we can start constructing our Wing Post from the reference data. As the part modeling progressed I made sure to keep design for manufacturing (DFM) in mind while constantly evaluating the 3D model for sufficient draft, uniform thickness, and undercuts as these are some key principles of DFM.
Prototyping / 3D Printing
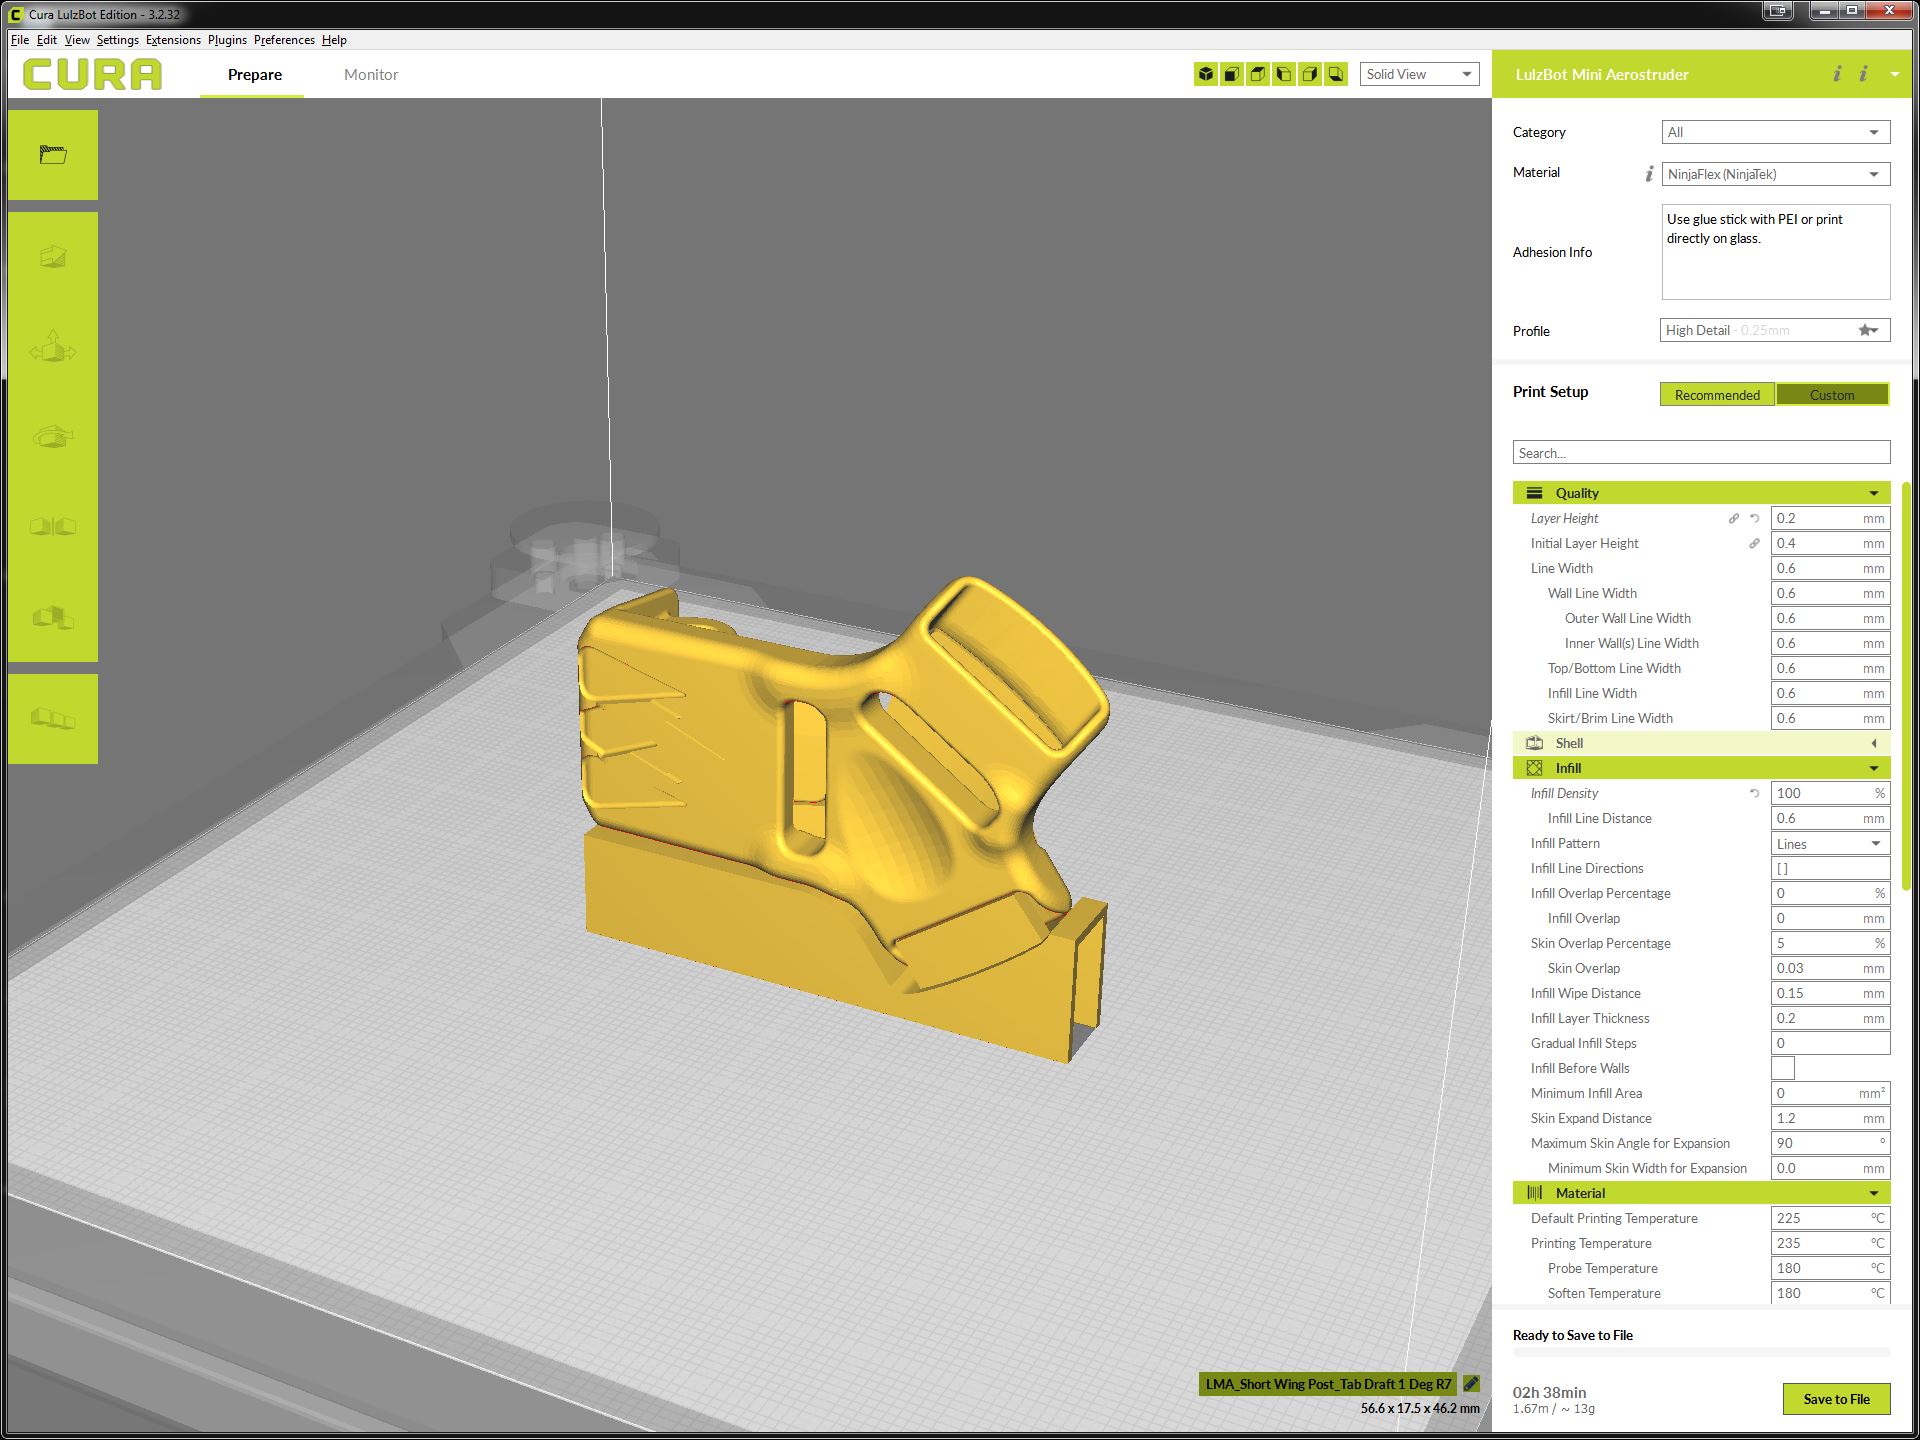
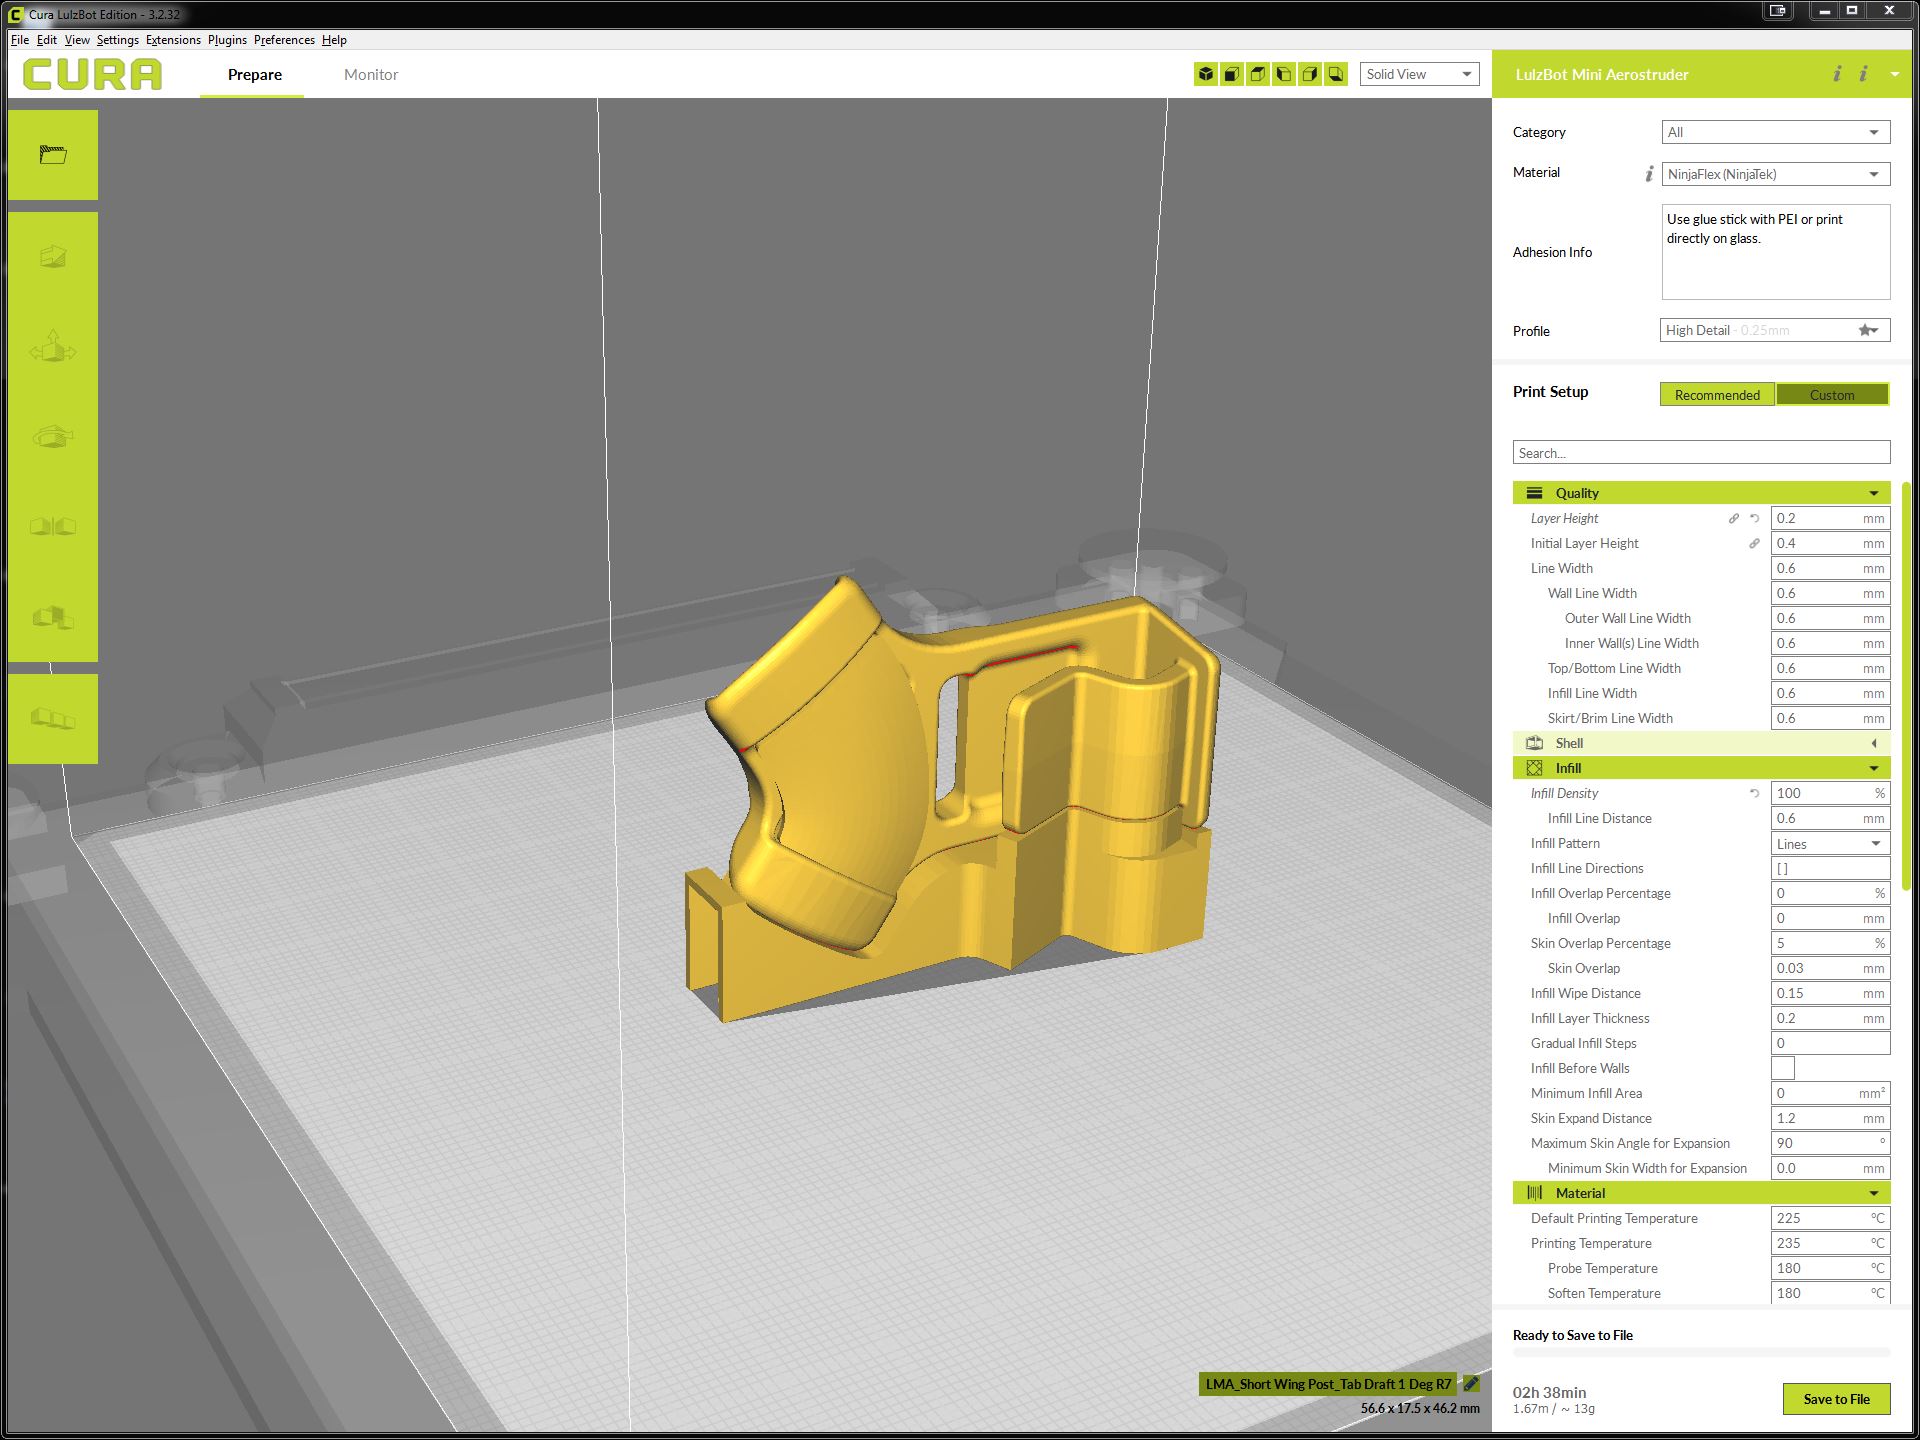
Next was getting a physical part to feel and test. But before we could hit the print button we first needed to prepare the Wing Post model for 3D printing in order to achieve the best results. The main factors we needed to determine was which printing method will be use, material, print orientation, support structures, and print resolution.
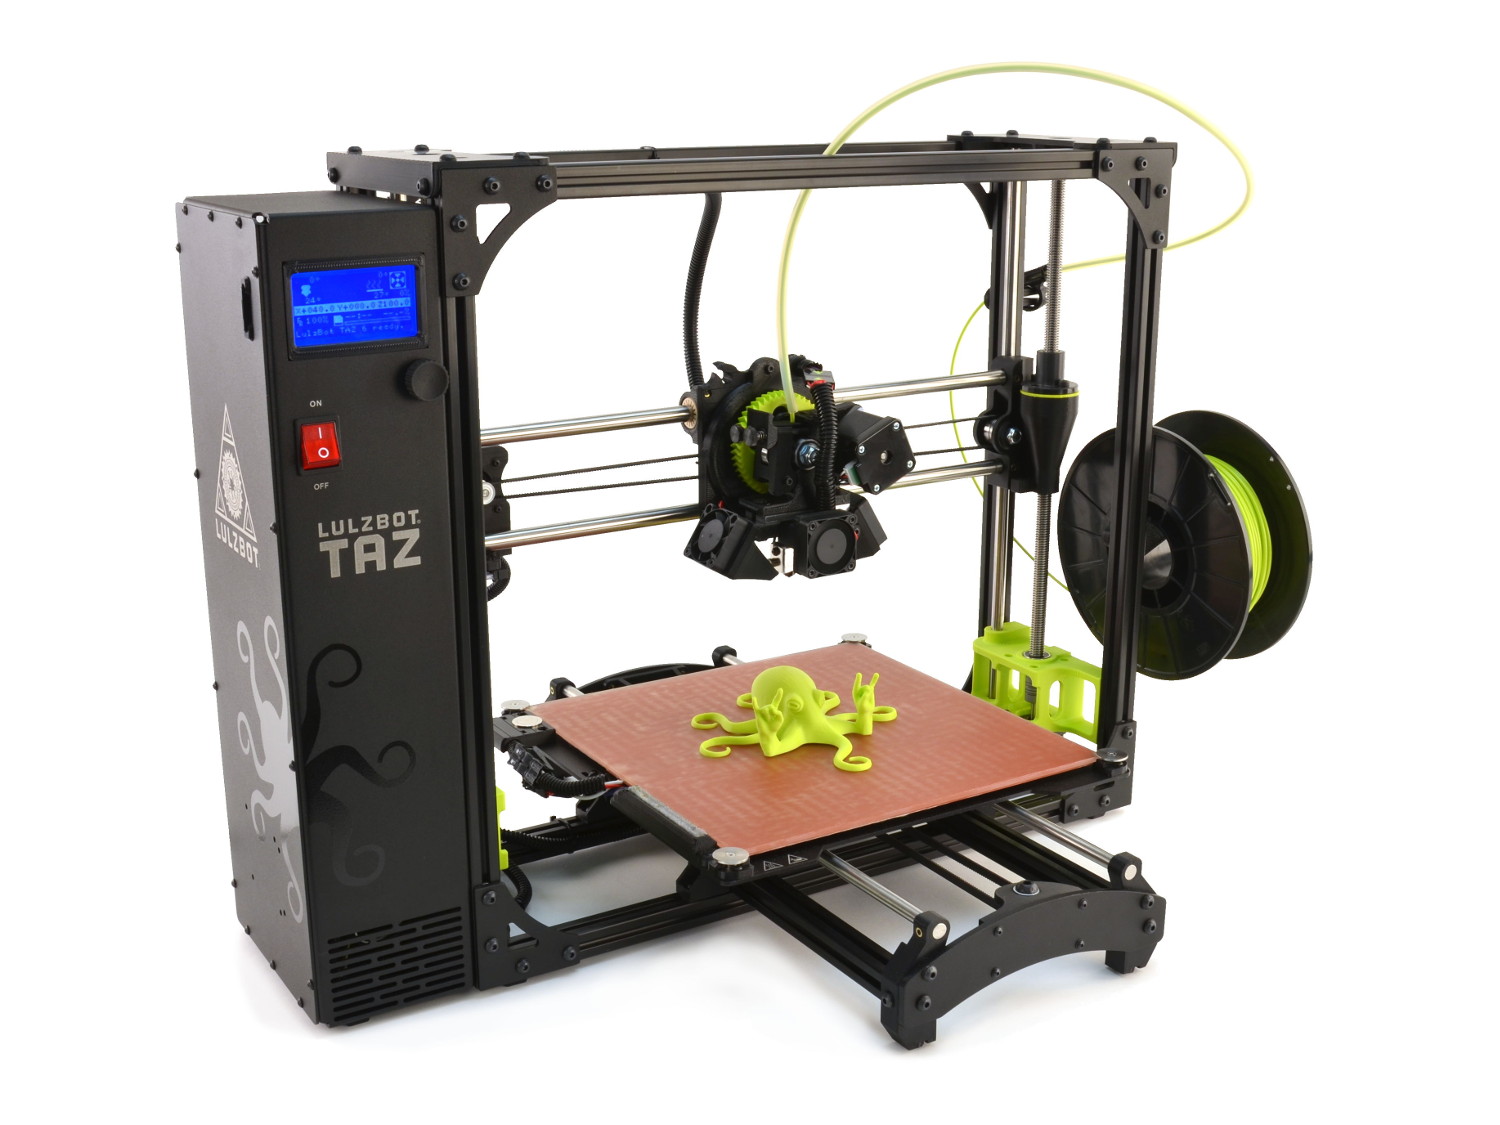
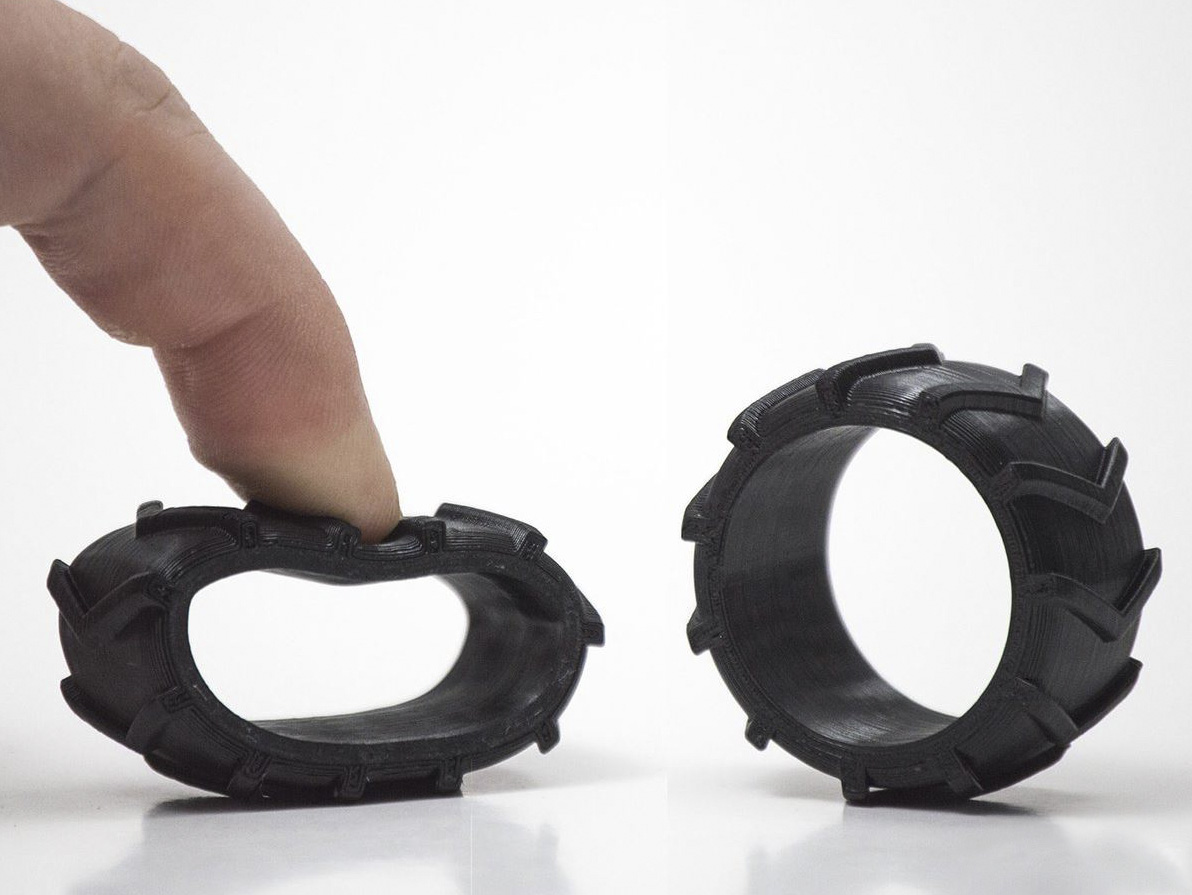
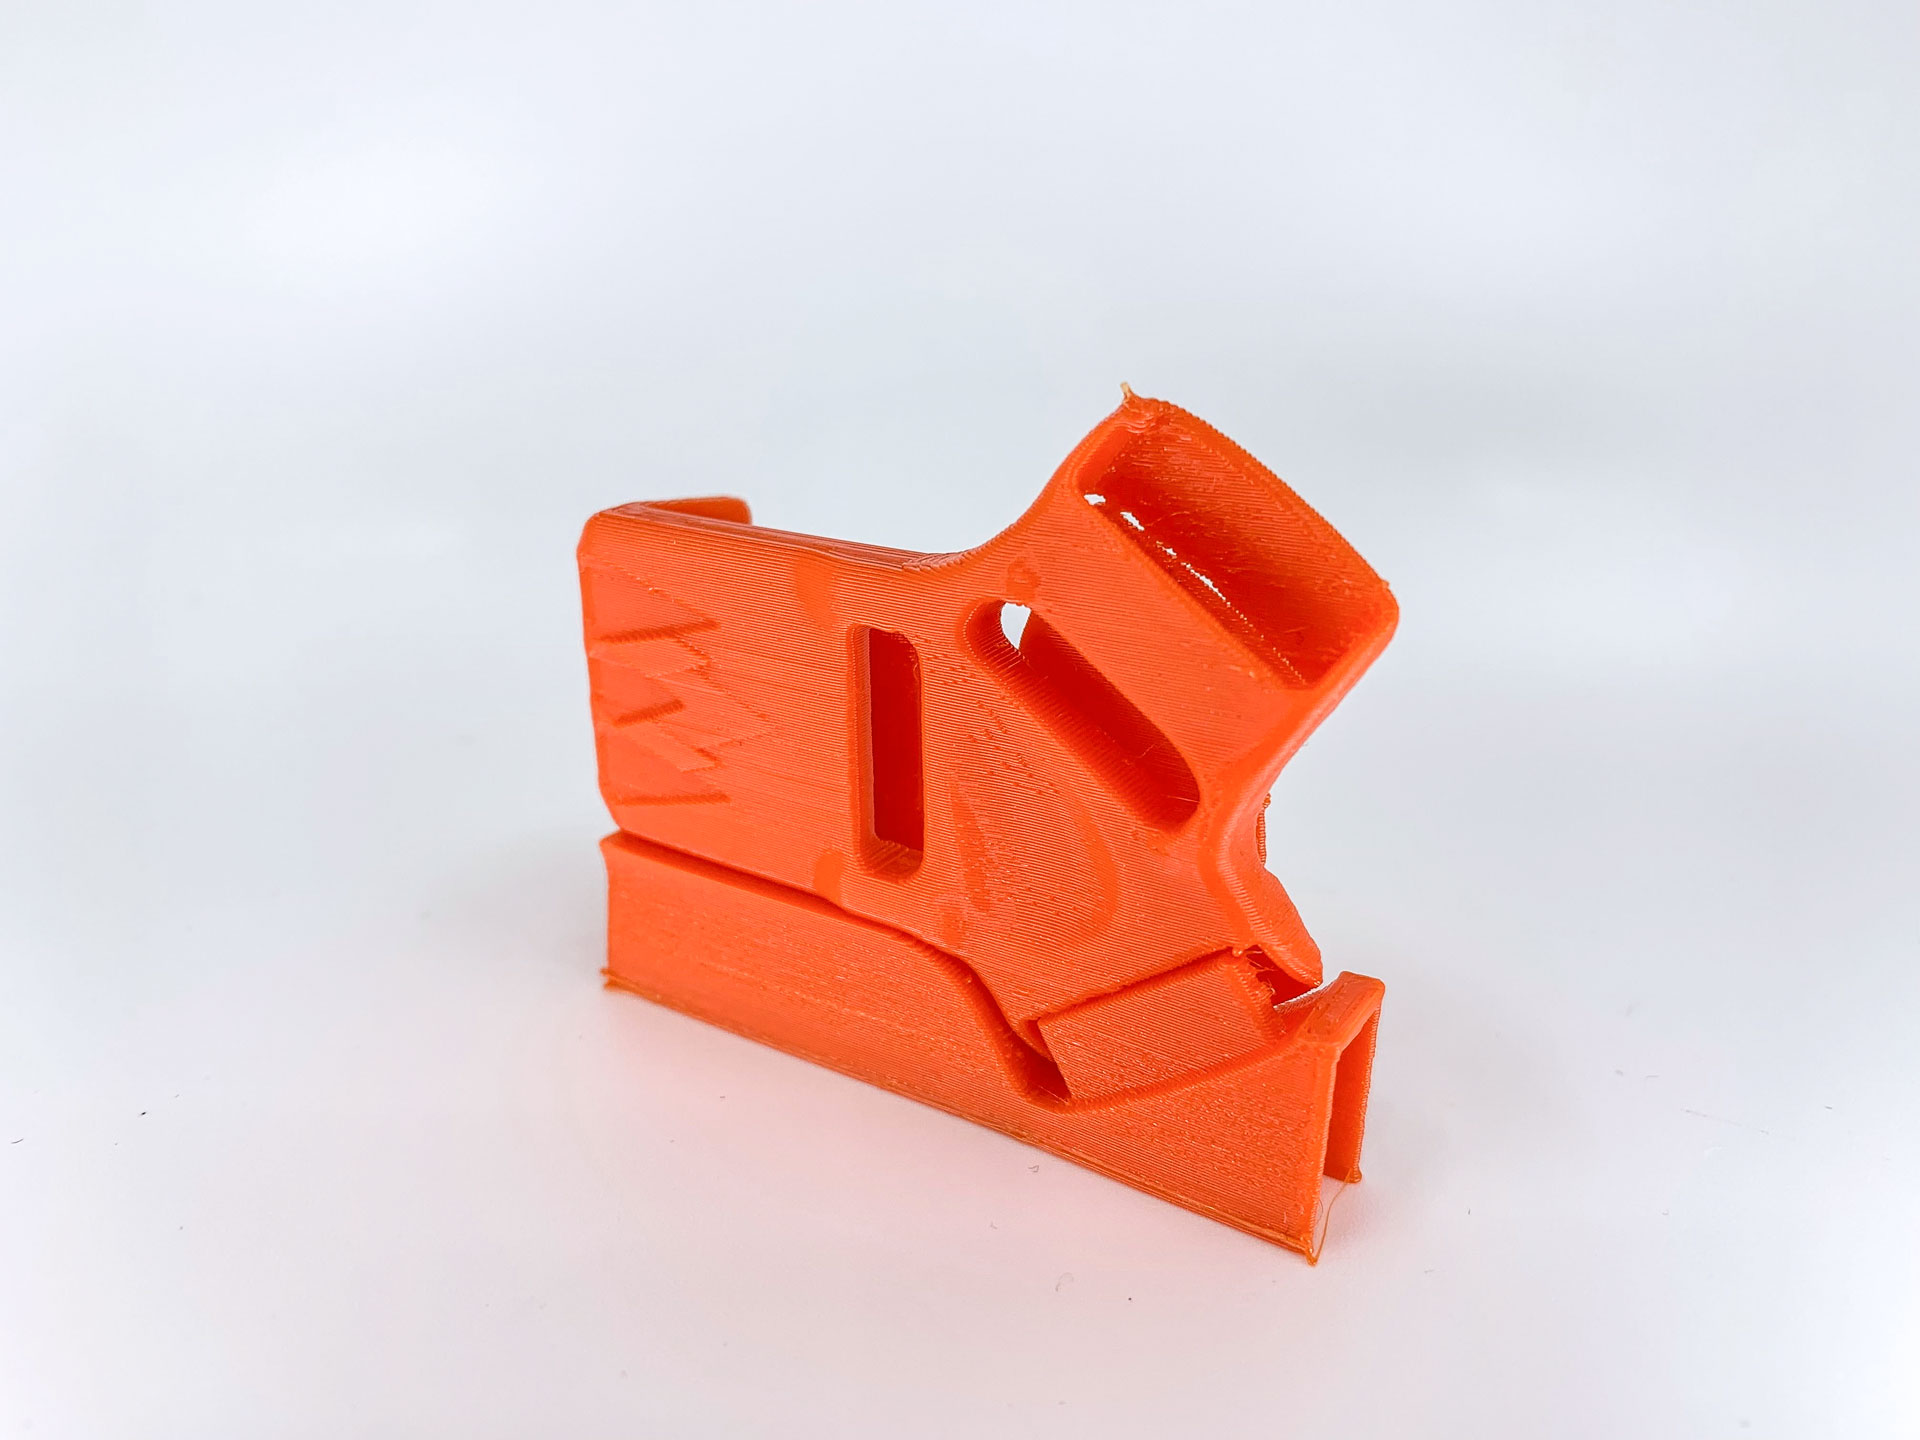
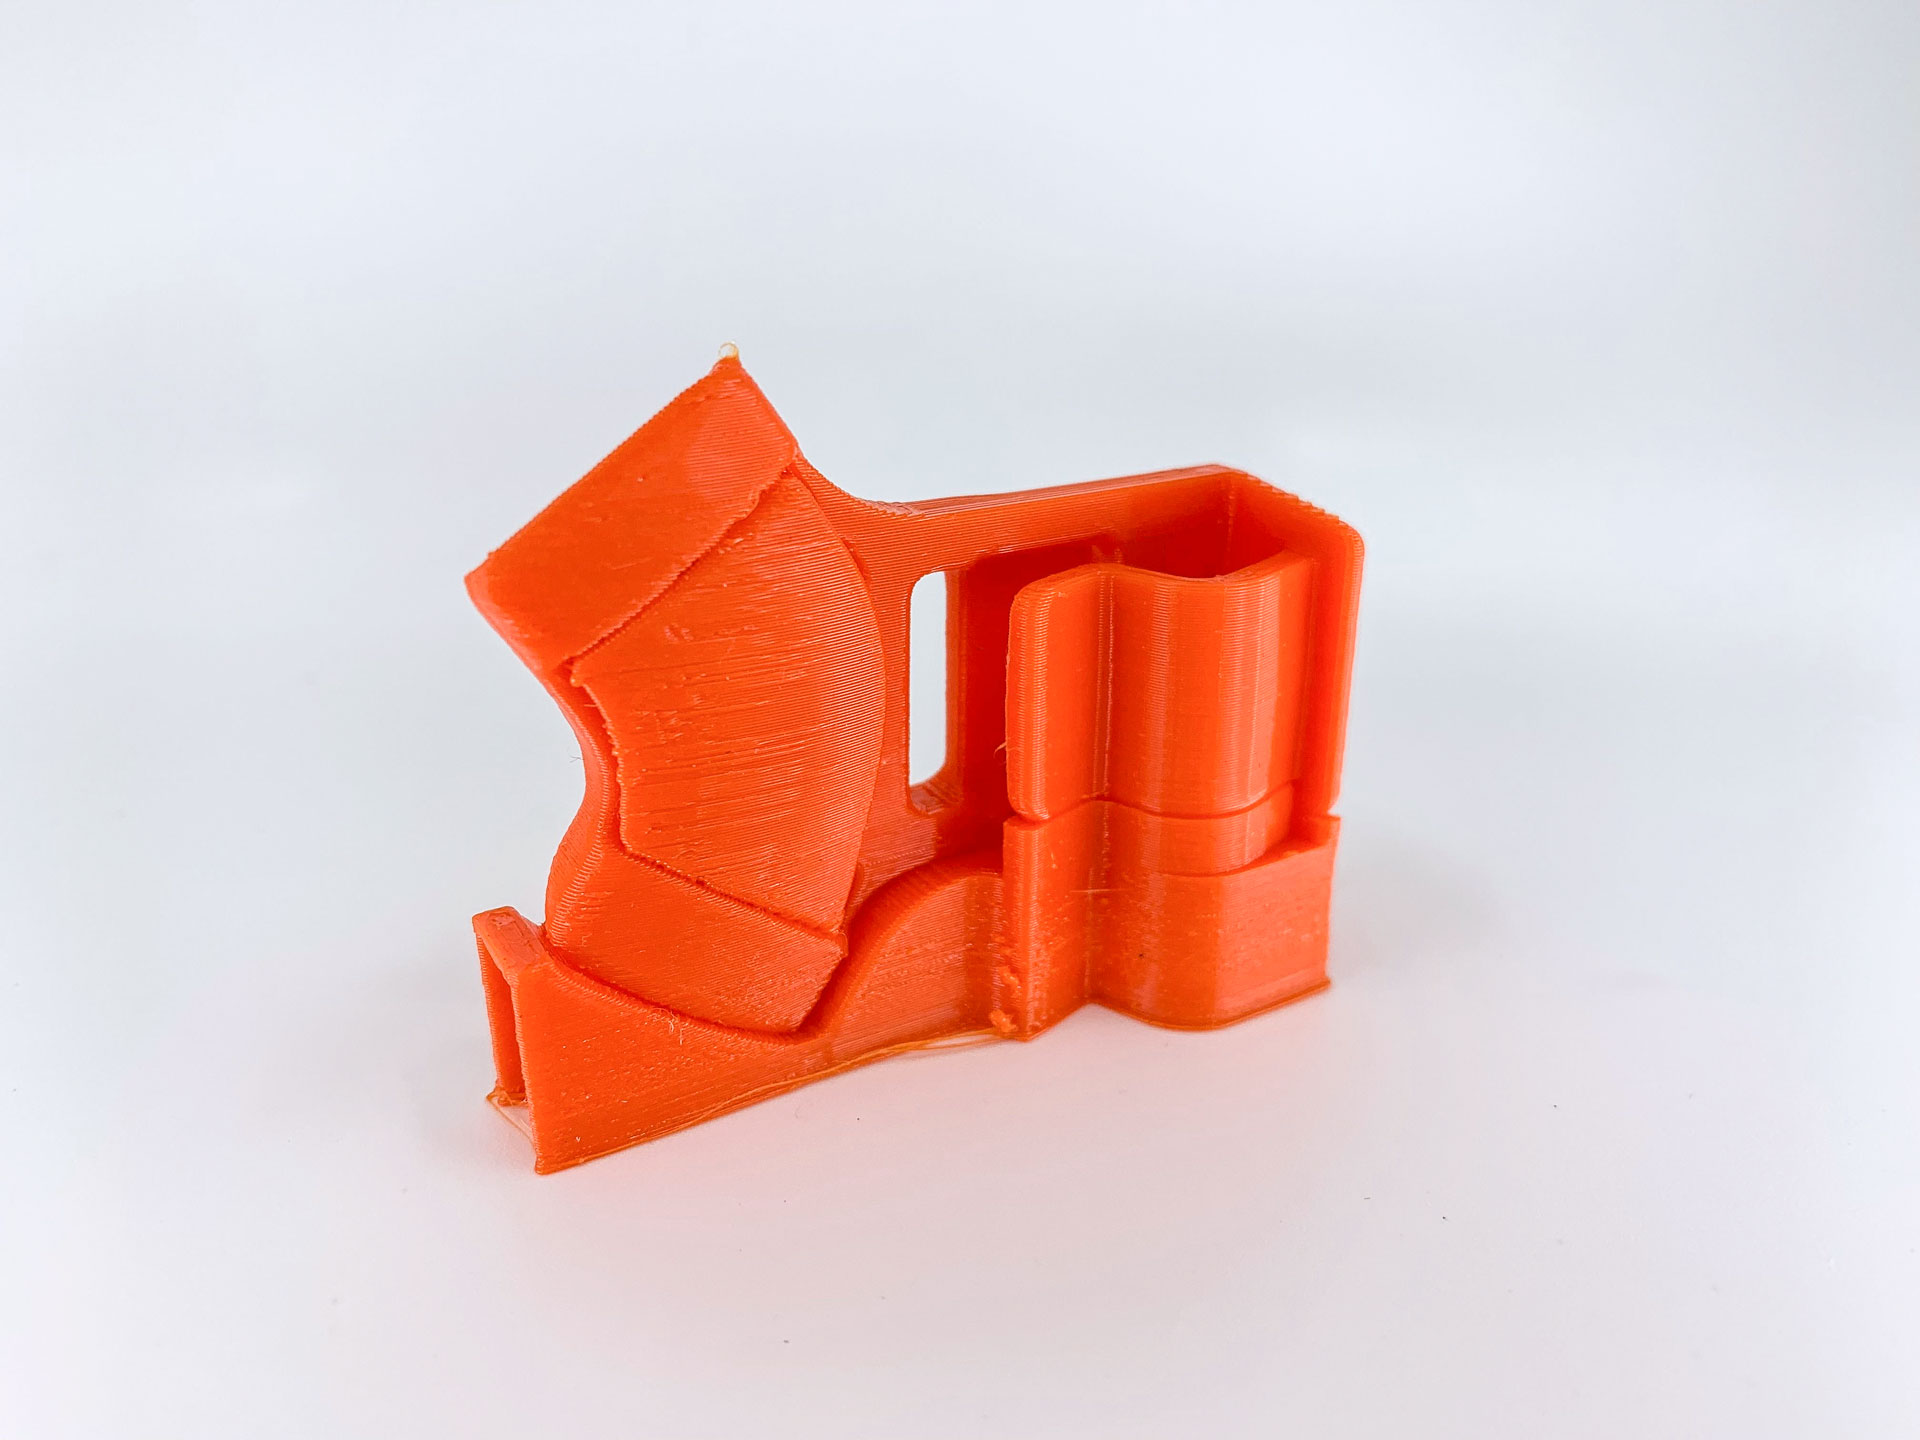
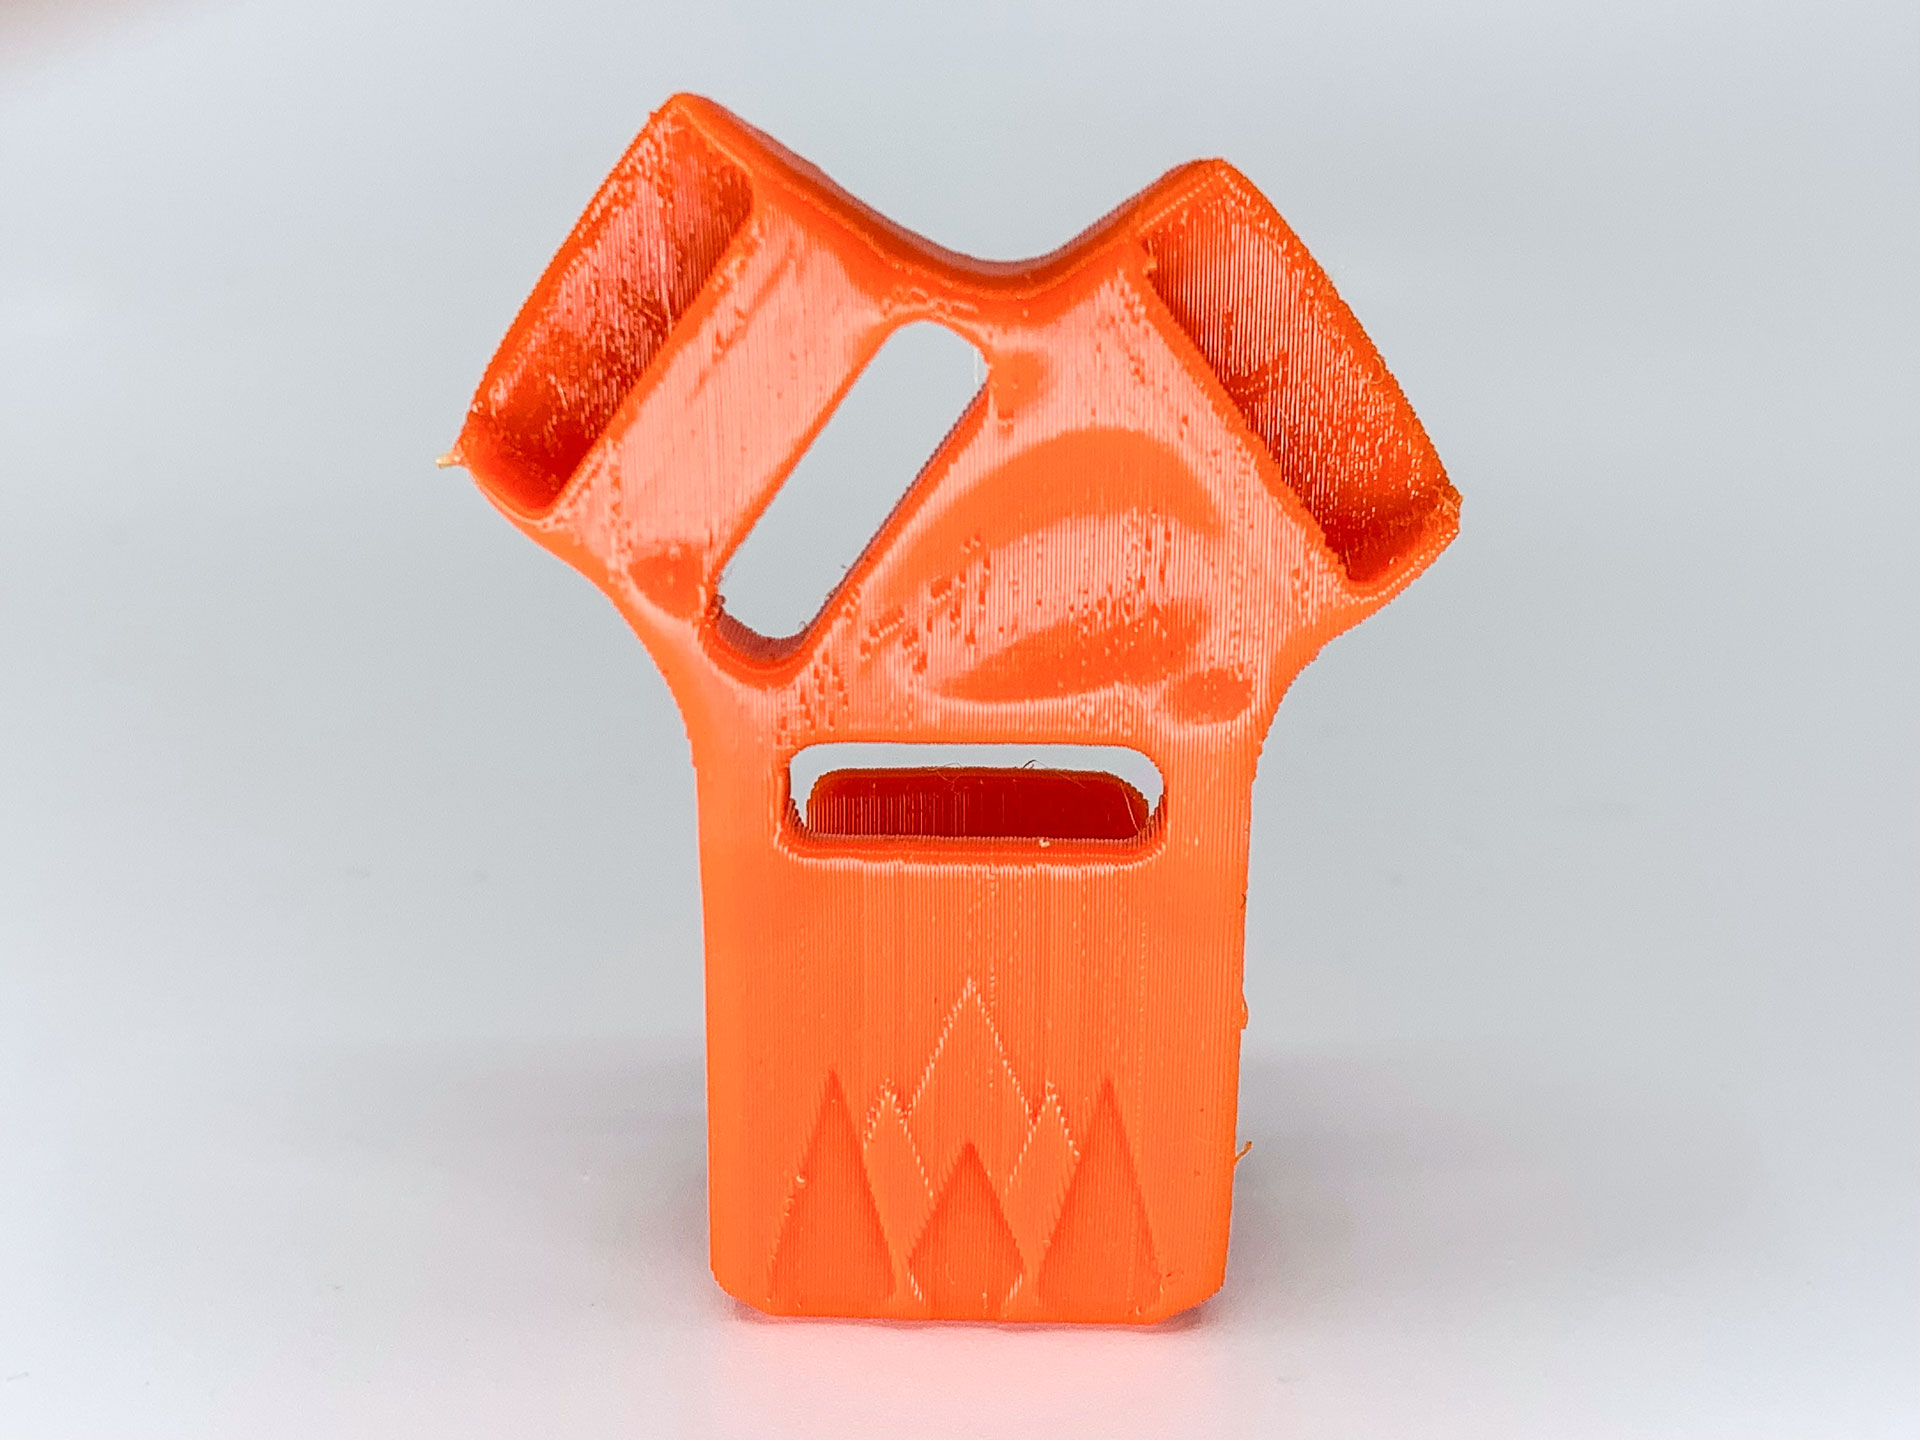
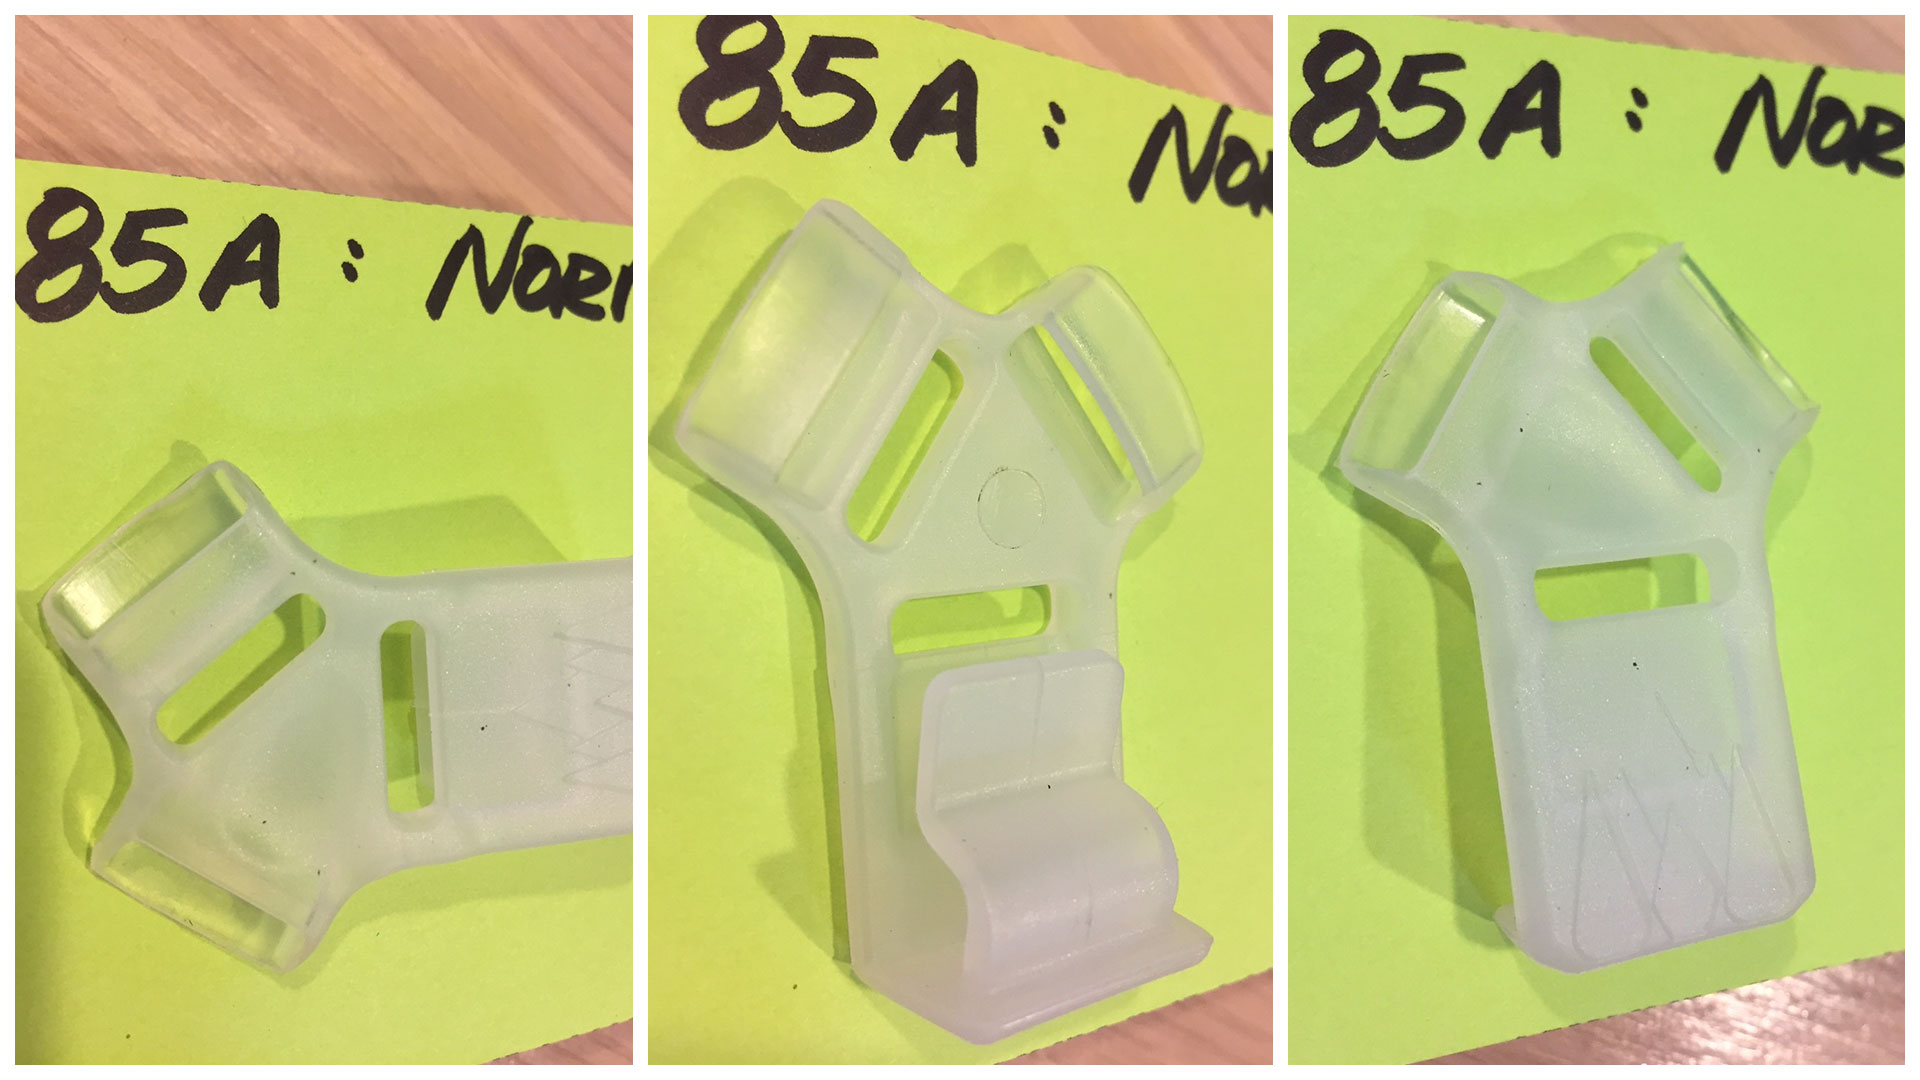
Because we were in the early stages of the design, we needed to quickly test our concepts by creating prototypes that would closely meet our ideal part. We decided to go in-house method using a Lulzbot FDM 3D printer because it allow us to quickly print functional flexible materials such as Thermoplastic Polyurethane (TPU) that would later be the material of choice in production.
Another benefit was the cost per part which meant we could stay within budget while printing multiple iterations to get the perfect looking and functional part. This leverage meant we could be aggressive early on when doing performance testing across multiple sandal configurations and for end users for daily use.
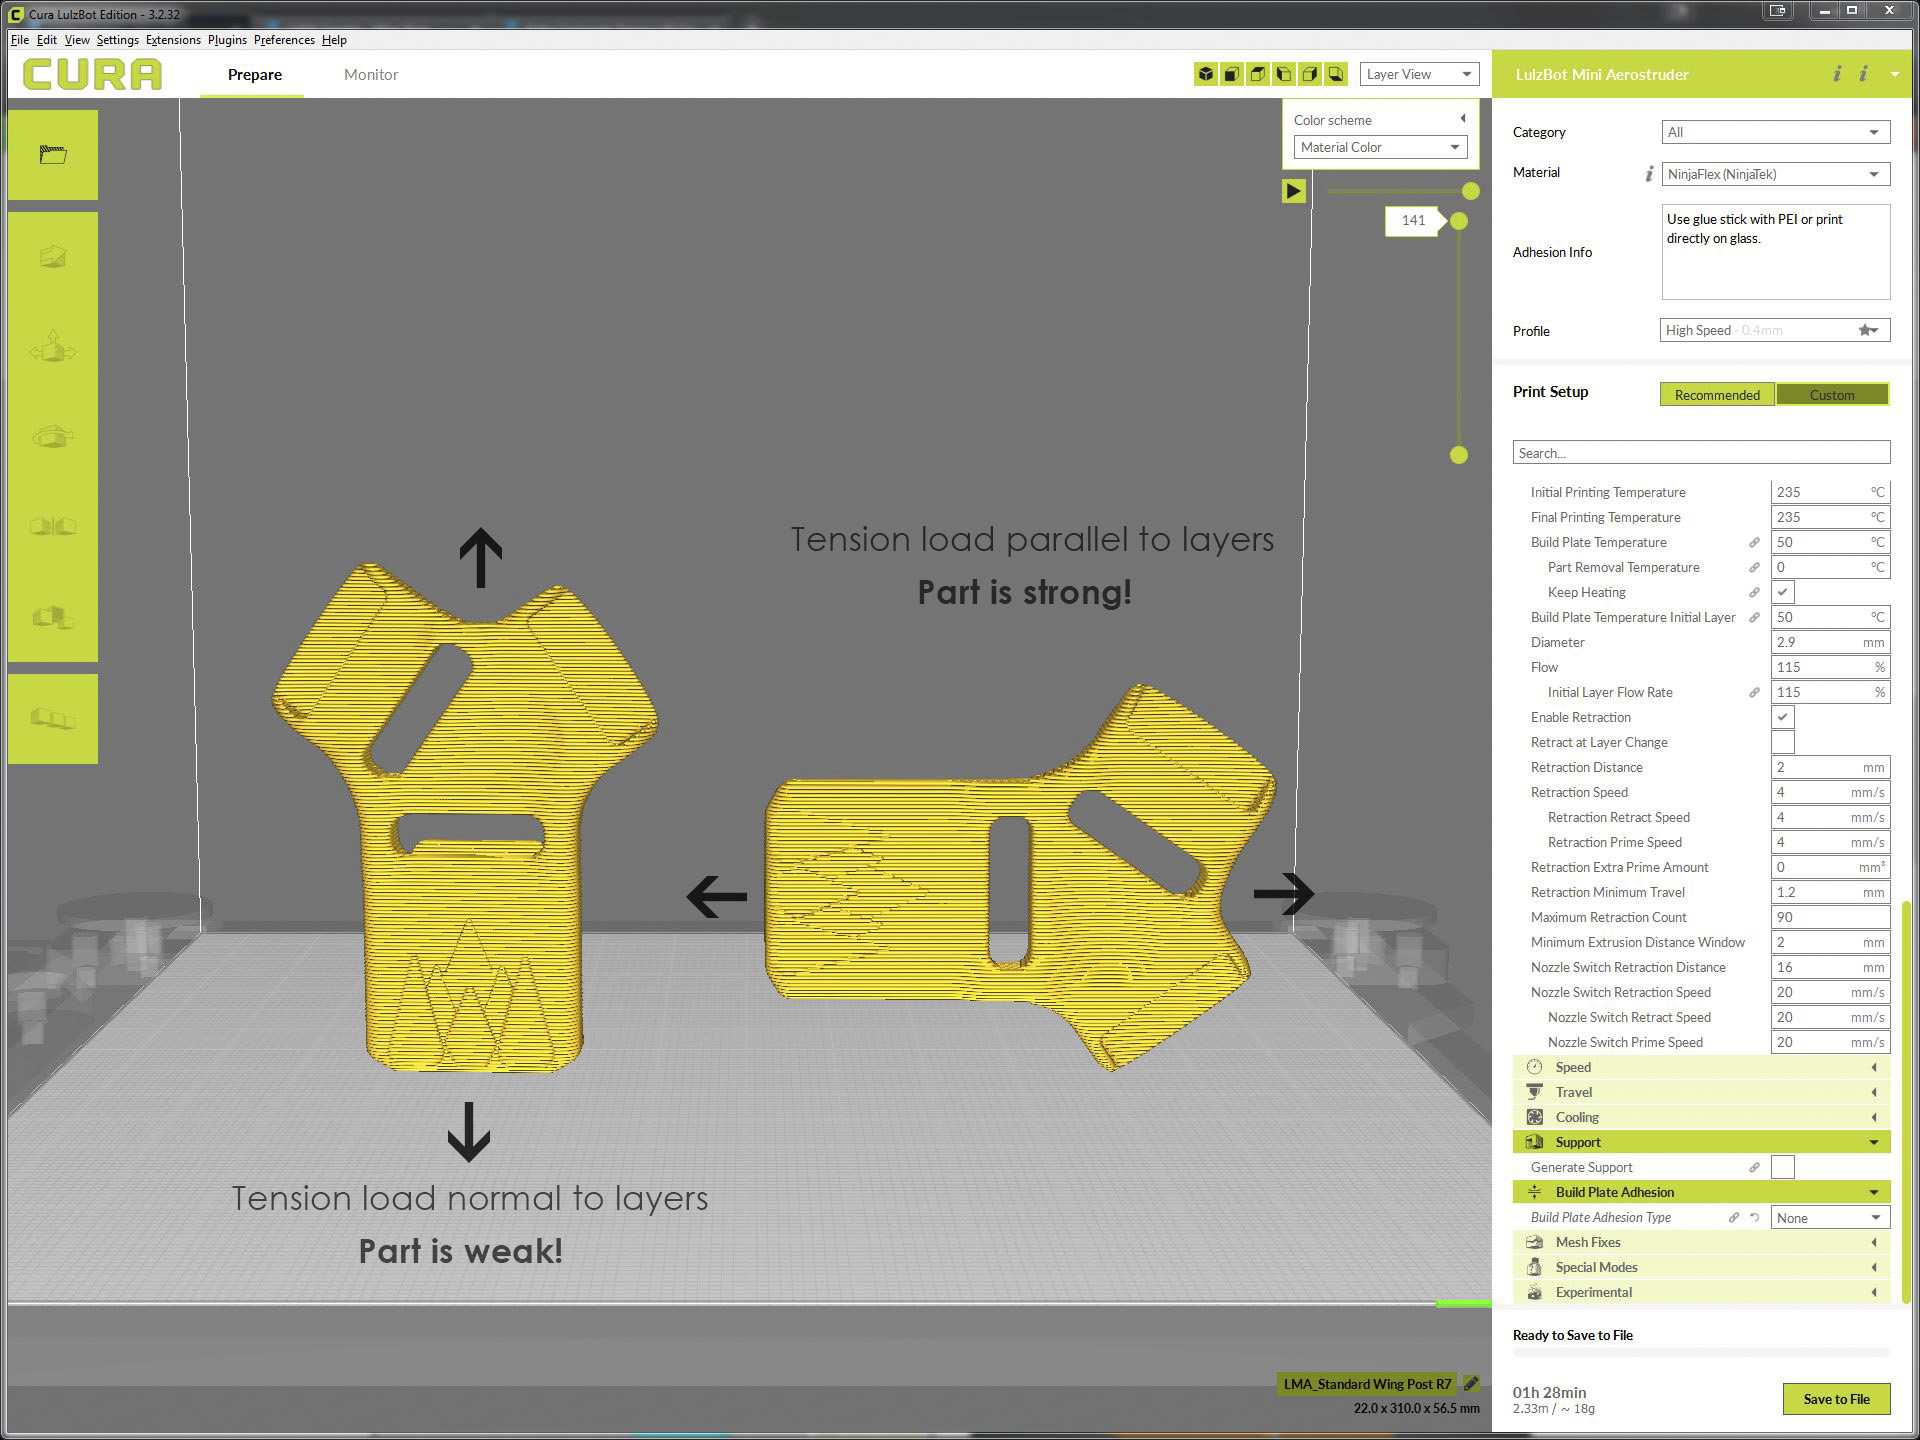
Since we wanted to do some functional testing with these printed prototypes it was important for us that we consider the application and direction of the loads as notably with FDM printed parts tend to be much stronger in the XY direction than the Z direction. For example, FDM parts are much more likely to delaminate and fracture when tension in the Z direction compared to the XY direction. The difference can be up to 5 times tensile strength. Therefore, we oriented the part to be printed in the horizontally to get the maximum strength.
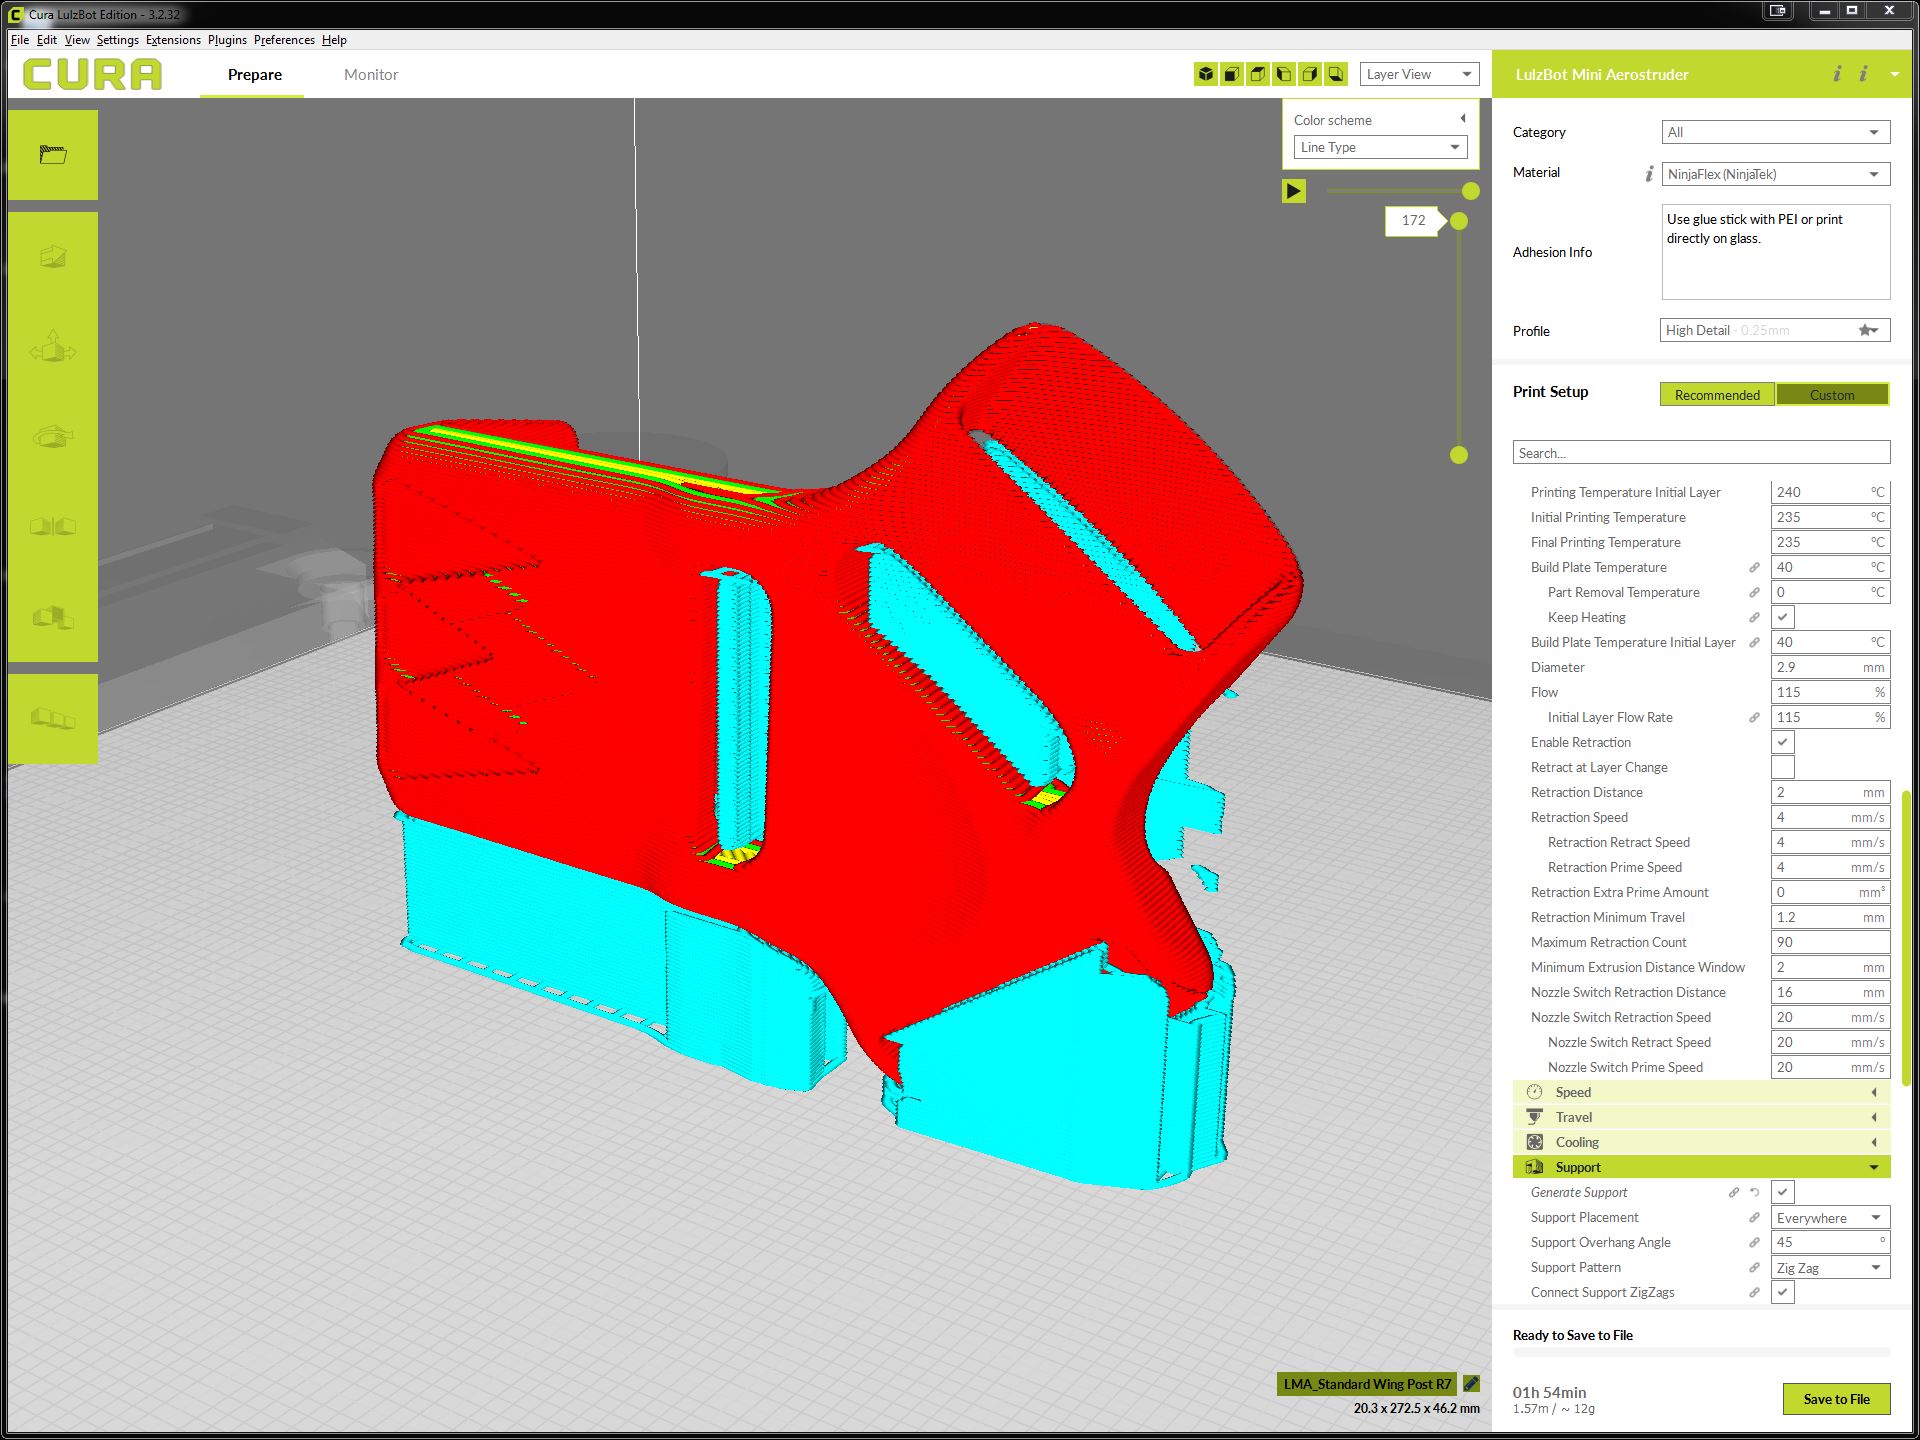
Now that we have are part oriented correctly we need to optimize that means figuring out how the support structures layout would be. We first analyze the support using the auto generate command in CURA and can already tell this would be a low quality and/or failed print due to the lack of supports placement.
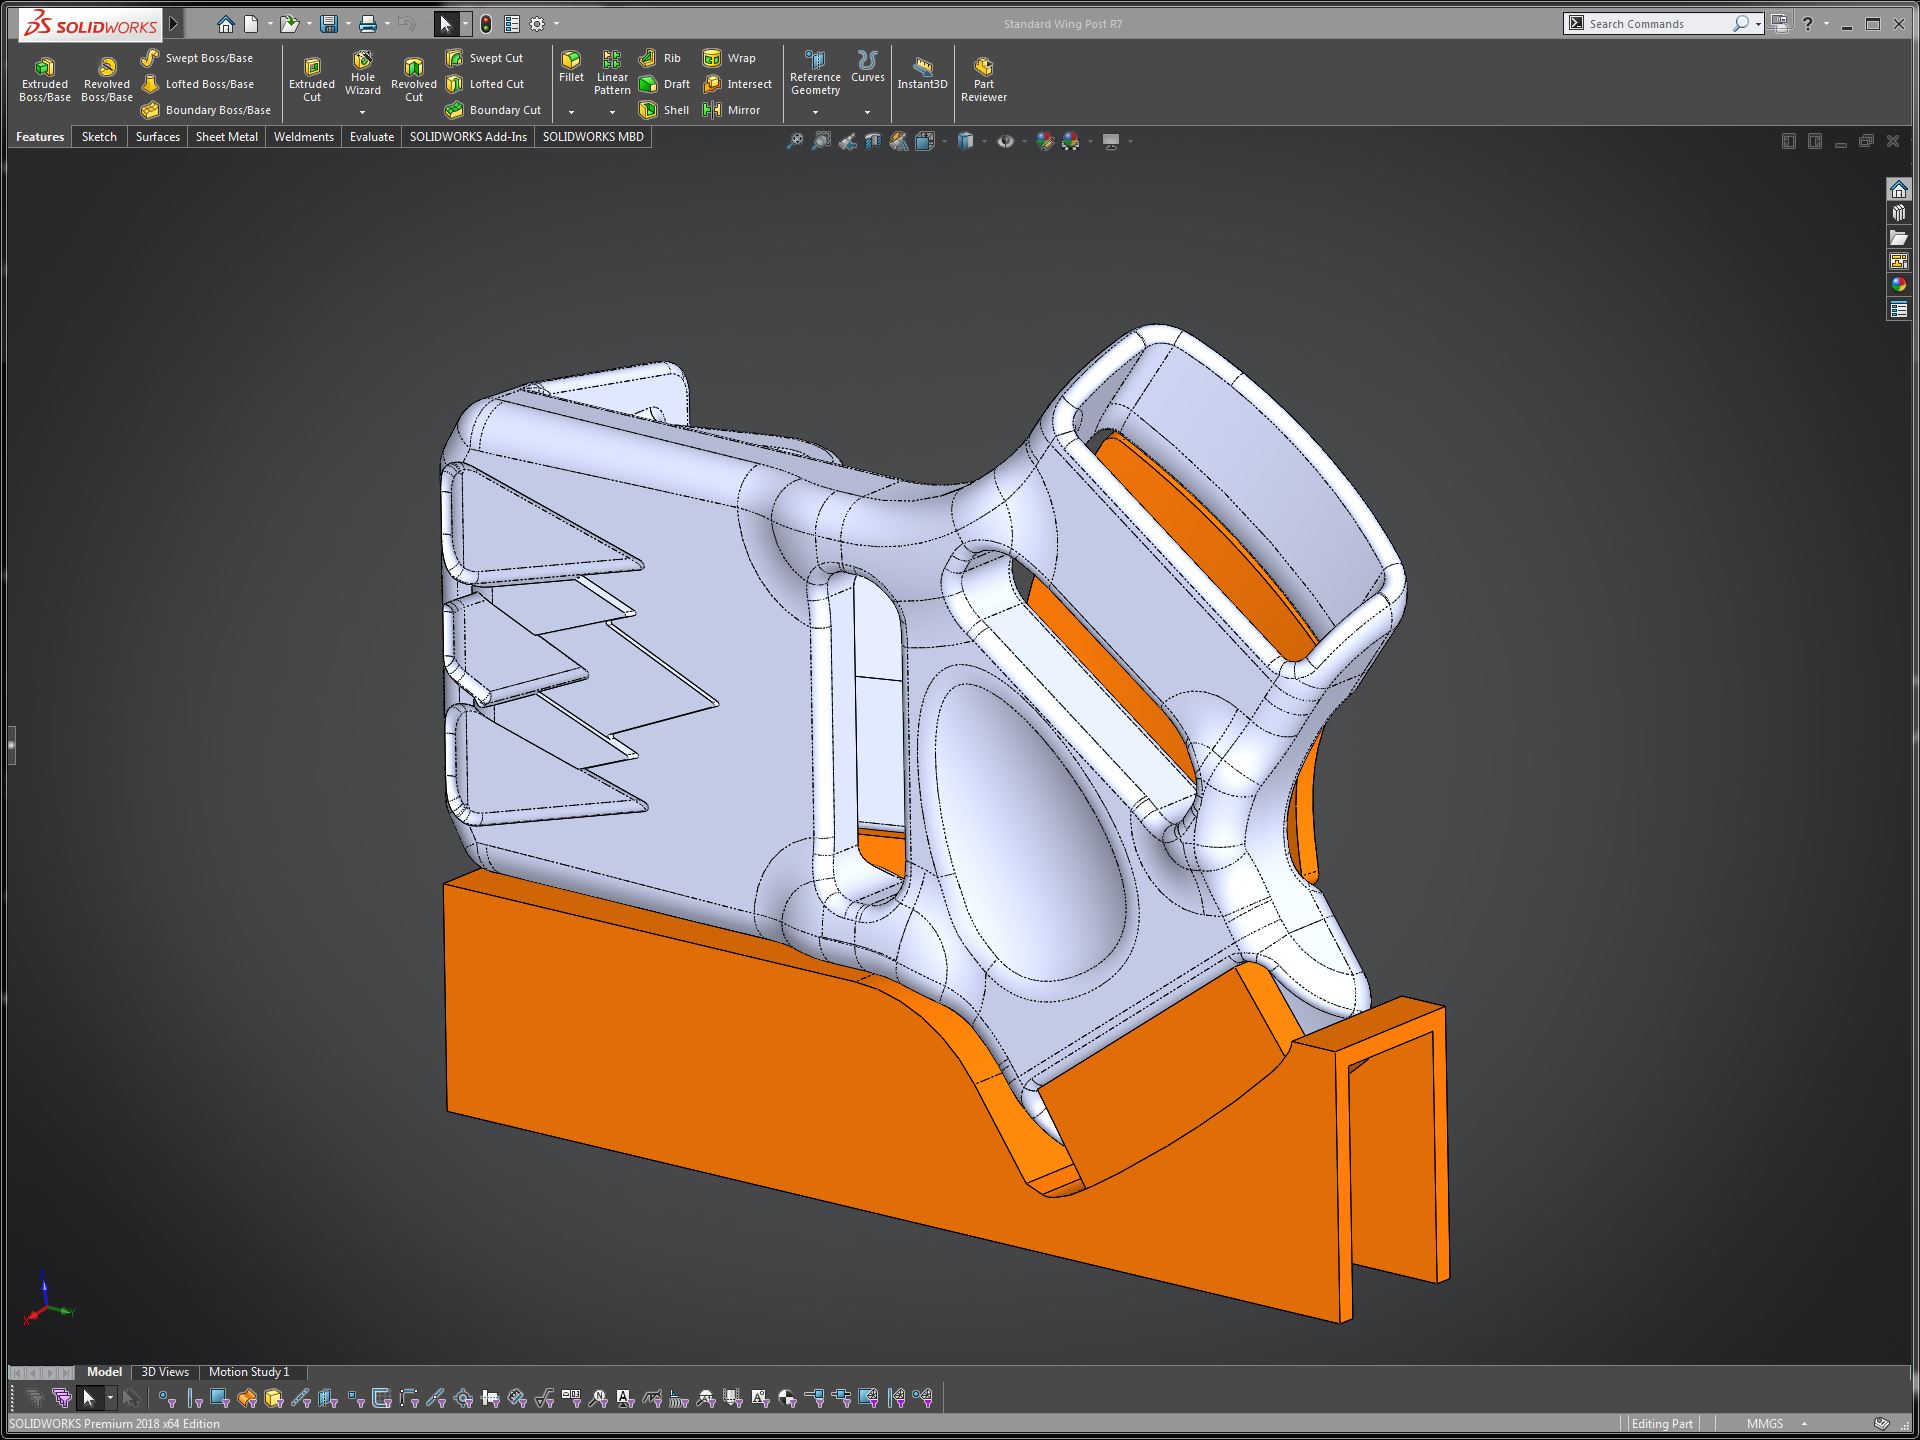
Our solution was to manual build the supports in SolidWorks then import the .STL file into CURA. This was done by carefully modeling the supports to where any overhangs exist and by adding a .005″ gap (tolerance) in between the support material and part necessary to leave the highest surface finish after removing support material.
Testing & Validation
After the parts where 3D printed we where now ready to start doing some fit testing onto the sandal sole. We were looking to confirm fitment, tear resistance, strength, functionality, and durability. As a result we were able to dial in and refine any last minute details so that there would be no surprises before moving into mold injection manufacturing.
Design for Manufacturability (DFM)
Why we should keep DFM mind when designing for injection molding? The main reason for DFM is to make sure products are not only functional or aesthetically pleasing but is optimally designed to the process in which it will by manufactured, in our case its plastic mold injection. Applying DFM practices in the design means that it can be manufactured and its production will run efficiency making it cost-effectively. In the DFM of Wing Post we initially looked at draft angles, undercut, and wall thickness.
Why is draft important? Well in the Wing Post a draft analysis was perform to make sure that there was sufficient amount of draft angle (1 degree taper) at the primary parting line (where two of the halves of the mold meet and separate) allowing removal of the part from the mold. Without draft angles, the part would offer significant resistance due to friction during removal. This can cause the walls of the molded to scrap the part during separation. Therefore it is critical that we incorporate draft angles early in the stages of the CAD model.
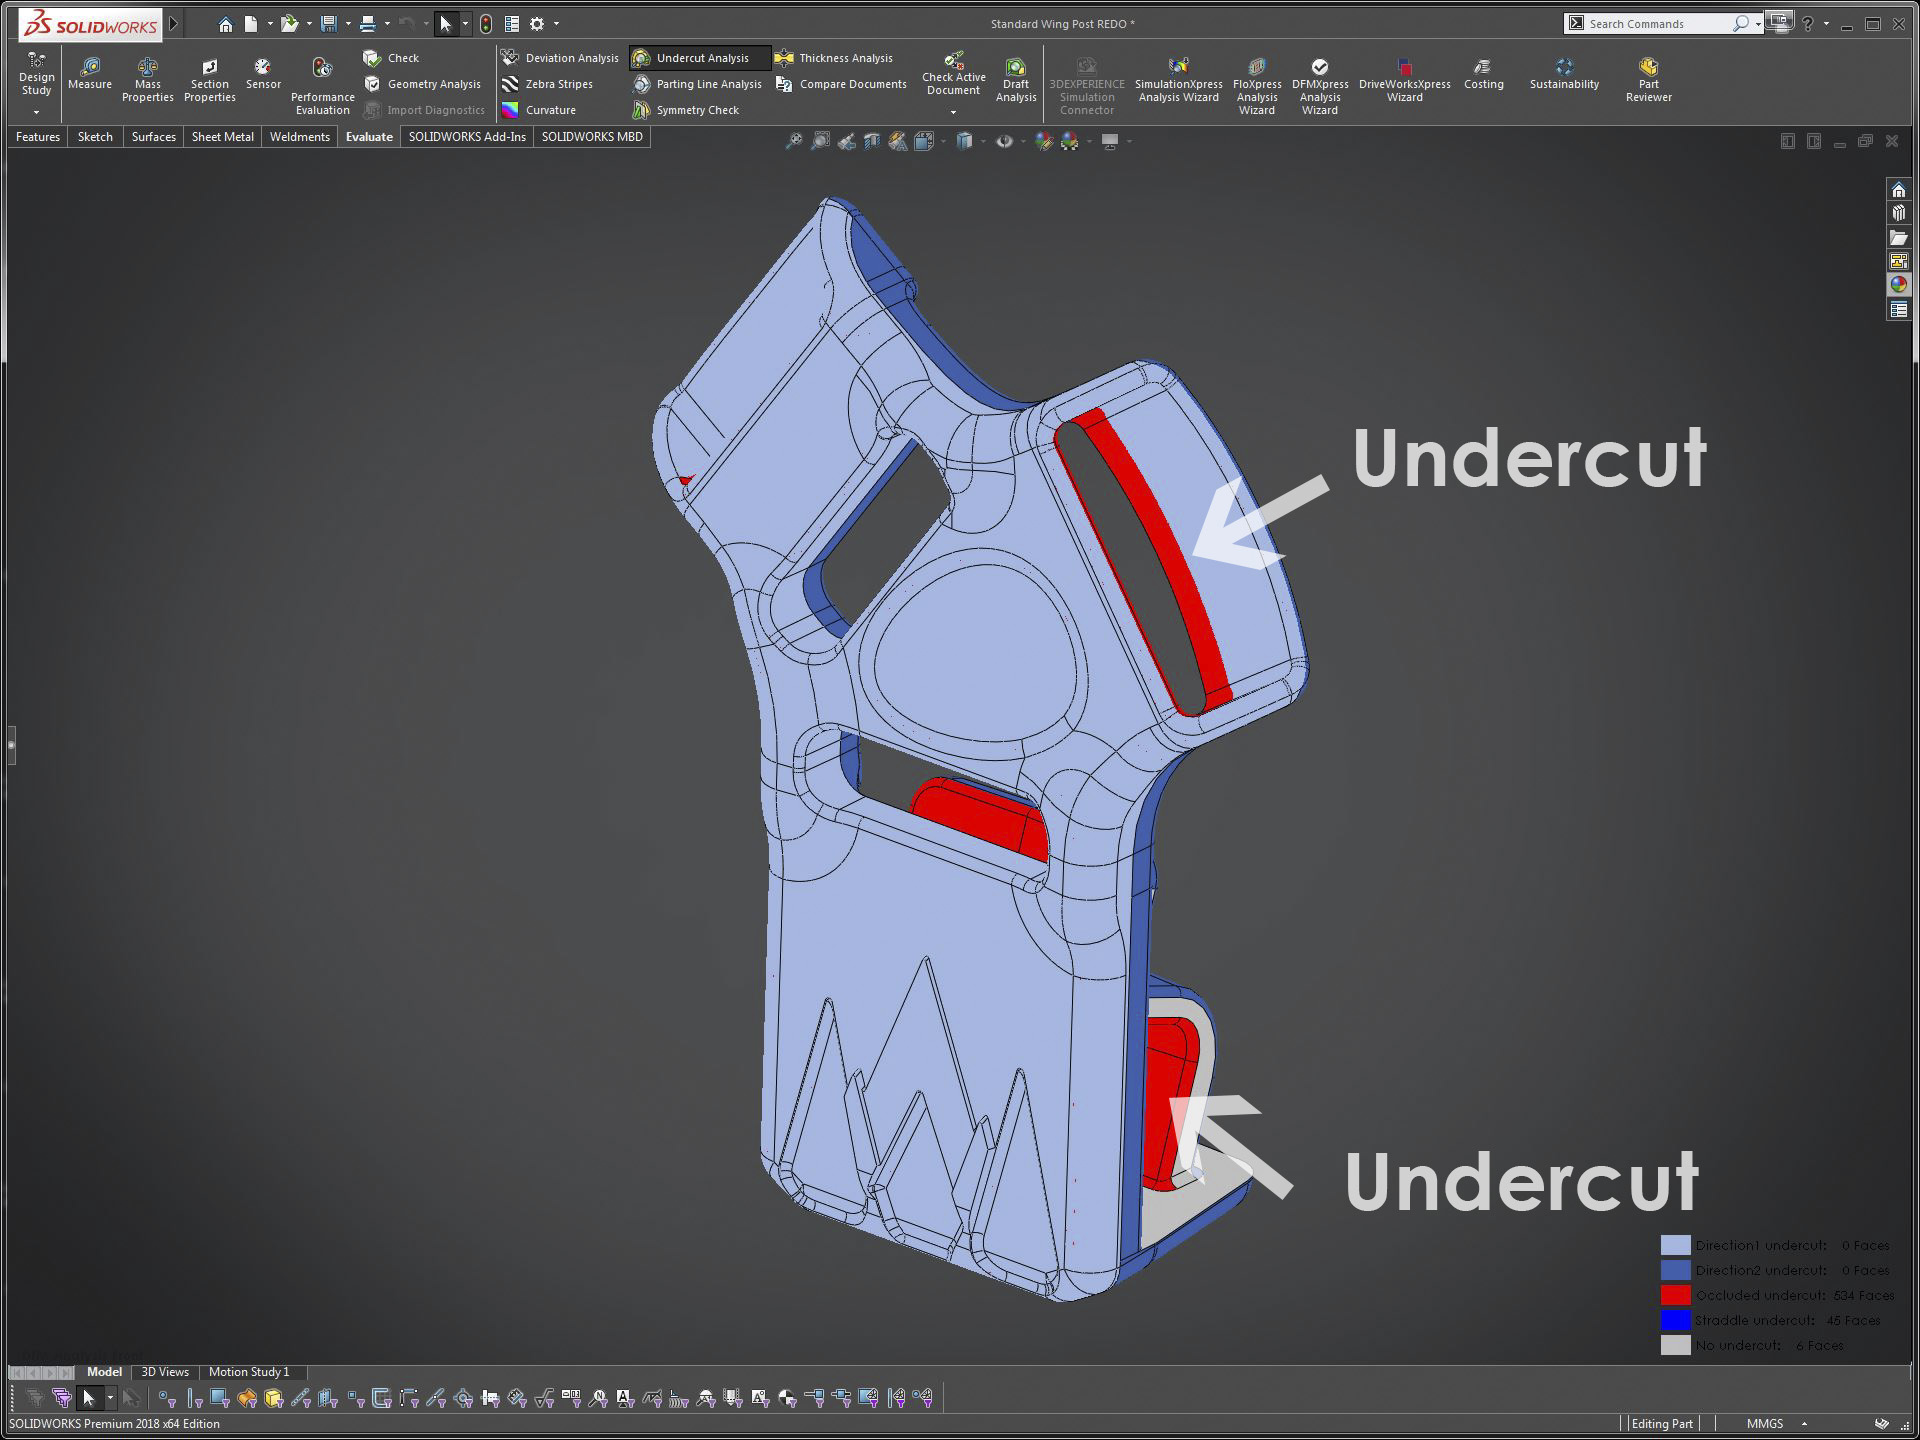
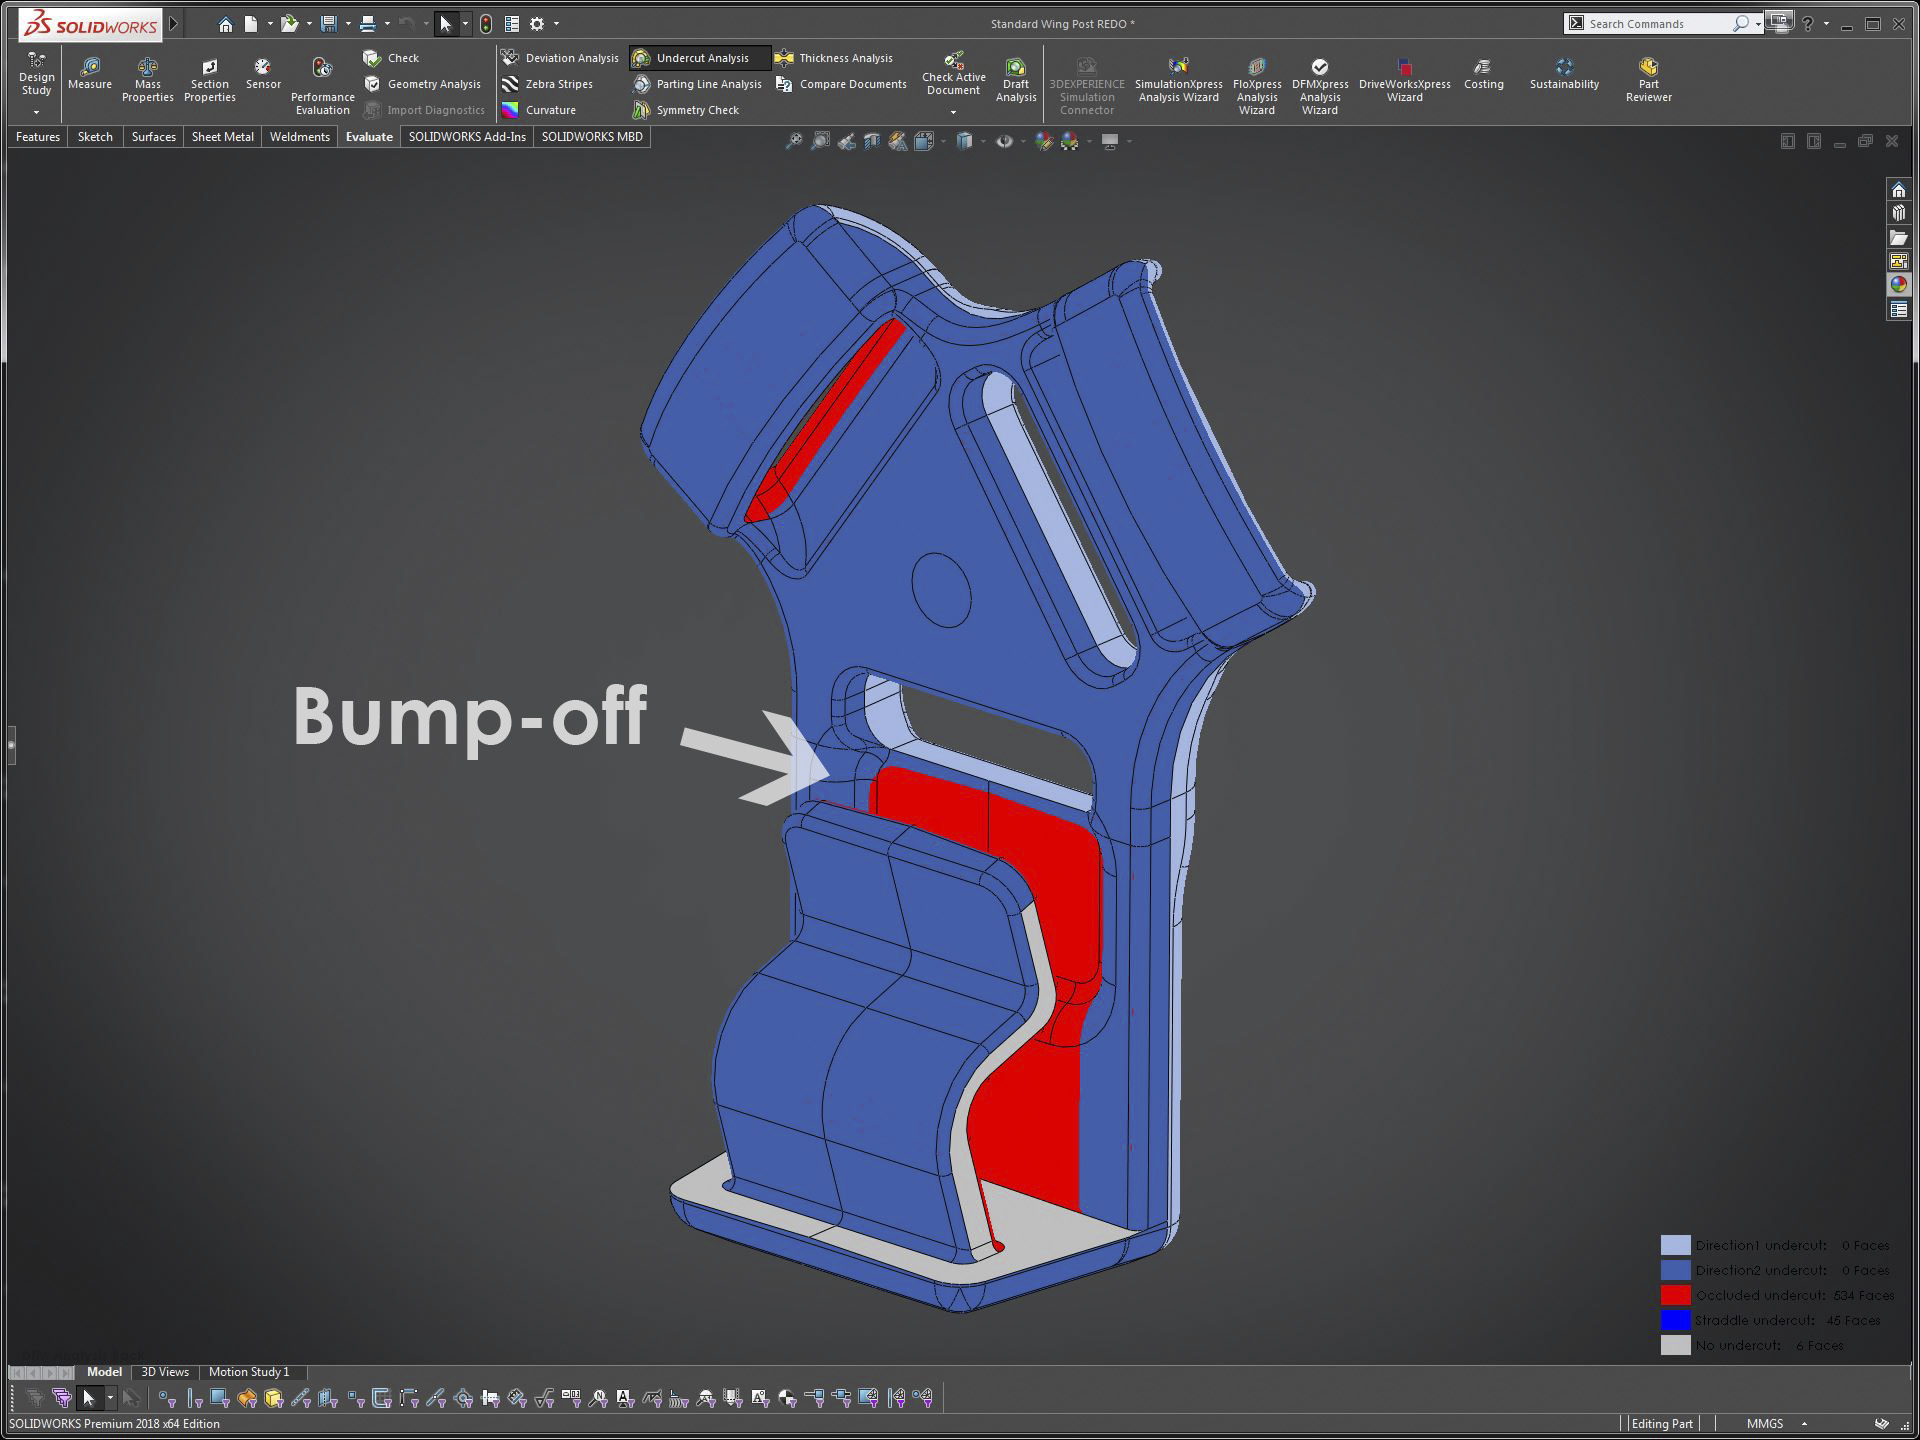
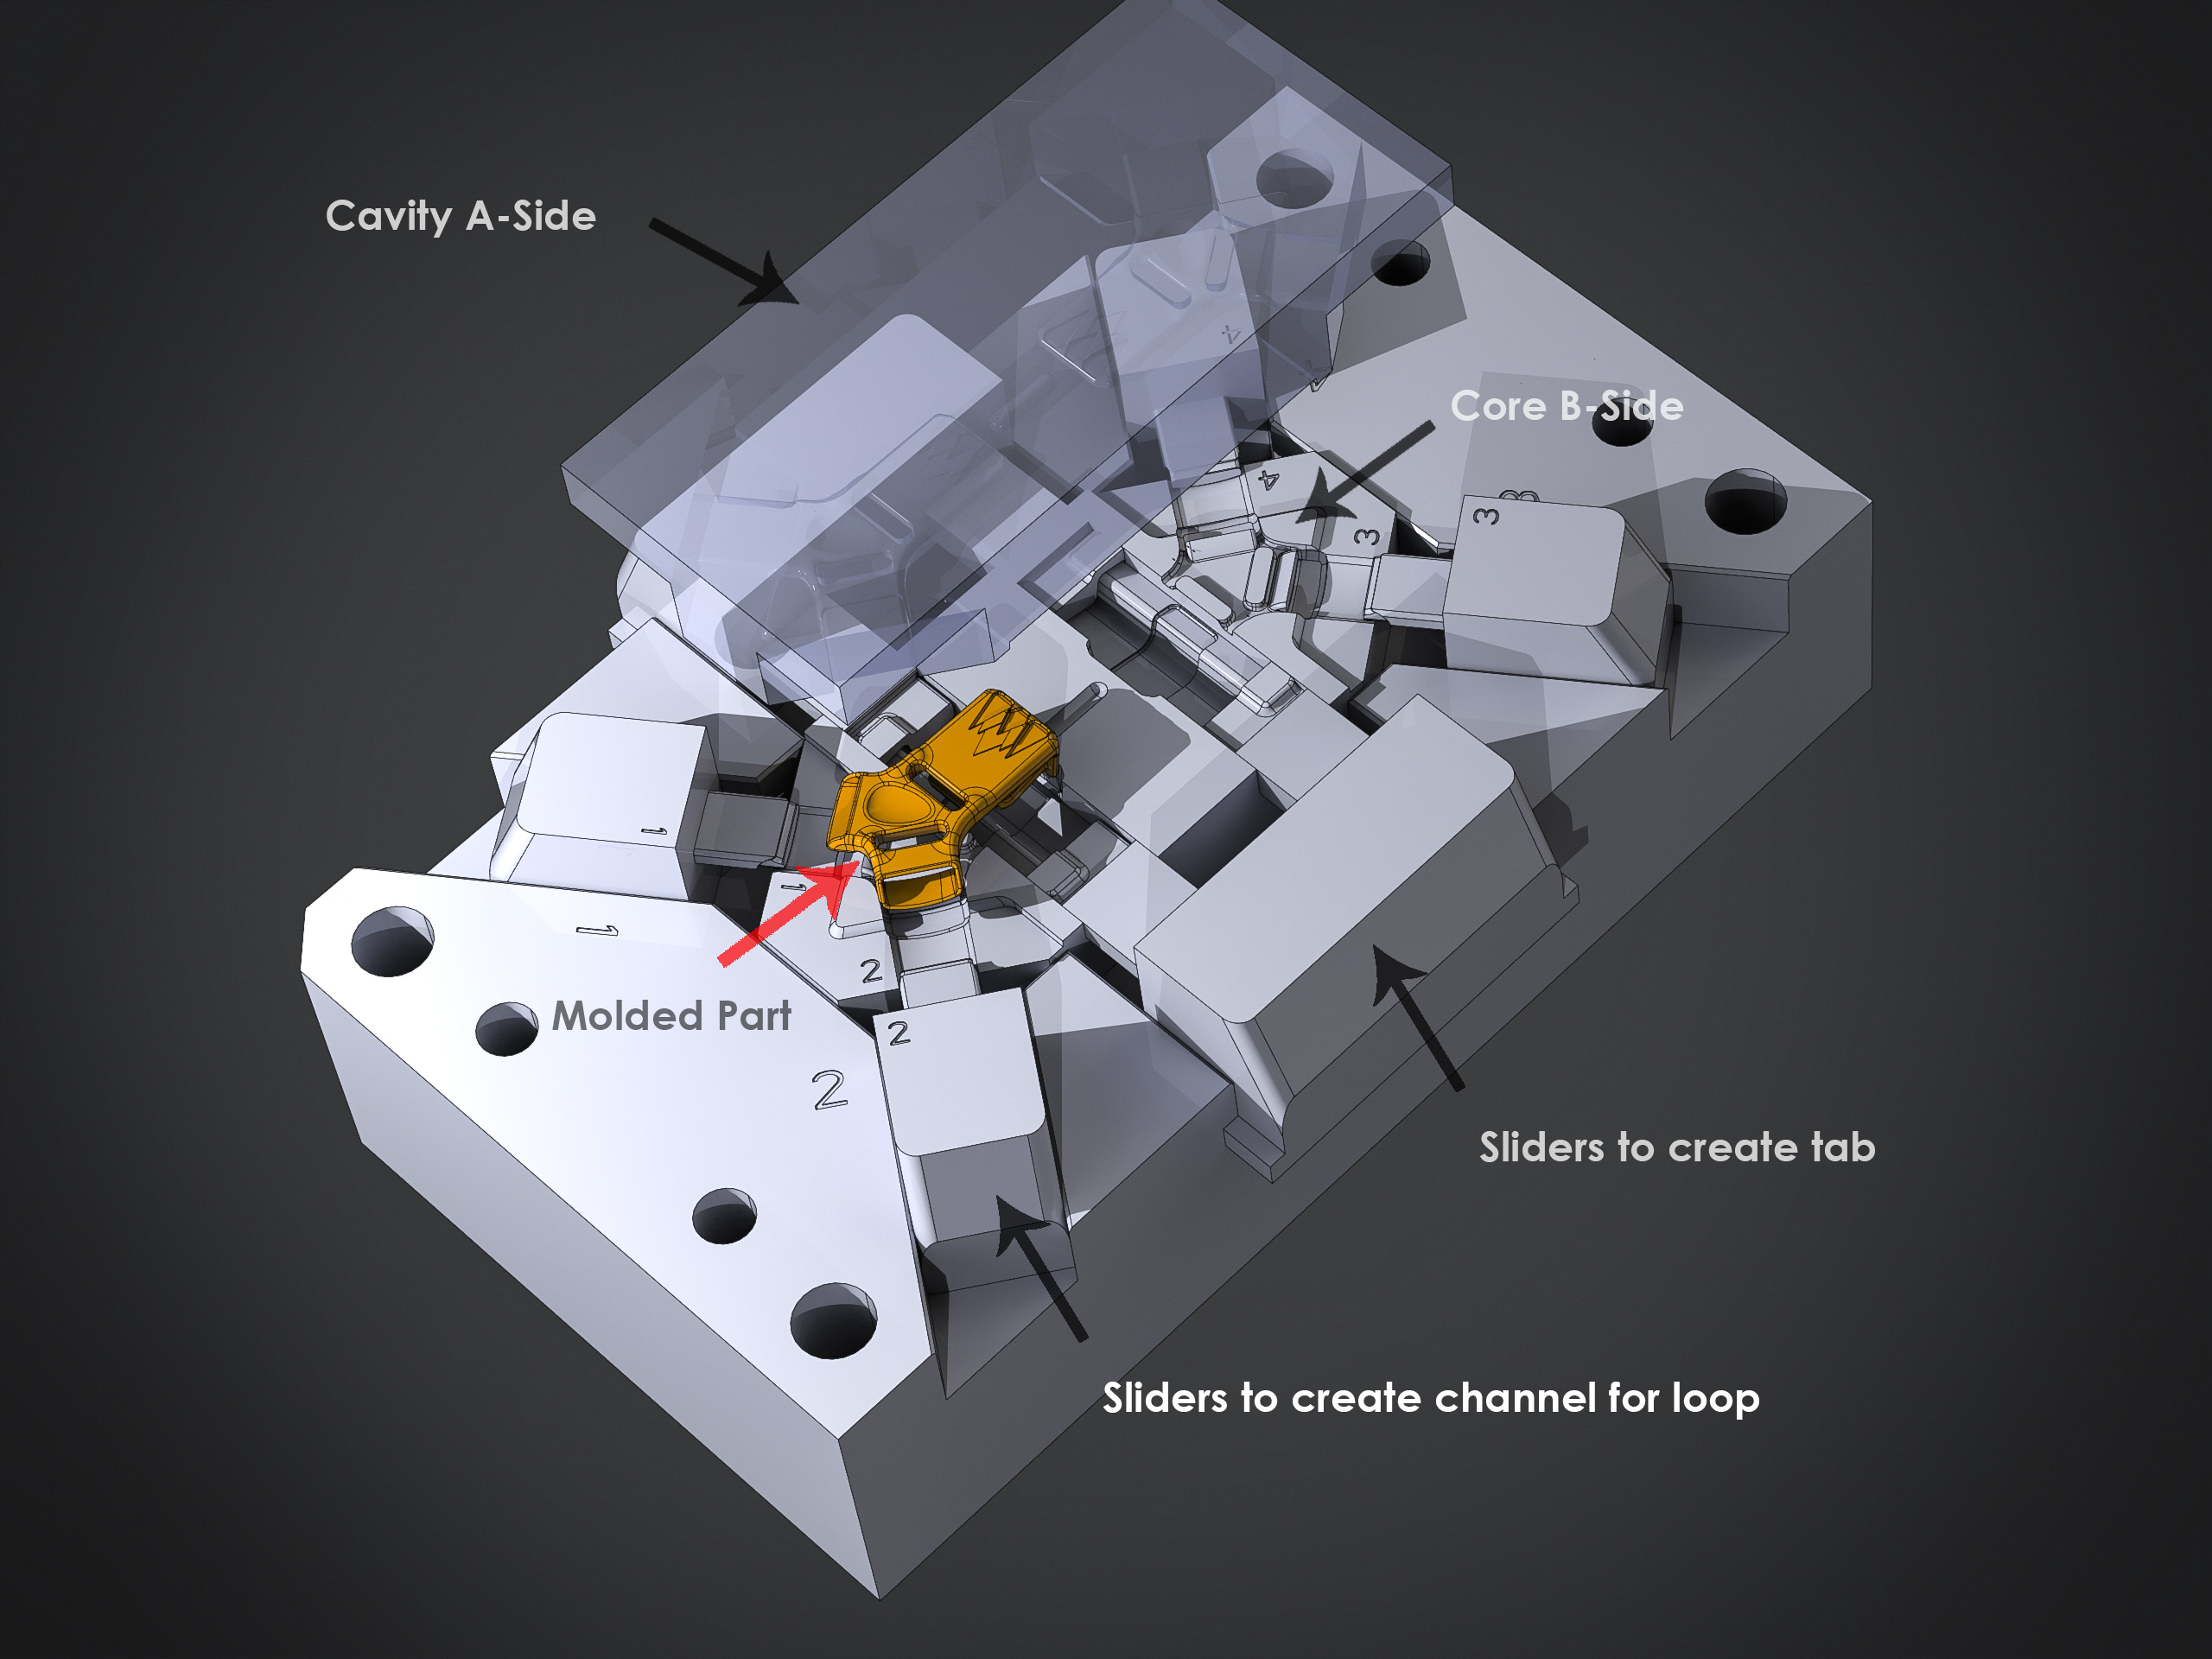
Next we performed an undercut analysis. Undercuts are items that interfere with the removal of either half of the mold. Pretty much its any projection that is perpendicular to the line of draw. In this case its was the tab that creates an undercut preventing B-Side (core side) of the mold to draw out during removal. Therefore to keep tab geometry meant we needed to add Sliders/Side-Action to the mold. However fixing one issue opened up another because now there is another undercut cause by the tab recess in the direction of the Sliders. However this was more manageable to correct as we simply added a radius to any hard edges of the recess which created a bump-off shape (ramp) allow the Sliders to separate from the part without damage. Another key factor in the success of a bump-off was the soft TPU resin of choice because of its flexibility allowing it to “bump-off” the Sliders. Two more sliders where also added to create the channel for the wing loops.
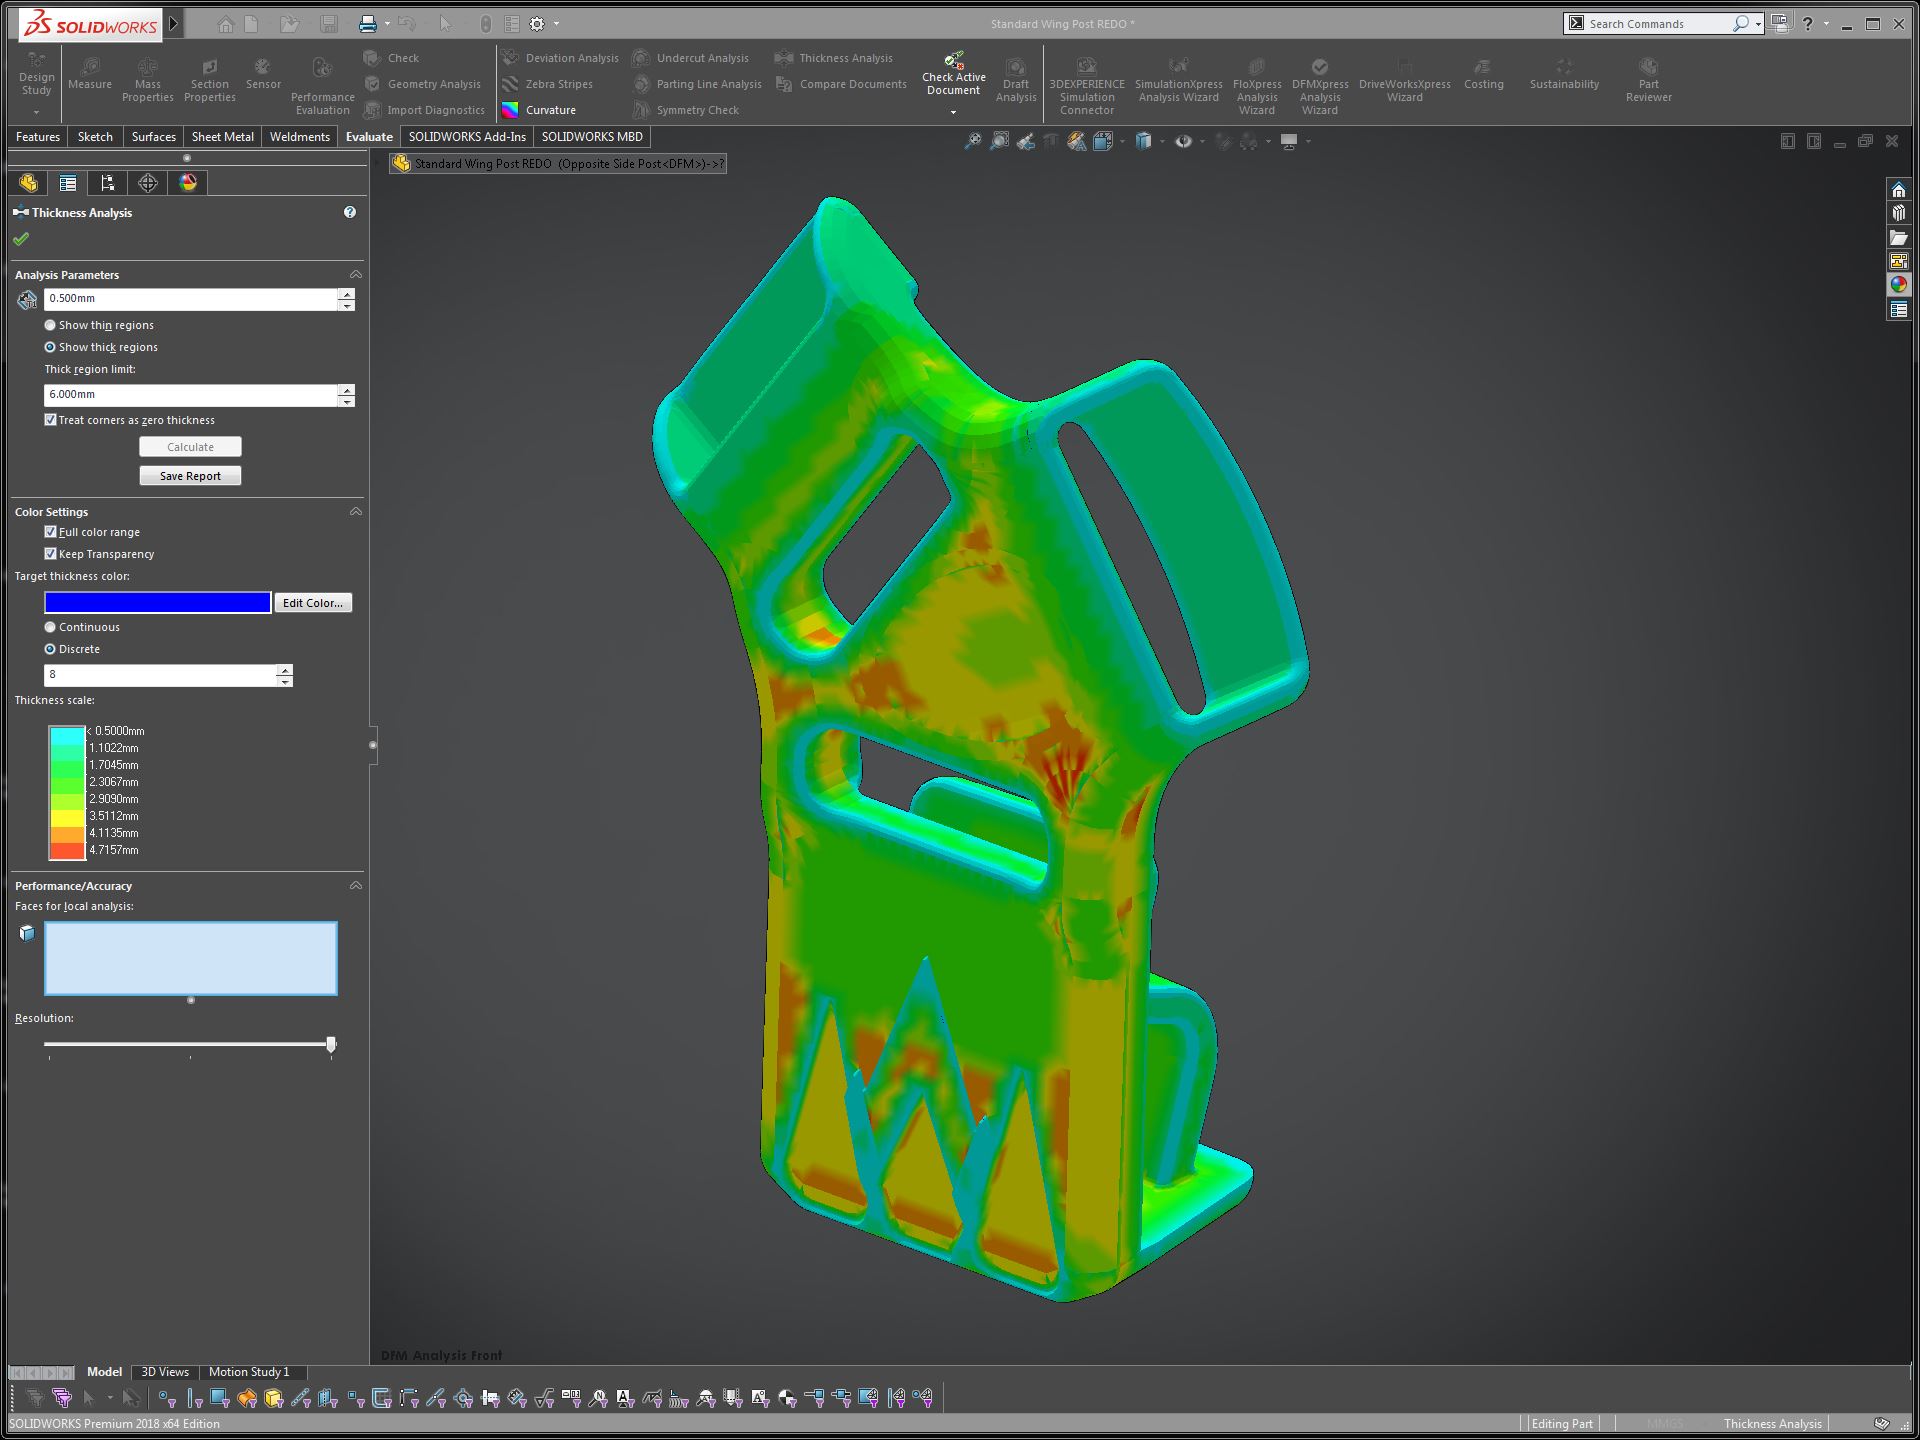
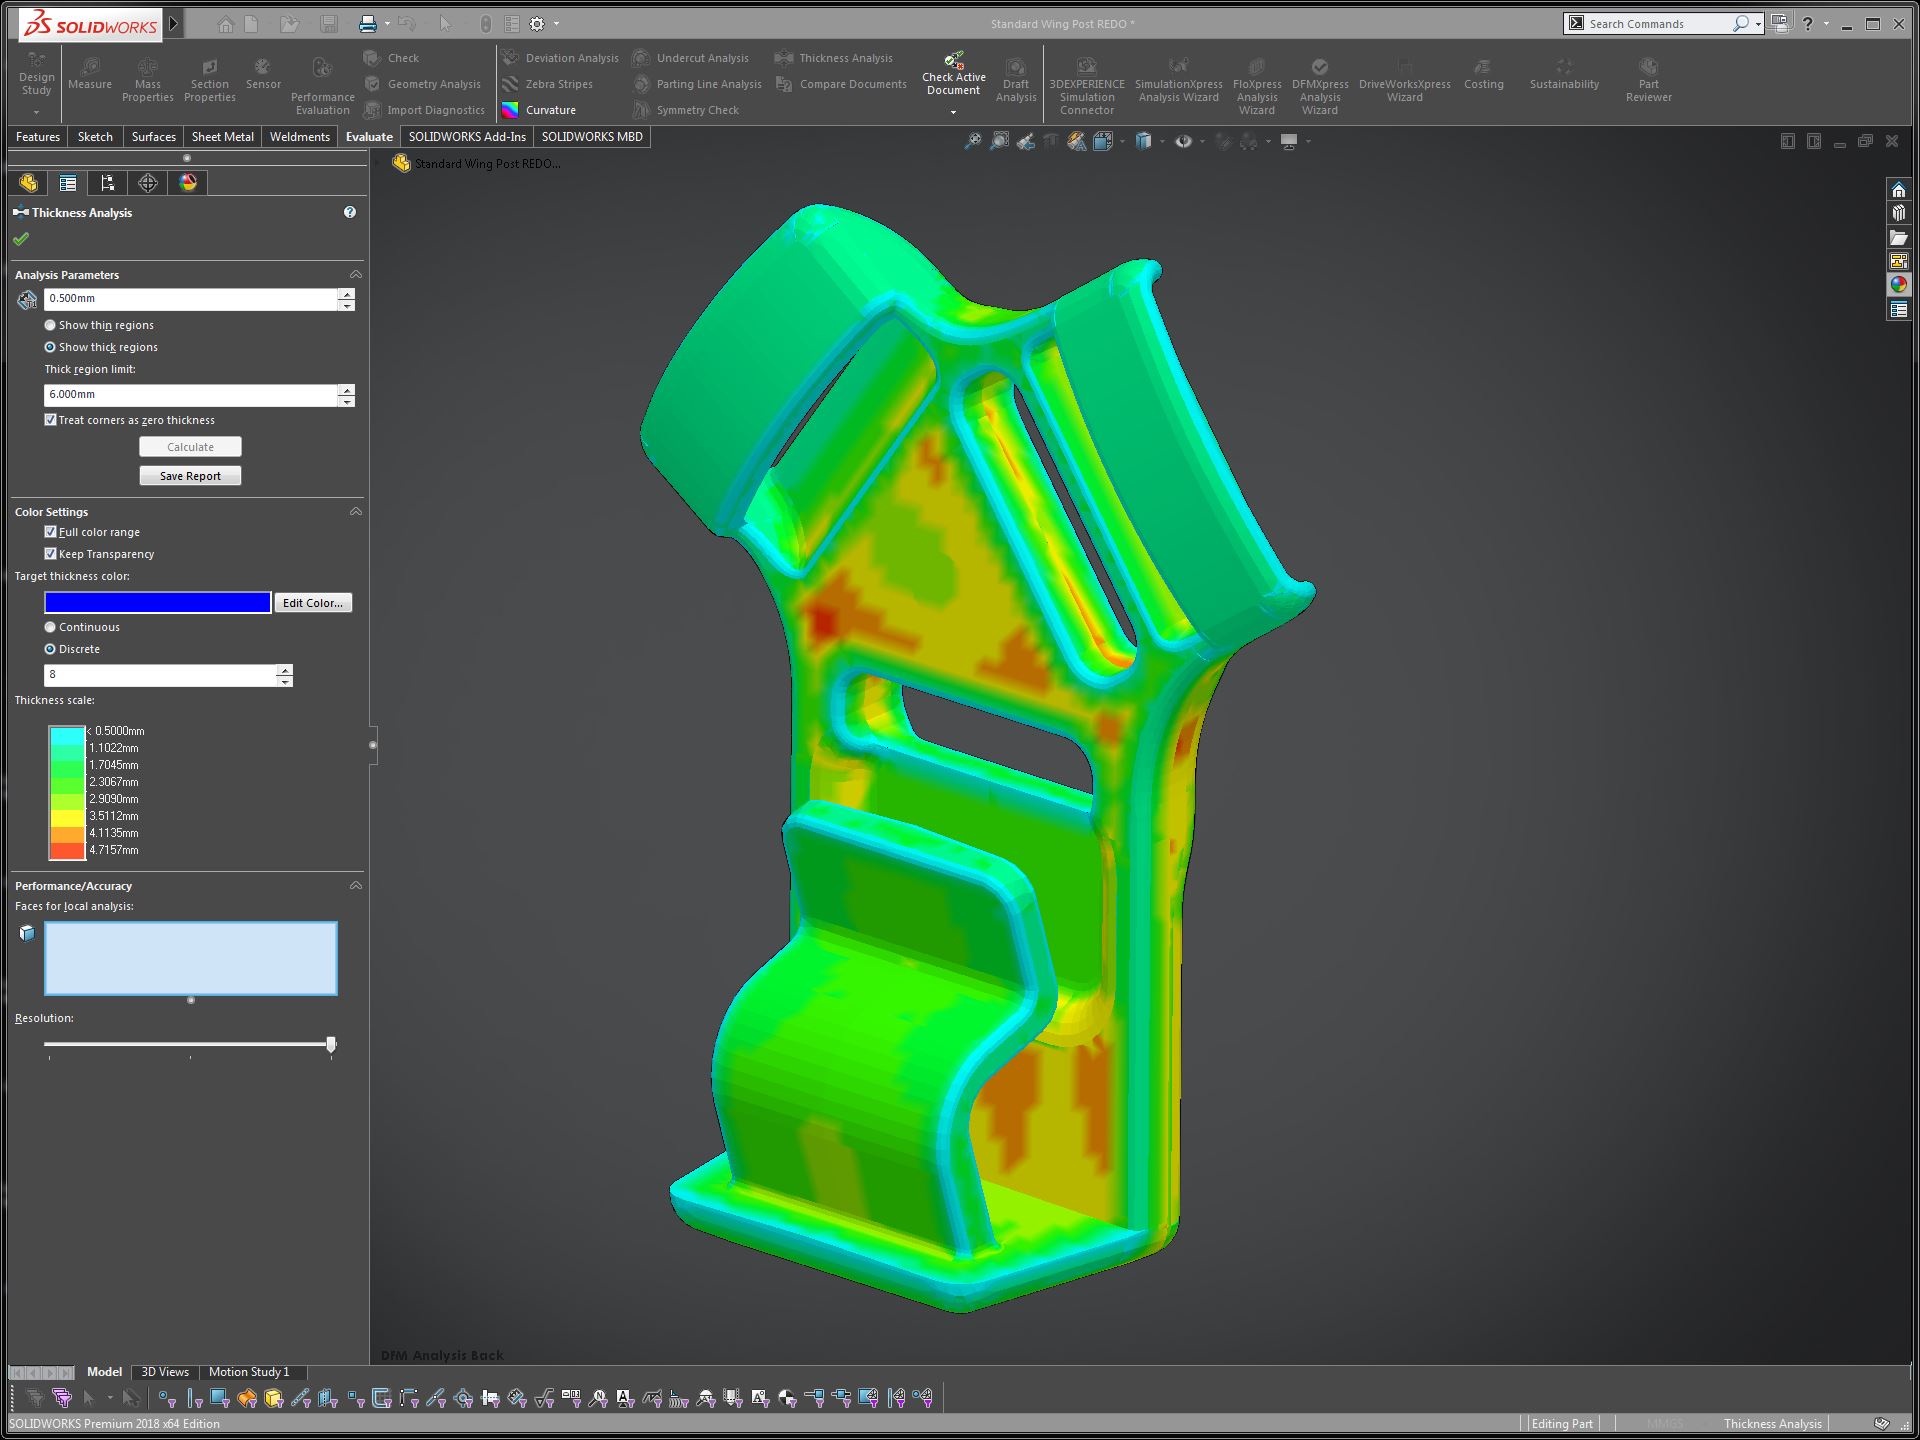
Lastly, we needed to analyze the wall thickness. What we were looking for was areas of the part the reached its max thickness limit and that the entire Wing Post had uniform thickness to prevent problems such as warpage and distortion. However we knew that in practice this was not often possible; there must be some variation in thickness to accommodate functions or aesthetics. To account for the possible variations we made sure to stay within the resin materials max thickness and made sure that we made a gradual transition from thick to thin in the geometry of the Wing Post.
Tooling - Family Mold For L/R Wing Post
Tooling - Animation (Ejecting)
Production Drawing & Documentation
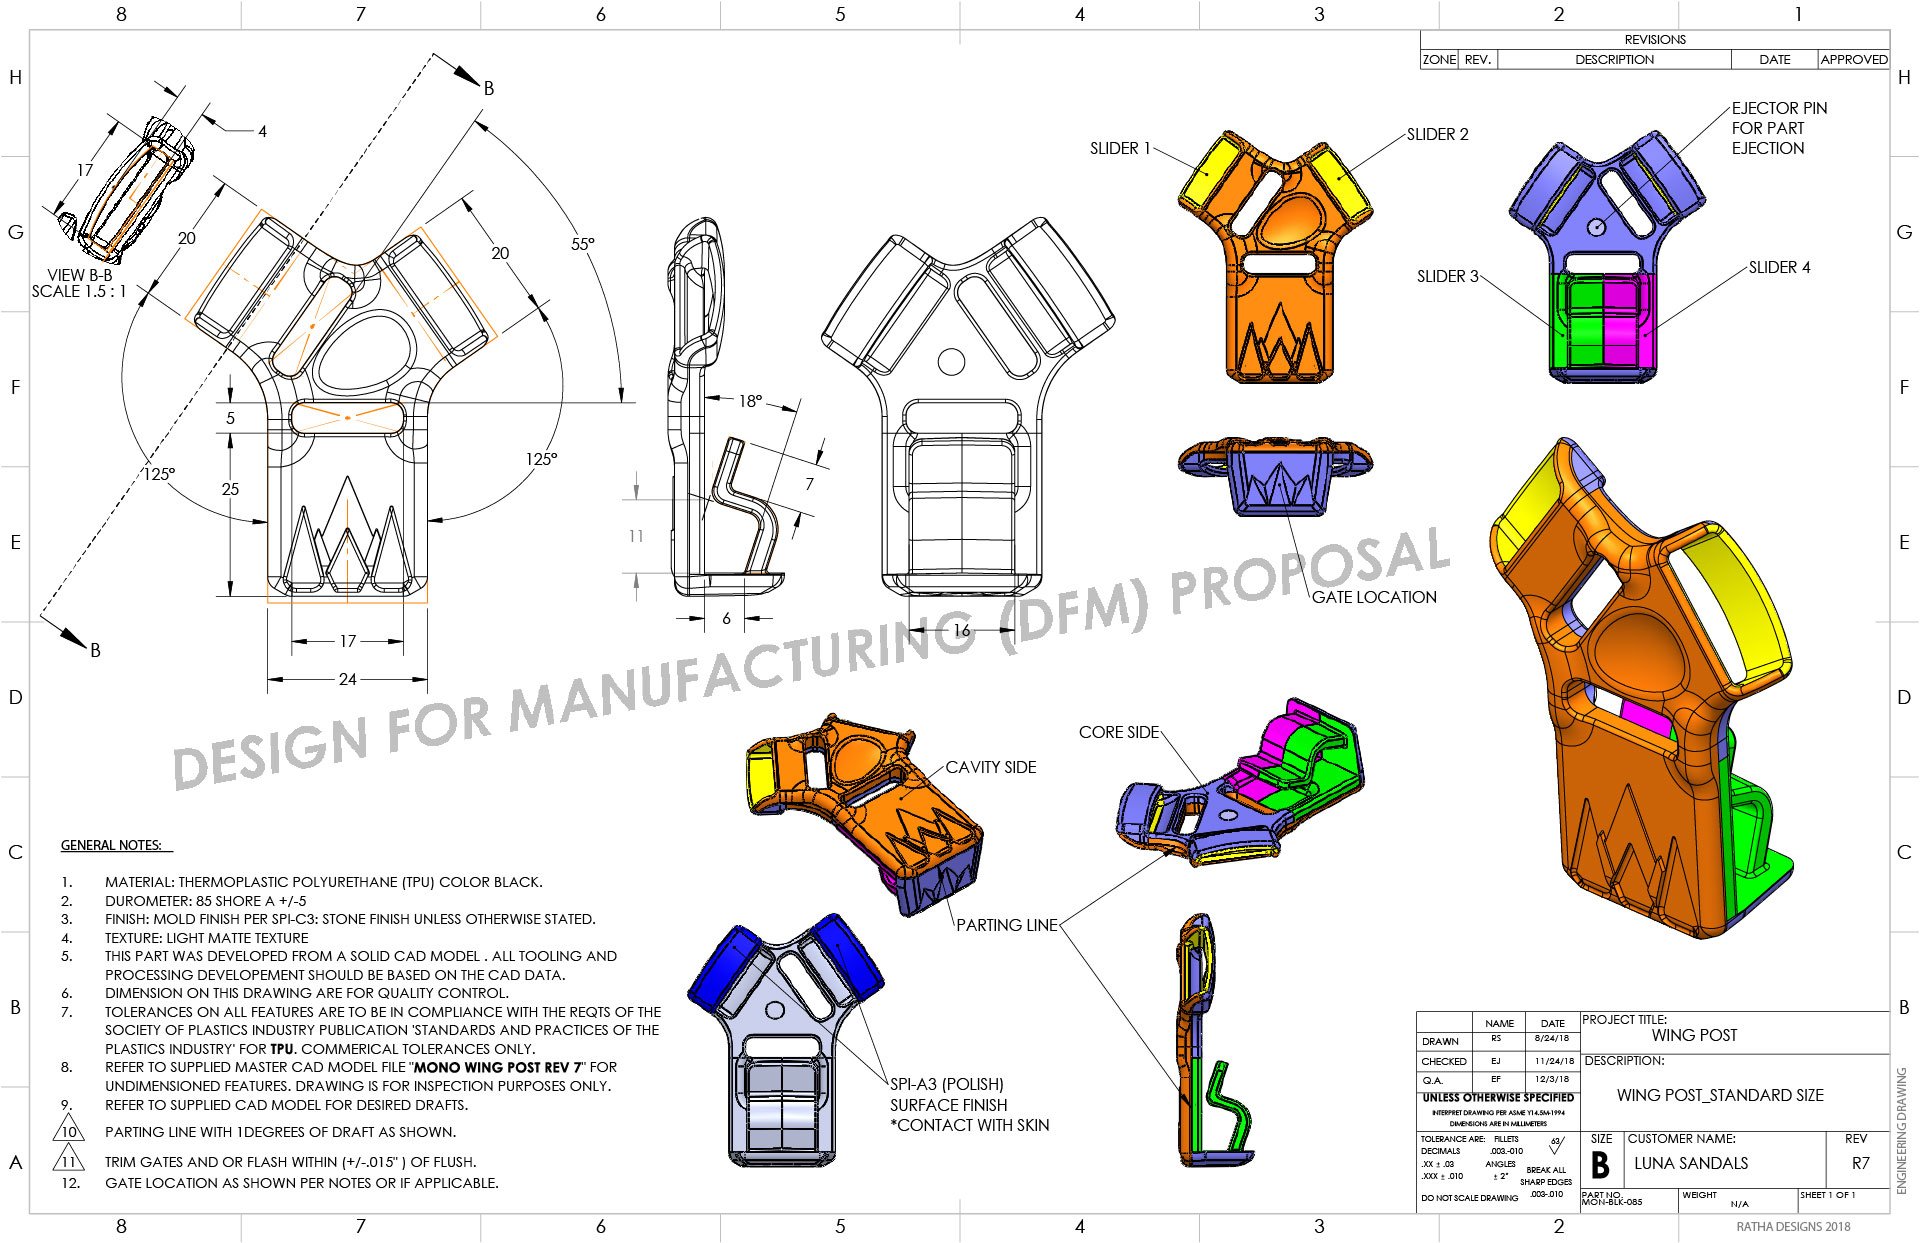
In most cases the file (.step) for the 3D CAD master model is all you would need to send to the tooling engineer for them to build the mold that will in then produce the part. However in addition it is equally important to provide a 2D technical drawing as it will call out any specifications and address the “Critical To Function” dimensions or any information regarding quality assurance. Simply, look at it like a instruction manual for something that needs to be built or manufactured. In this Wing Post we have the specifications called out in the general notes, the dimensions that are critical for function, and last the propose DFM solution of how that part can be built.
Engineering Drawing - Wing Post
Adjustment - Wing Post Function
First Article Parts
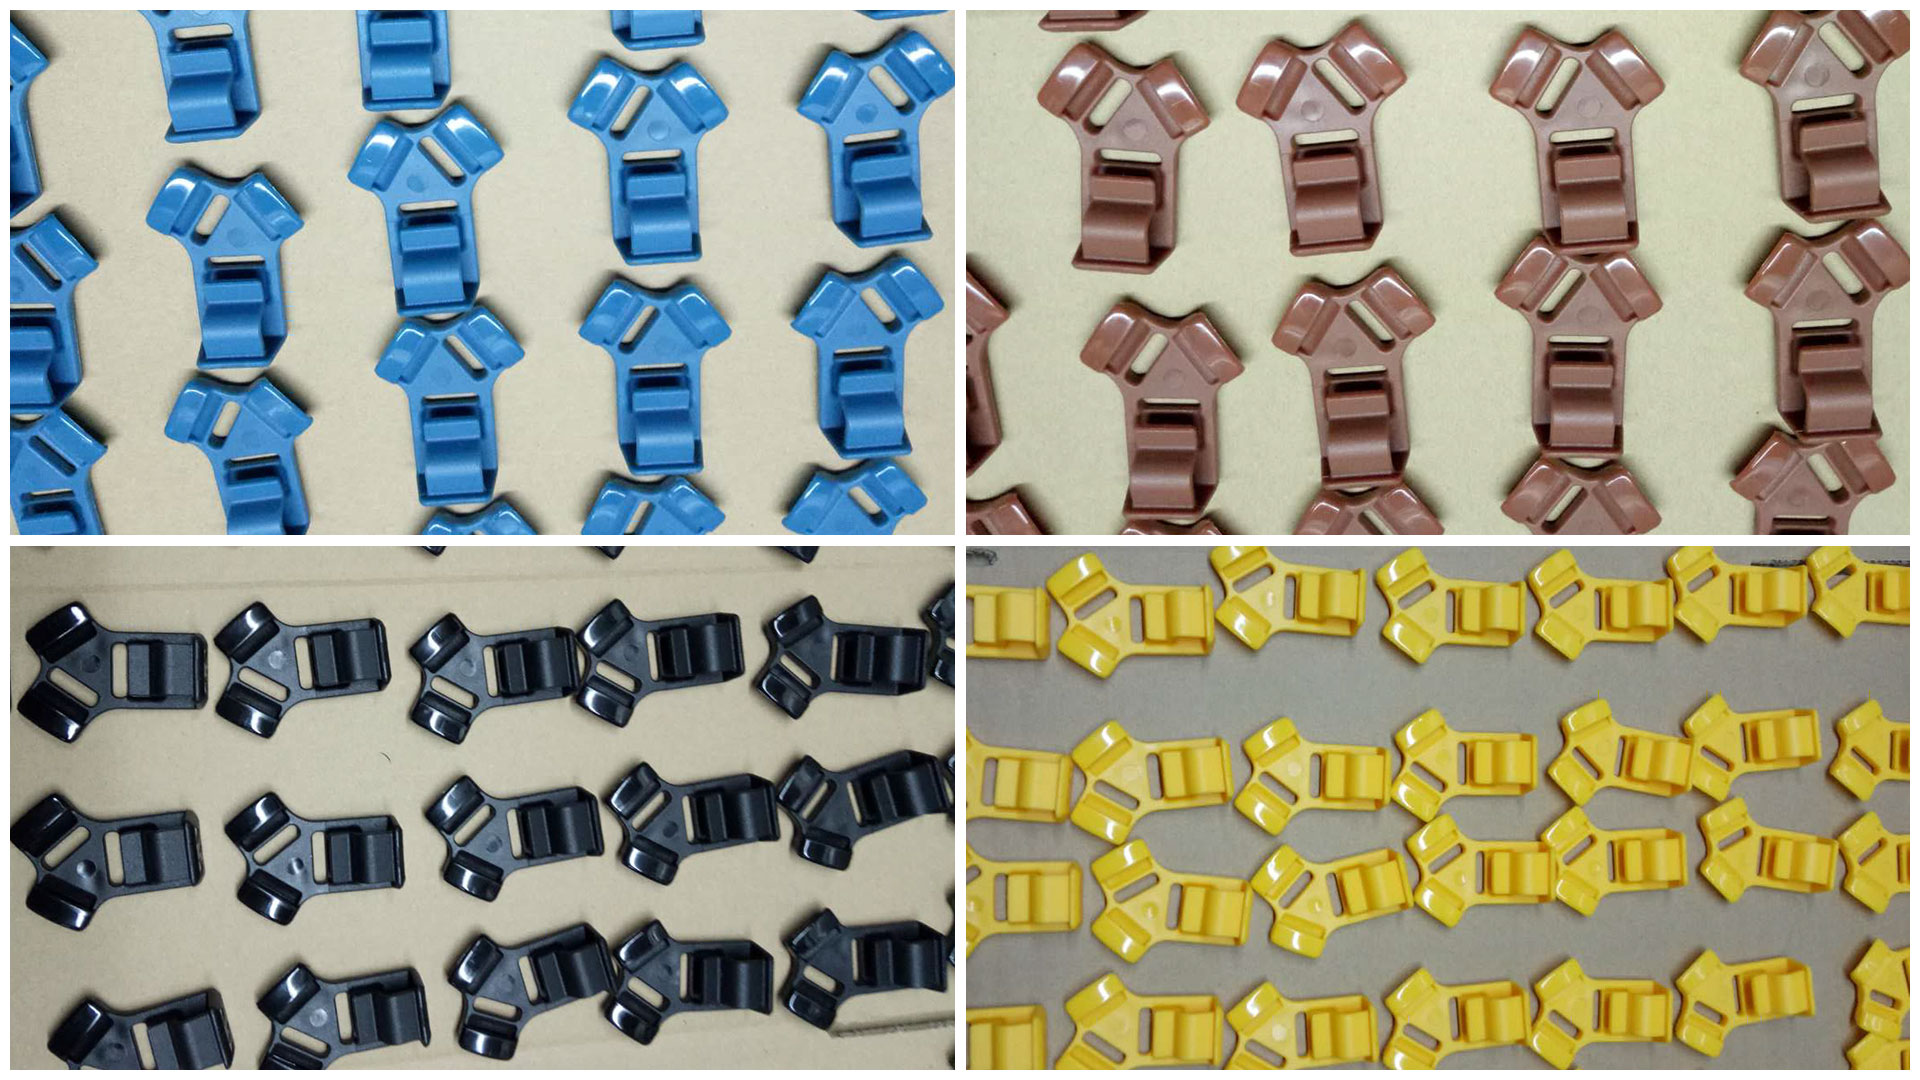
Because I work with a small trusted manufacturing team I was able to reach out to one my contacts to get a competitive price for the tooling and then the piece parts. This easily helped Luna Sandals make a business decision on who they would choose and trust to get the task completed. As a result we able to get the first production like samples made and approved along with placing future orders.
First Raw TPU Samples Shot from Mold
First Batch With Color Options
Product Release
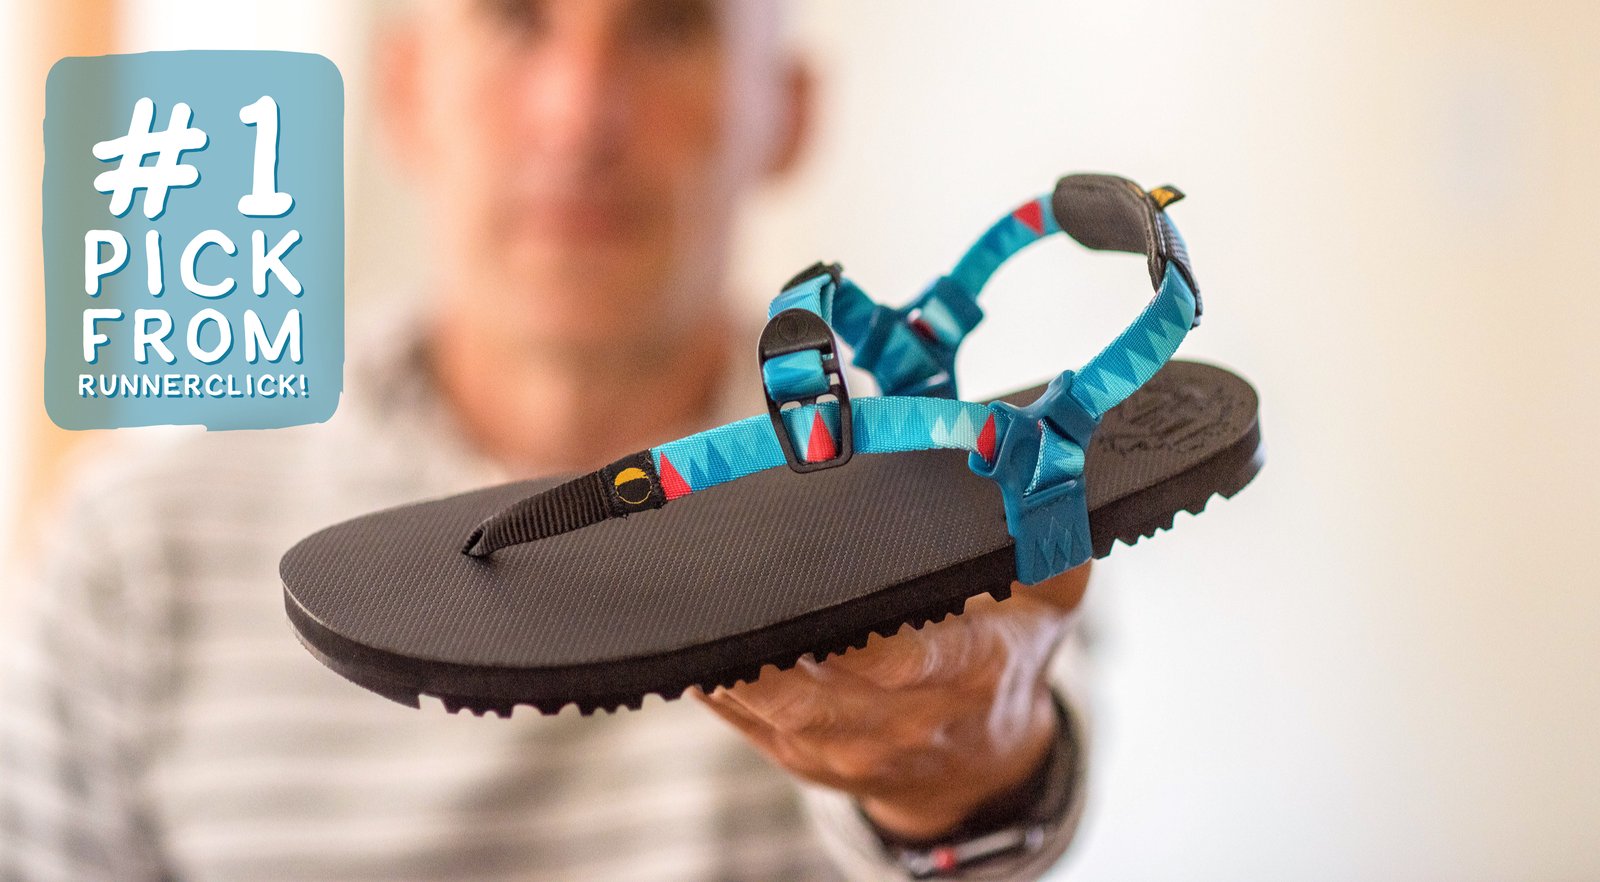
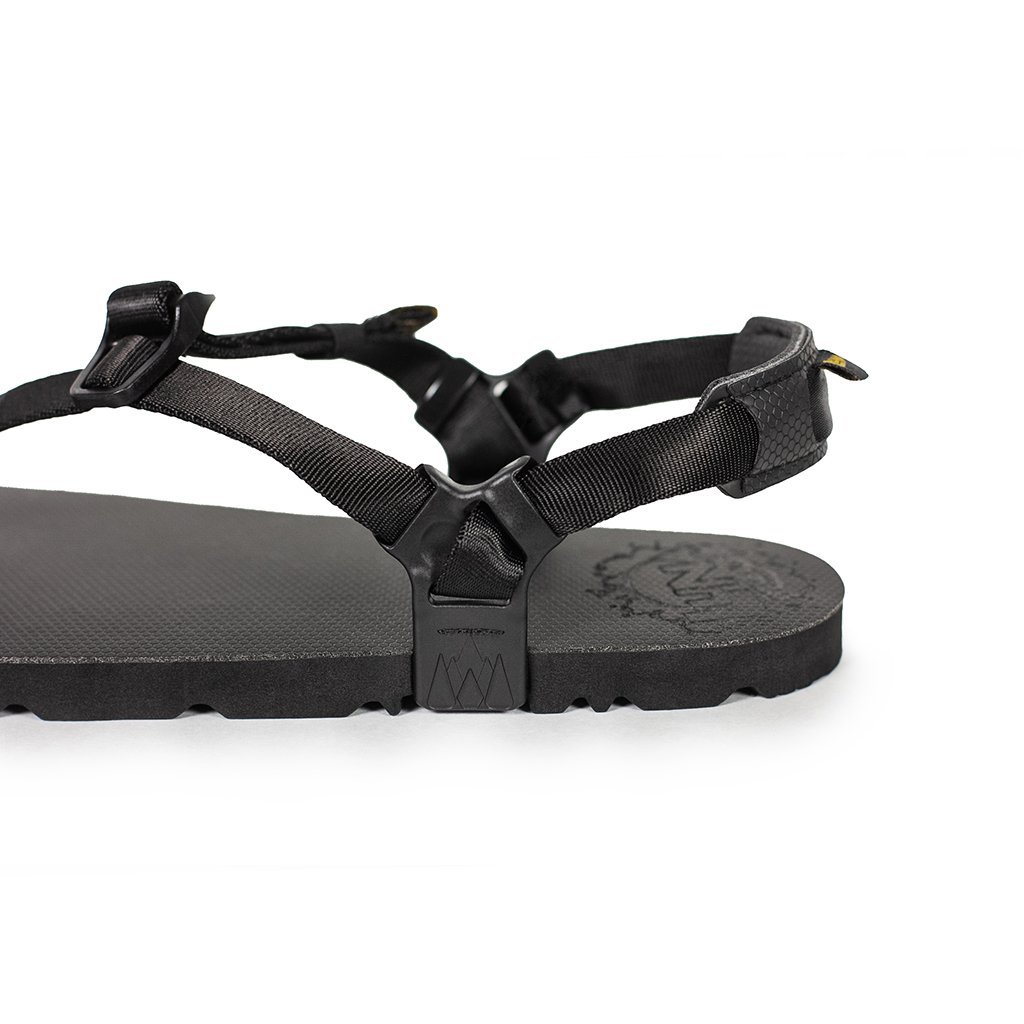
After receiving and inspecting the first article parts from manufacturing. Luna Sandals is now able to start the build and assembly of the new Wing Post for their 2019 sandal production as they are looking to have these officially release in stores in Spring of 2019.
[TEST_B id=2877]
Ready to get started?
Credits
Other Projects
-
Zi Outdoors - Ruger 10/22 Scope MountZi Outdoors - Ruger 10/22 Scope Mount
-
Unicraft Automotive - C Pillar TrimUnicraft Automotive - C Pillar Trim
-
Soundair Aviation Services - Flush ButtonSoundair Aviation Services - Flush Button
-
Luna Sandals - Wing PostLuna Sandals - Wing Post
-
Model Green-Home - Solar Garden LightModel Green-Home - Solar Garden Light
-
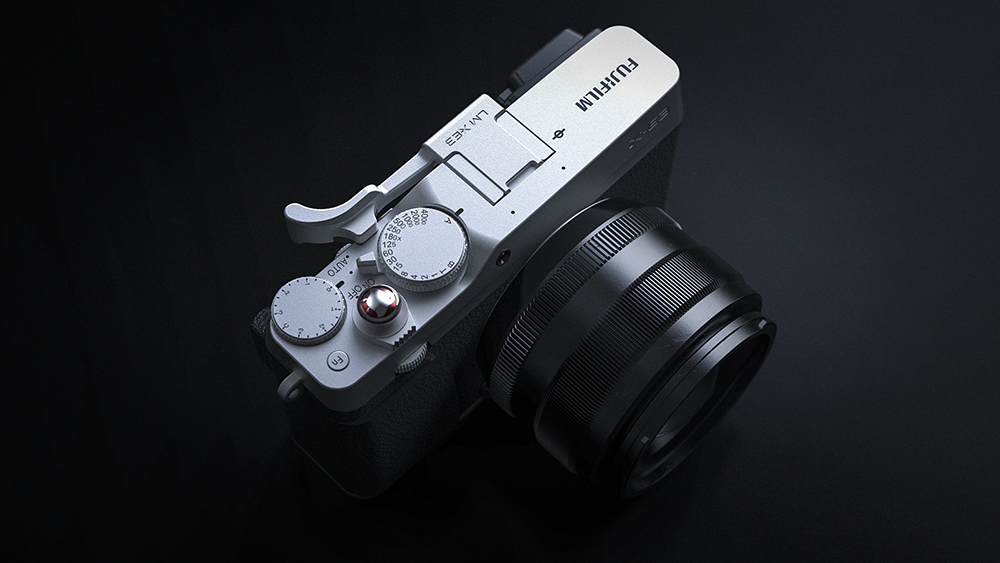
LENSMATE - FUJI THUMBGRIPLENSMATE - FUJI THUMBGRIP
-
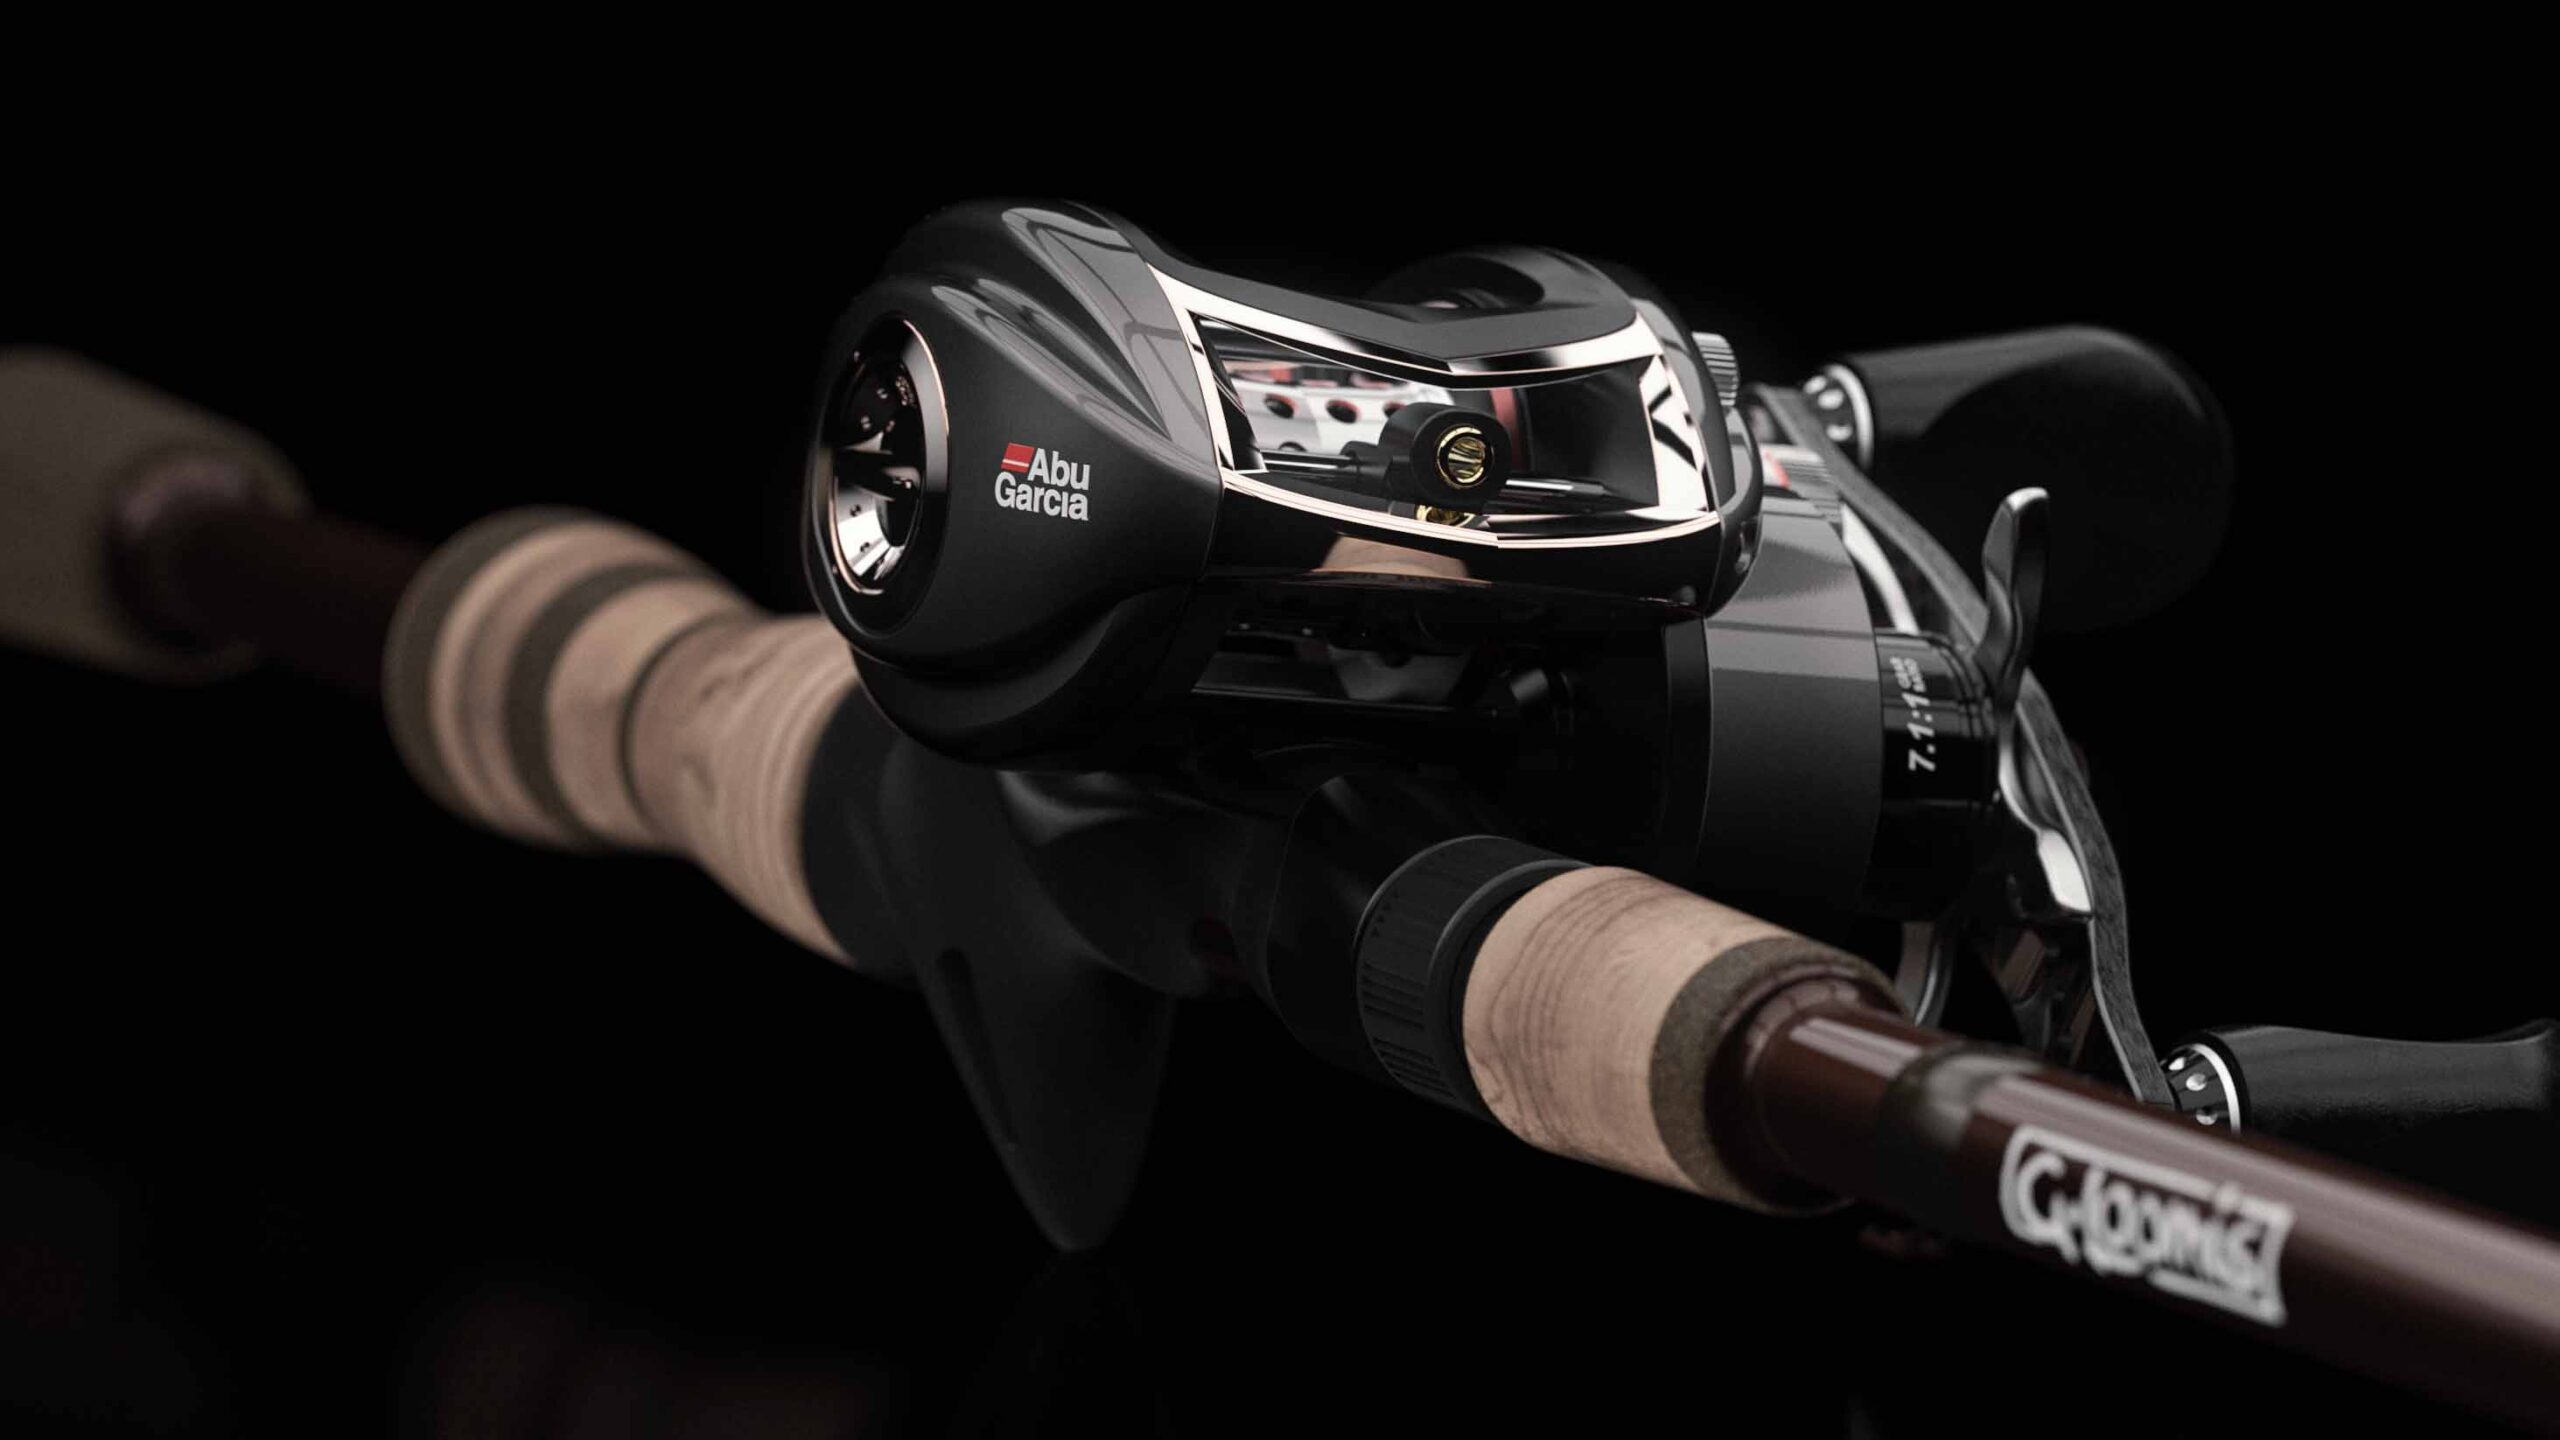
PERSONAL - ROD AND REEL REVERSE ENGINEERINGPERSONAL - ROD AND REEL REVERSE ENGINEERING
-
PERSONAL - 2D SKETCH TO 3D CAD MODELPERSONAL - 2D SKETCH TO 3D CAD MODEL
-
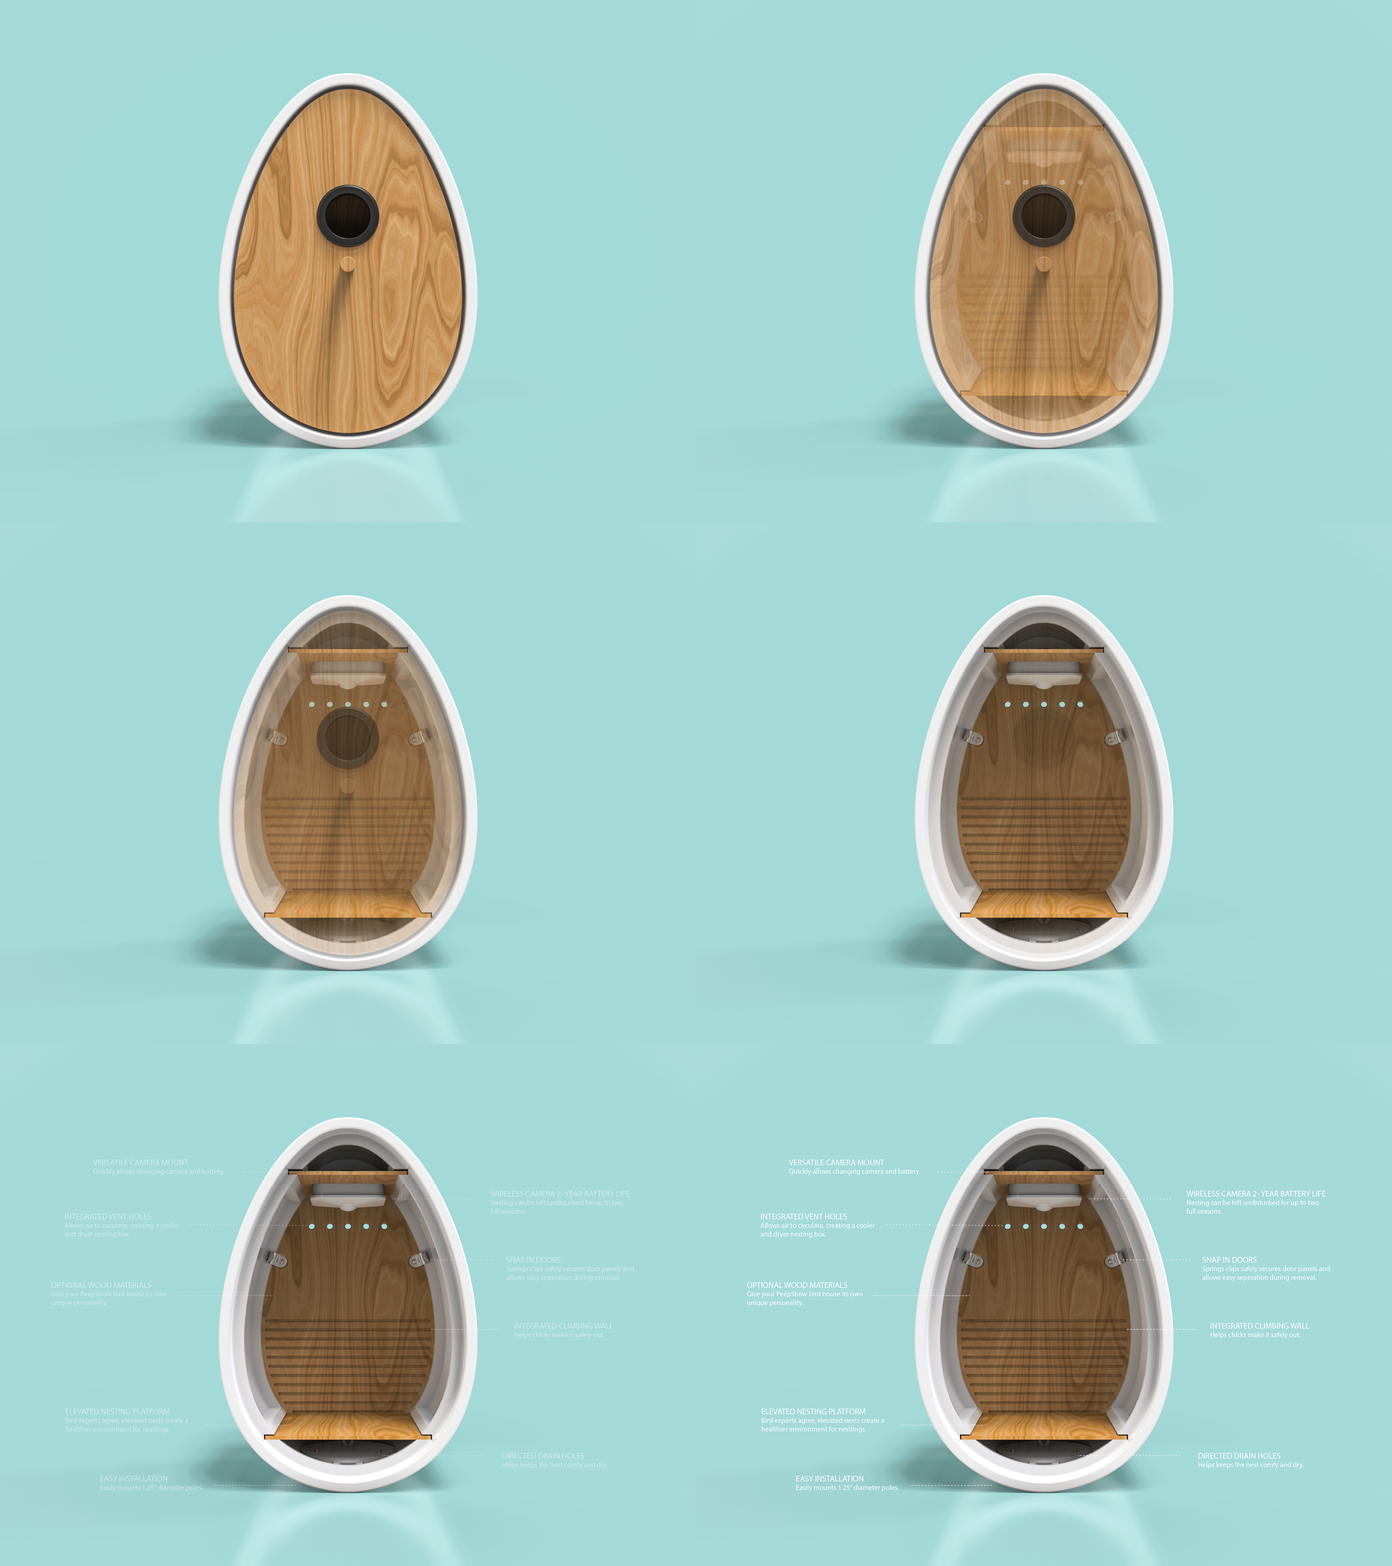
PeepShow - Bird HousePeepShow - Bird House


