
Model Green Home – Solar Garden Light
CASE STUDY
James Barger of Model Green Home wanted to find a simple but effective way to light up his front driveway and wanted to do so with solar garden lights. But most were all the same… the lights were dim, low quality, and didn’t stay on for long. He tried searching on Amazon and found that many of the reviewers had similar complaints. This market insight led James to take on the challenge to make his own. With the vision and clarity on the problem he set out to find a solution and recruited me to help.
Features
James and I narrowed it down to these three performance features, 1) stay on longer, 2) be brighter, and 3) be waterproof. I was in charge with designing the waterproof enclosure while making the product manufacturable and good looking while maintaining function.

Research Existing Products / Technology
My first step was to conduct research and experimentation to figure out the best combination of geometry and materials to make it leak-proof. I performed teardowns on existing products to see what worked and what didn’t work so well. Then I tested conceptual designs to identify a solution that really works. Once I verified that the waterproof concept was successful, I tested variations in geometry and materials to optimized the solution.

Product Development
My next step was to figure out how to integrate everything with the least amount of parts so that it can be simple to assembly. Using the general principles of Design for Assembly (DFA) we could narrow down the essential parts needed. We then proceed to create a SolidWorks assembly for the winning concept. The final design consists of silicone orings that are place in custom oring glands to be fastened together while still allowing for the right amount of compression to create a water tight seal.

Prototypes and Testing
We produced several prototypes, with varying levels complexity to efficiently solve problems:
- FDM 3D printed models to confirm desired aesthetics and assembly fit.
- SLA models to validate waterproofing and production concept.

Designed for Manufacturing /Assembly (DFMA)
Through the use of DFMA concepts I could attain the main target to satisfy the customer’s requirements in terms of functionality, performance, style and quality at a low cost. These concepts would later help reduce part and assembly labor cost.
Other DFMA benefits are:
- Reduce rework
- Reduce time to market launching
- Less production problems
- Simpler fabrication and assembly
- Reduce and optimize part counts and types
- Design parts so that they are easy to self-align and locate and installed correctly
- Minimize the number of tooling required
Manufacturing
The next step was to work with manufacturing. This would involve me working with a plastic tool engineer to address any design issues early on. Even though I made careful consideration to DFM, a tooling engineer would give us the best feedback for part moldability. A design for manufacturing report was sent over to review to make sure we were ok with the locations of the parting line, ejector pins, feeding gate and shrinkage. Once both sides agreed on the changes, a deposit was made and tooling began.
Ready to get started?
Credits
Other Projects
-
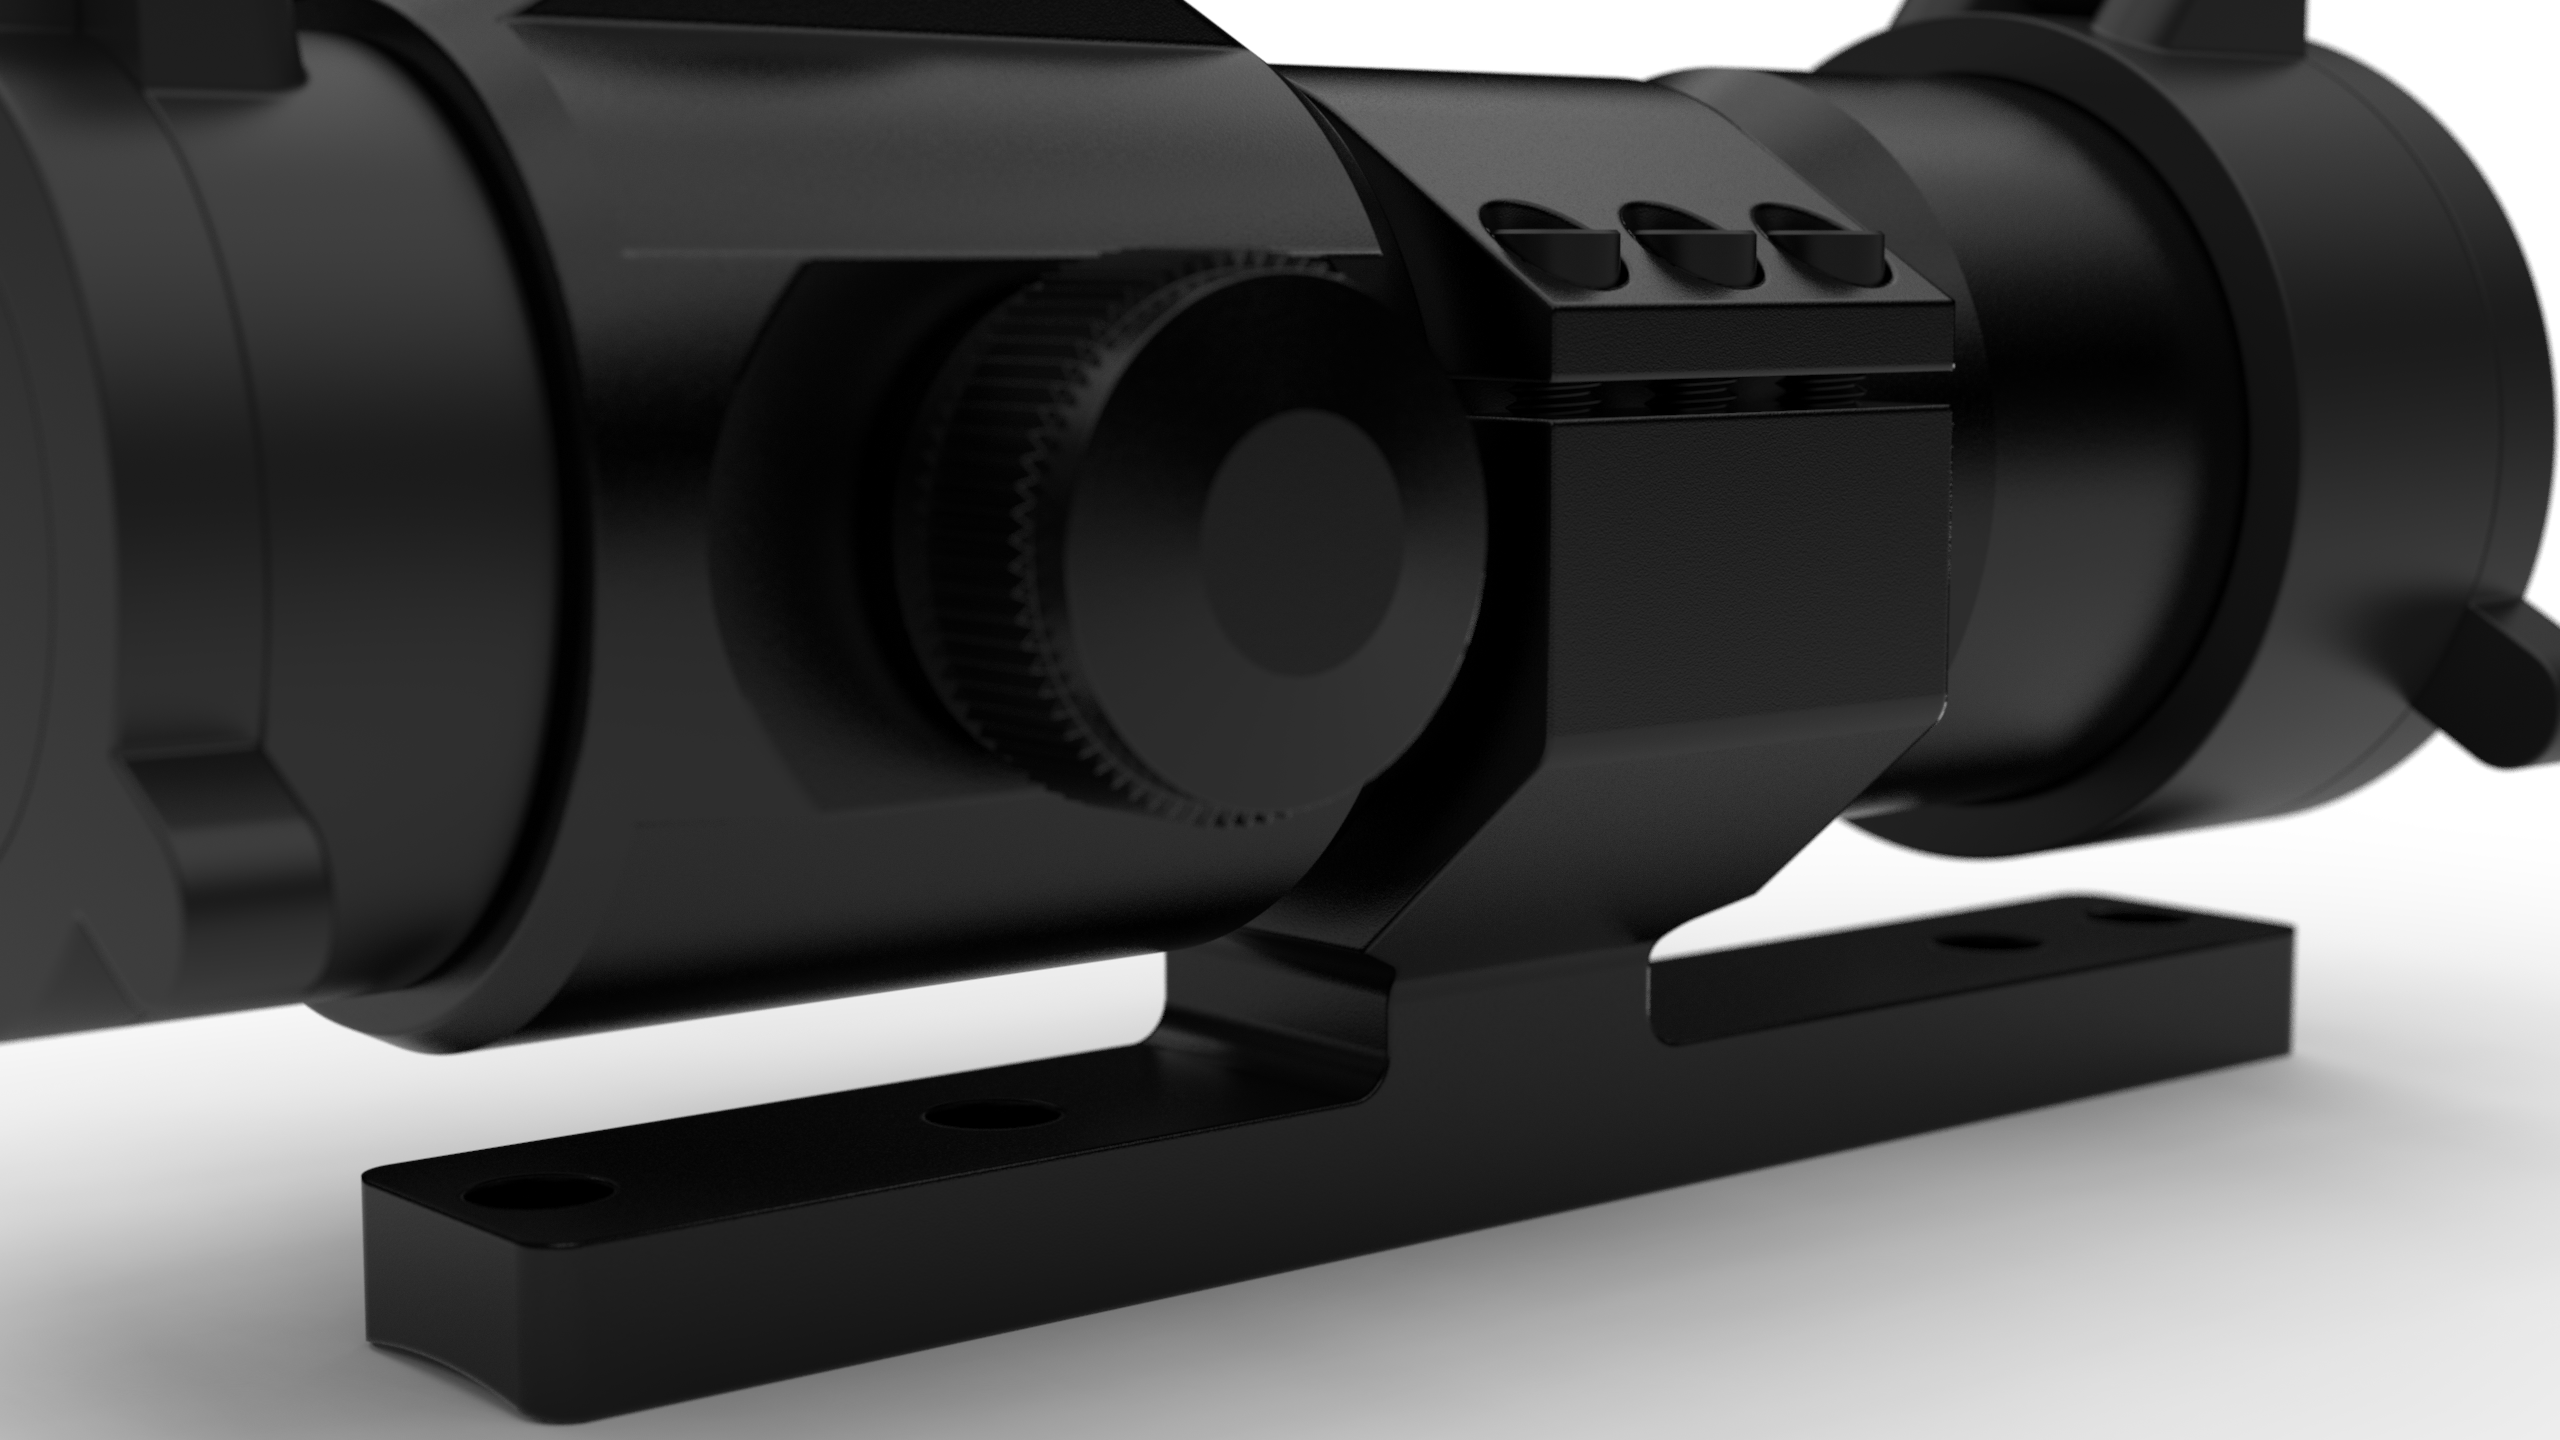 Zi Outdoors - Ruger 10/22 Scope MountZi Outdoors - Ruger 10/22 Scope Mount
 -
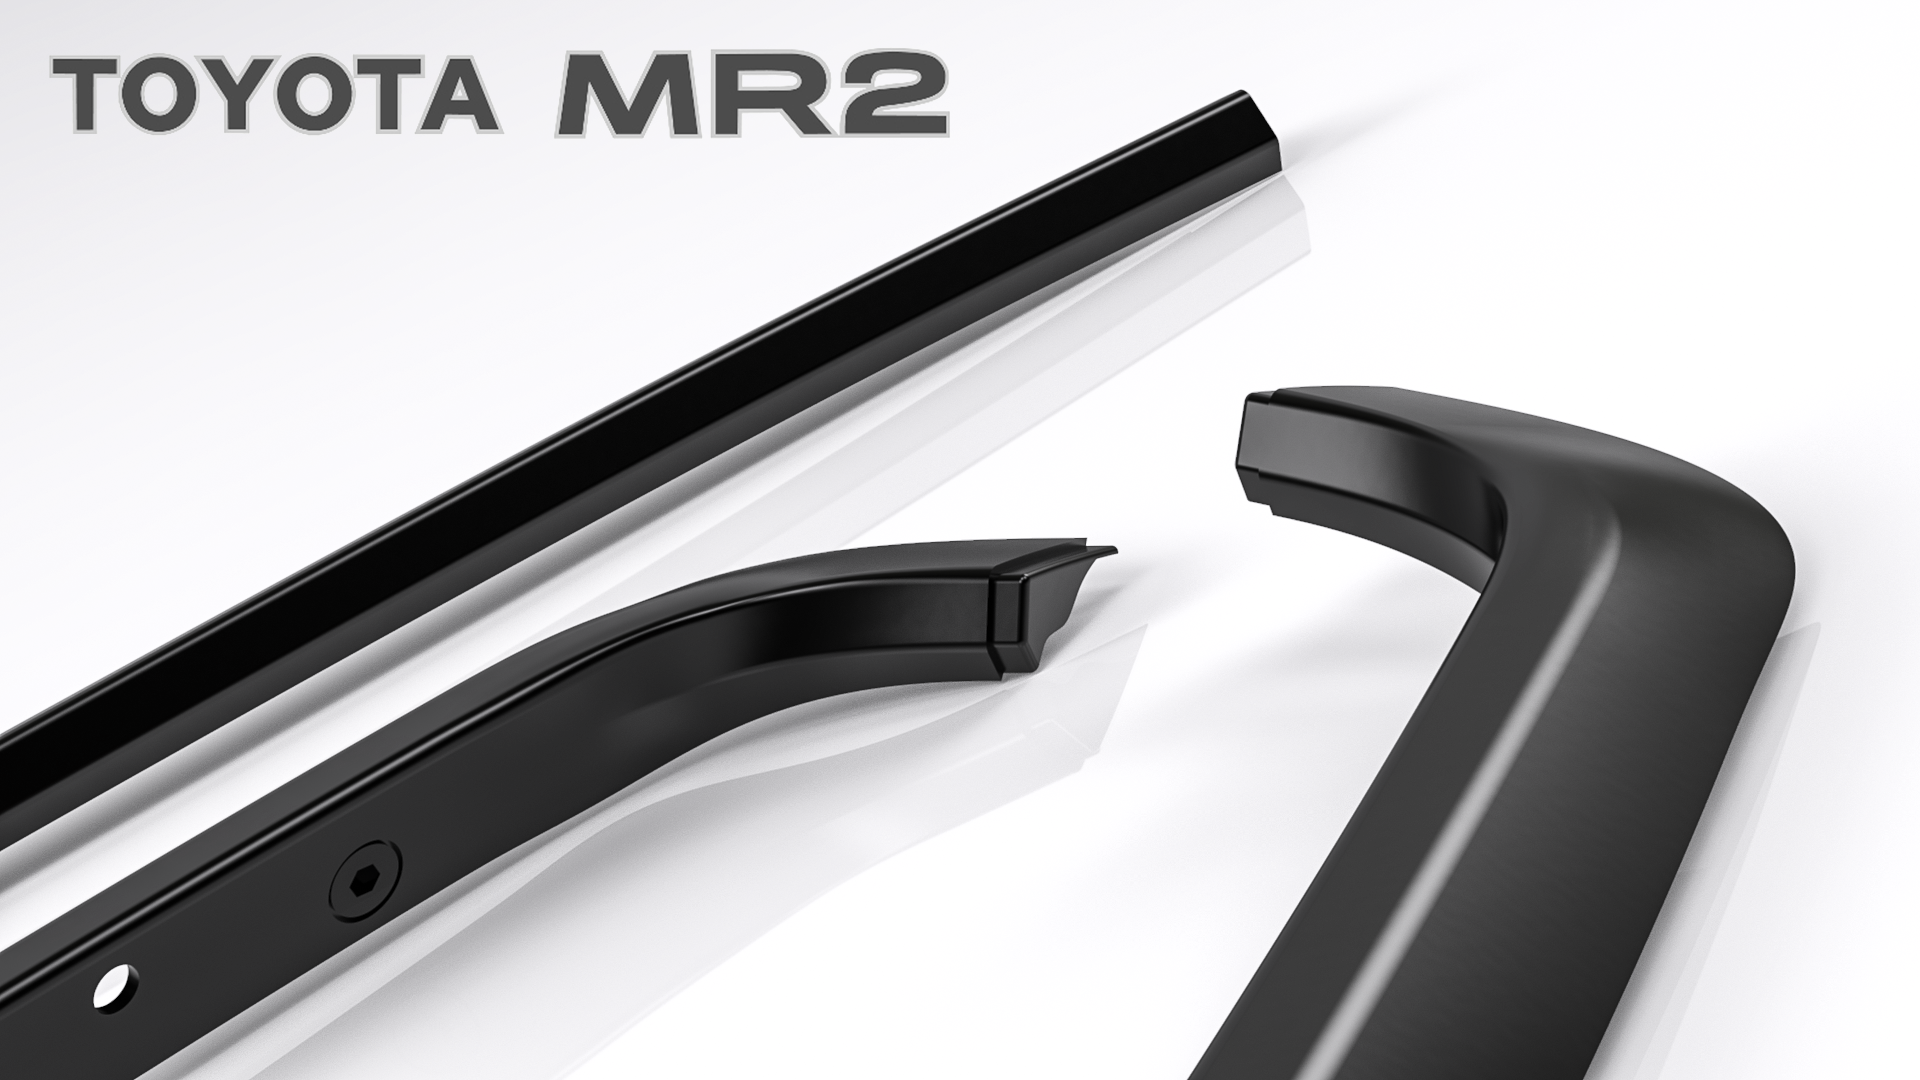 Unicraft Automotive - C Pillar TrimUnicraft Automotive - C Pillar Trim
 -
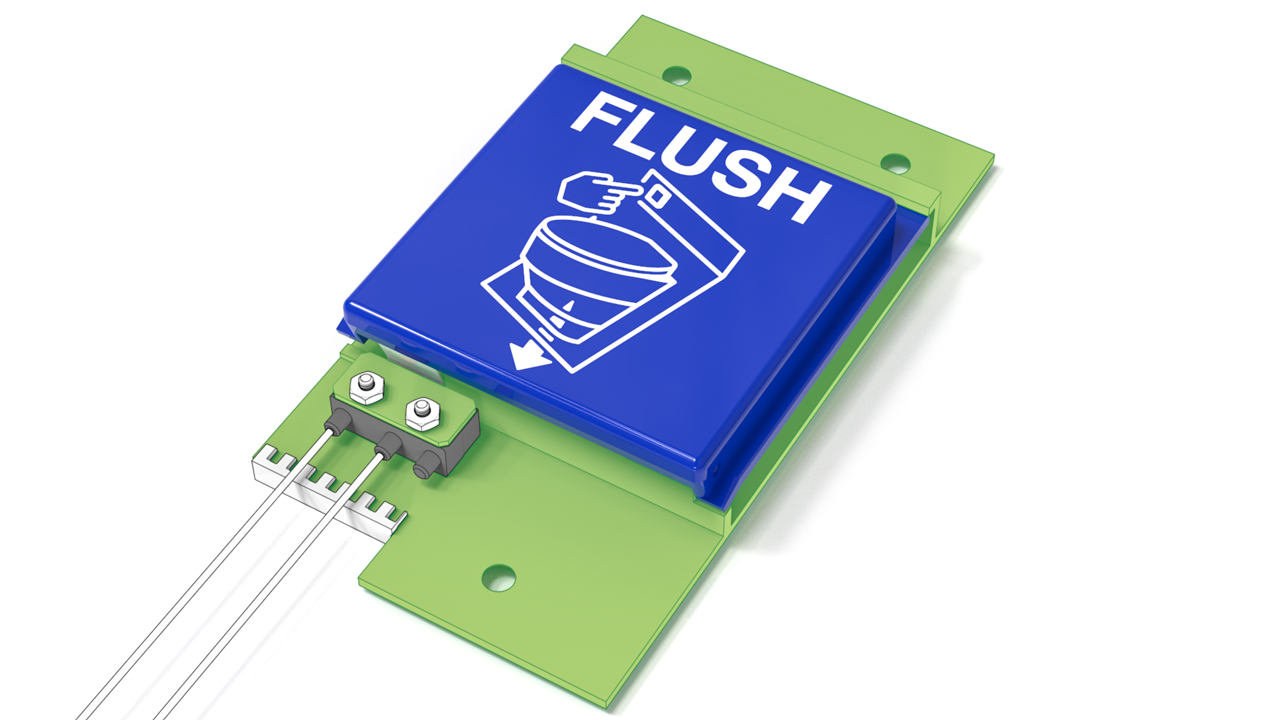 Soundair Aviation Services - Flush ButtonSoundair Aviation Services - Flush Button
 -
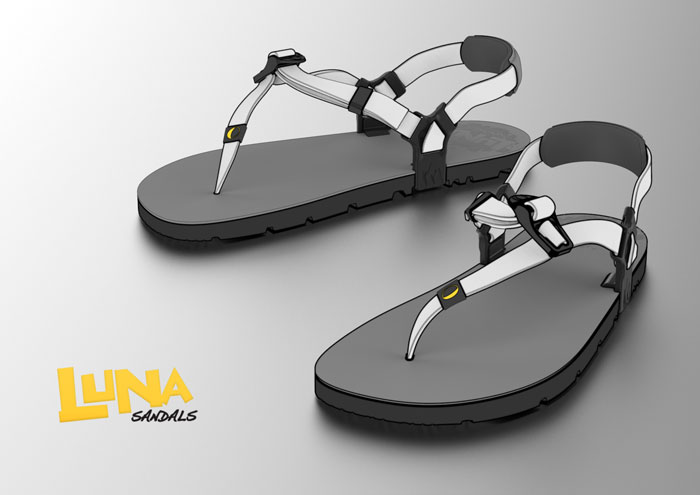 Luna Sandals - Wing PostLuna Sandals - Wing Post
 -
Model Green-Home - Solar Garden LightModel Green-Home - Solar Garden Light
-
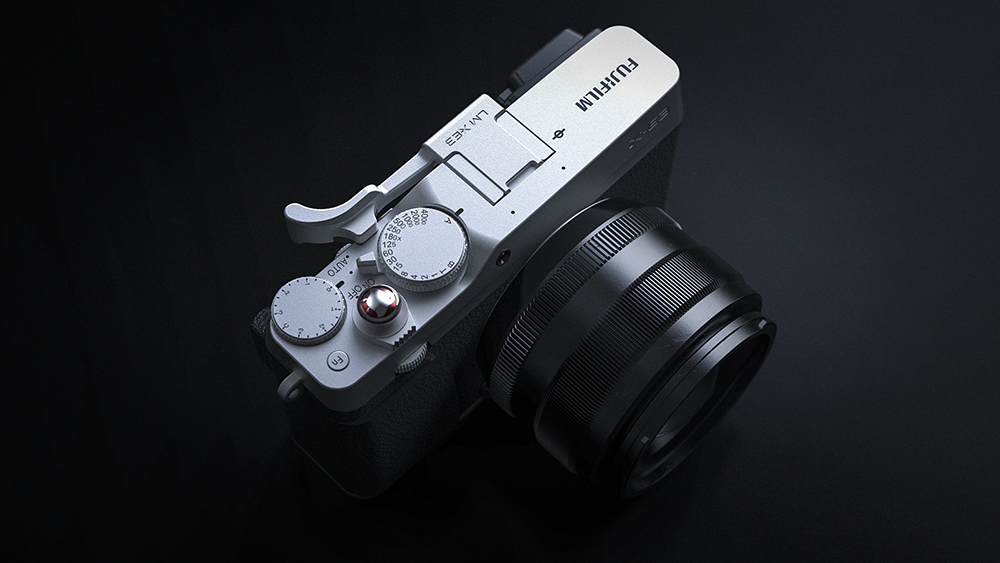 LENSMATE - FUJI THUMBGRIPLENSMATE - FUJI THUMBGRIP
 -
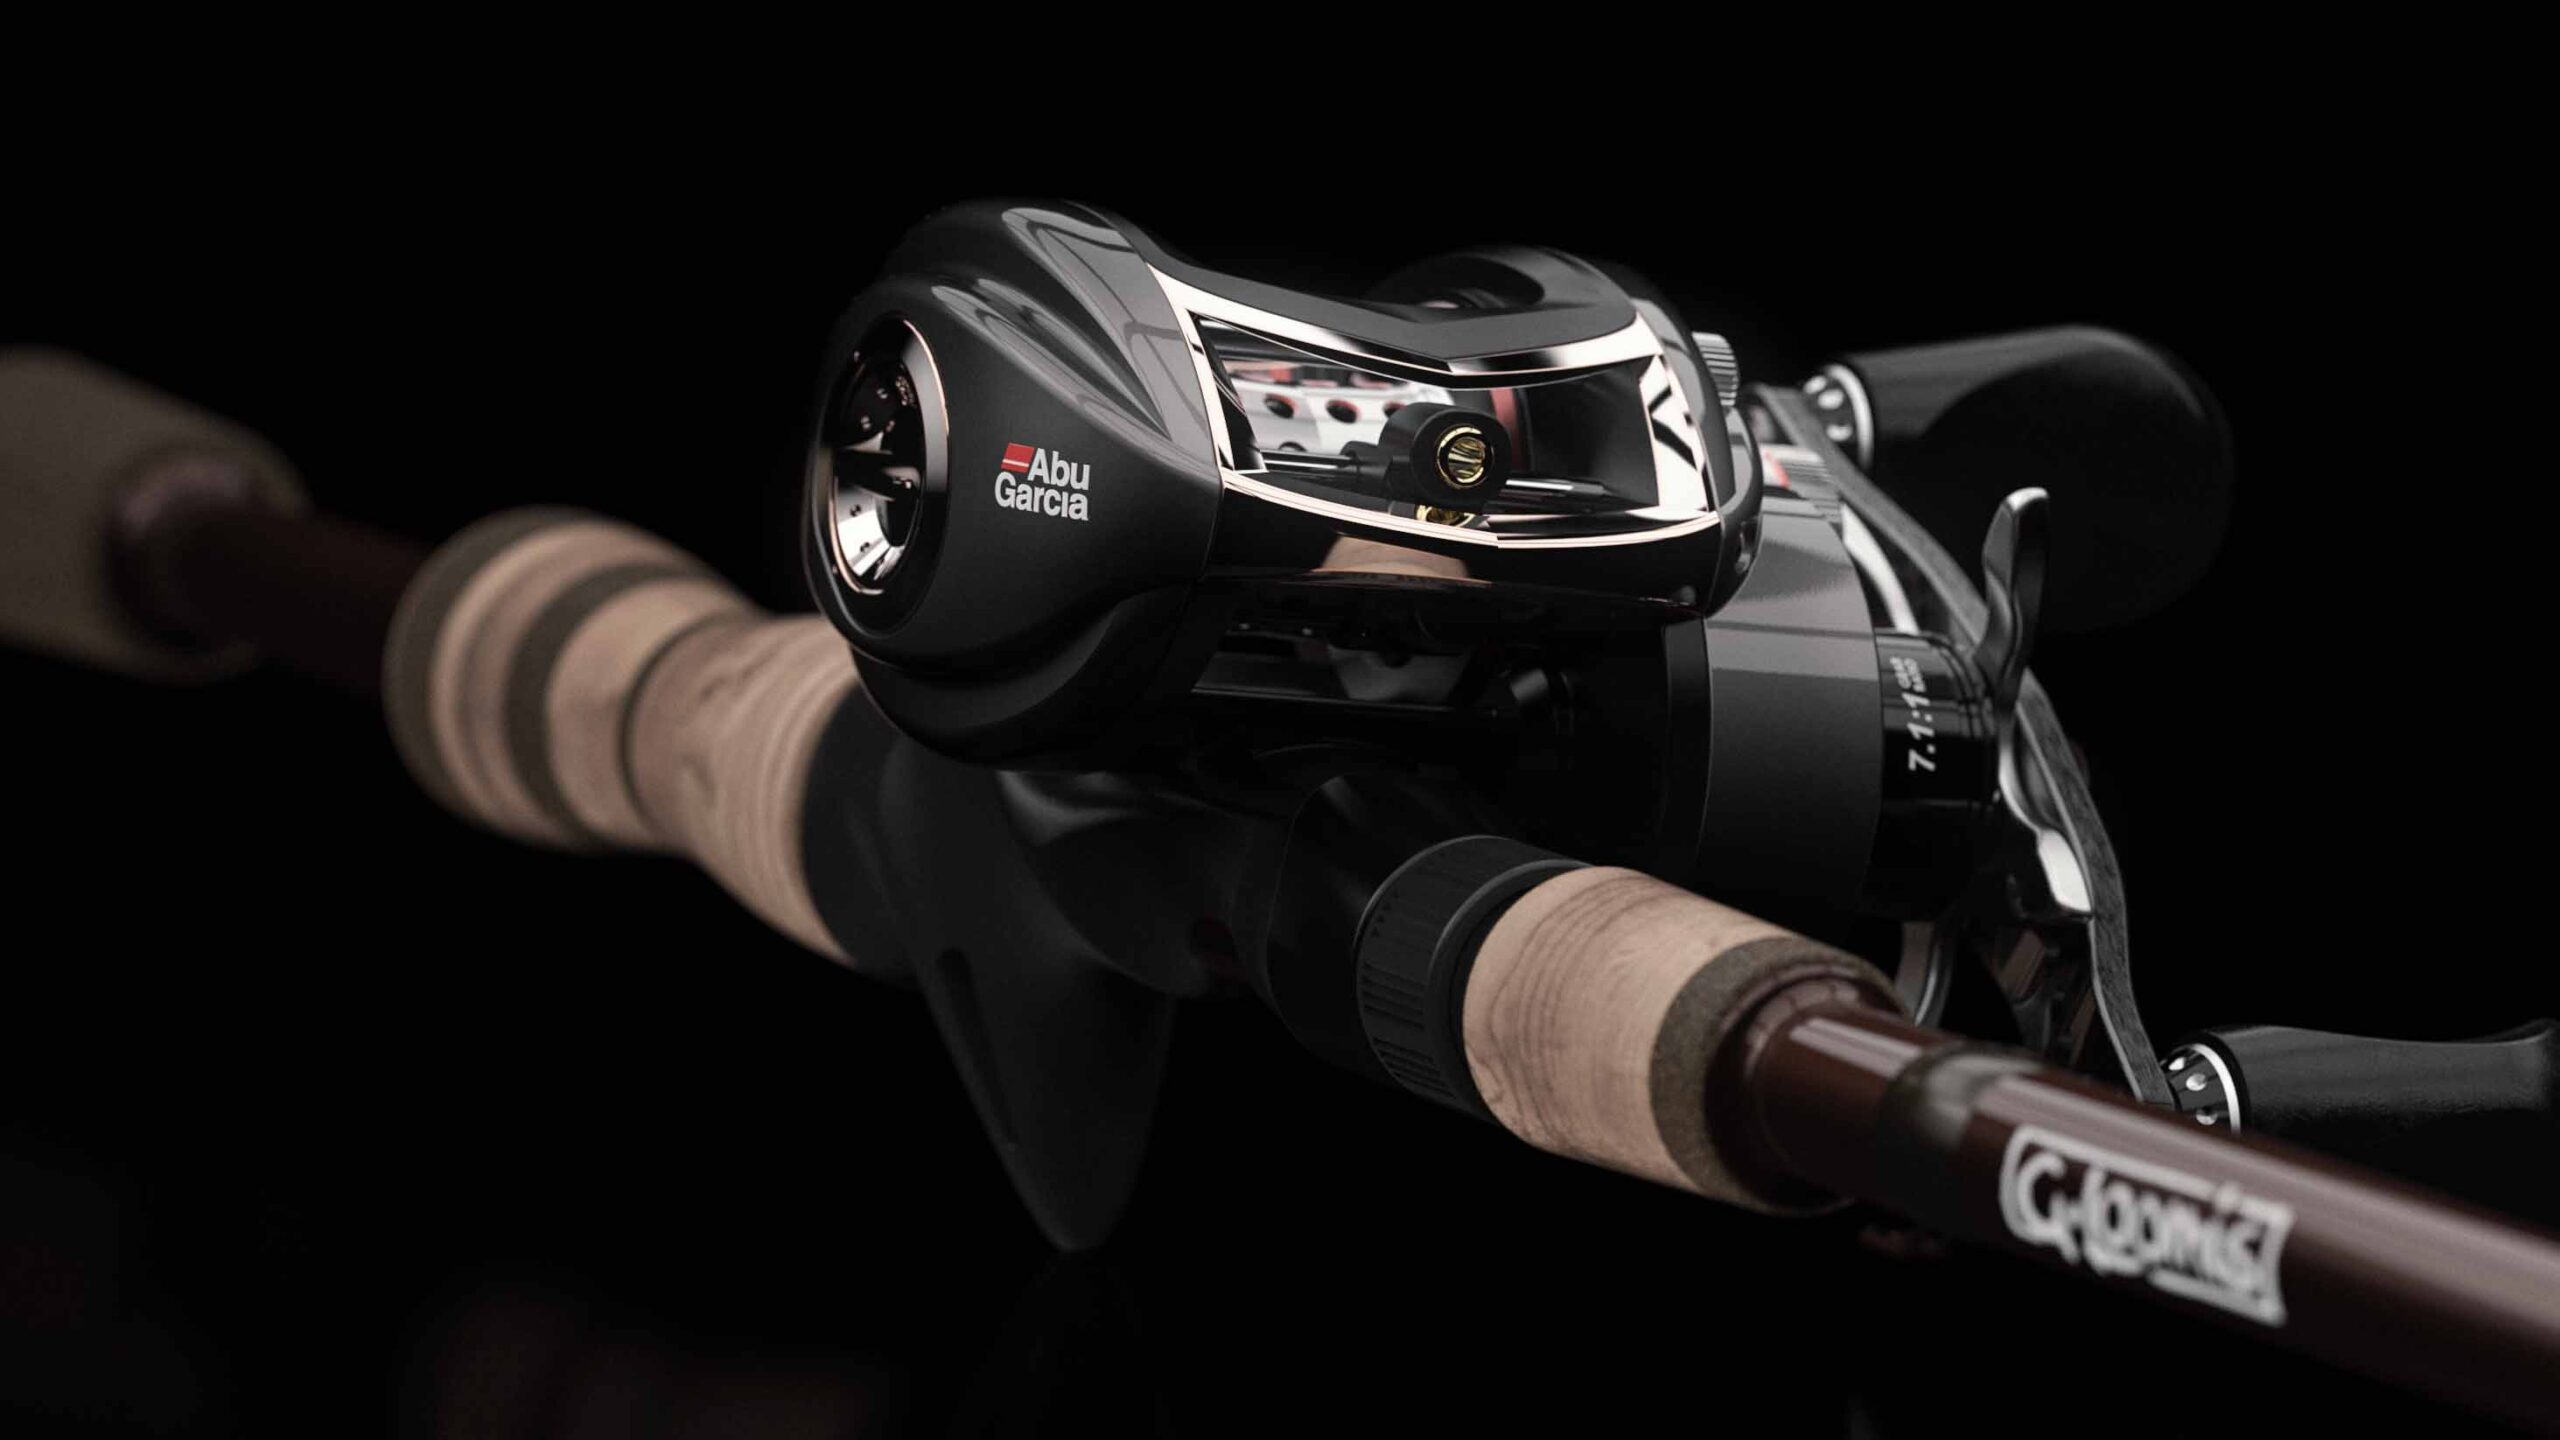 PERSONAL - ROD AND REEL REVERSE ENGINEERINGPERSONAL - ROD AND REEL REVERSE ENGINEERING
 -
 PERSONAL - 2D SKETCH TO 3D CAD MODELPERSONAL - 2D SKETCH TO 3D CAD MODEL
 -
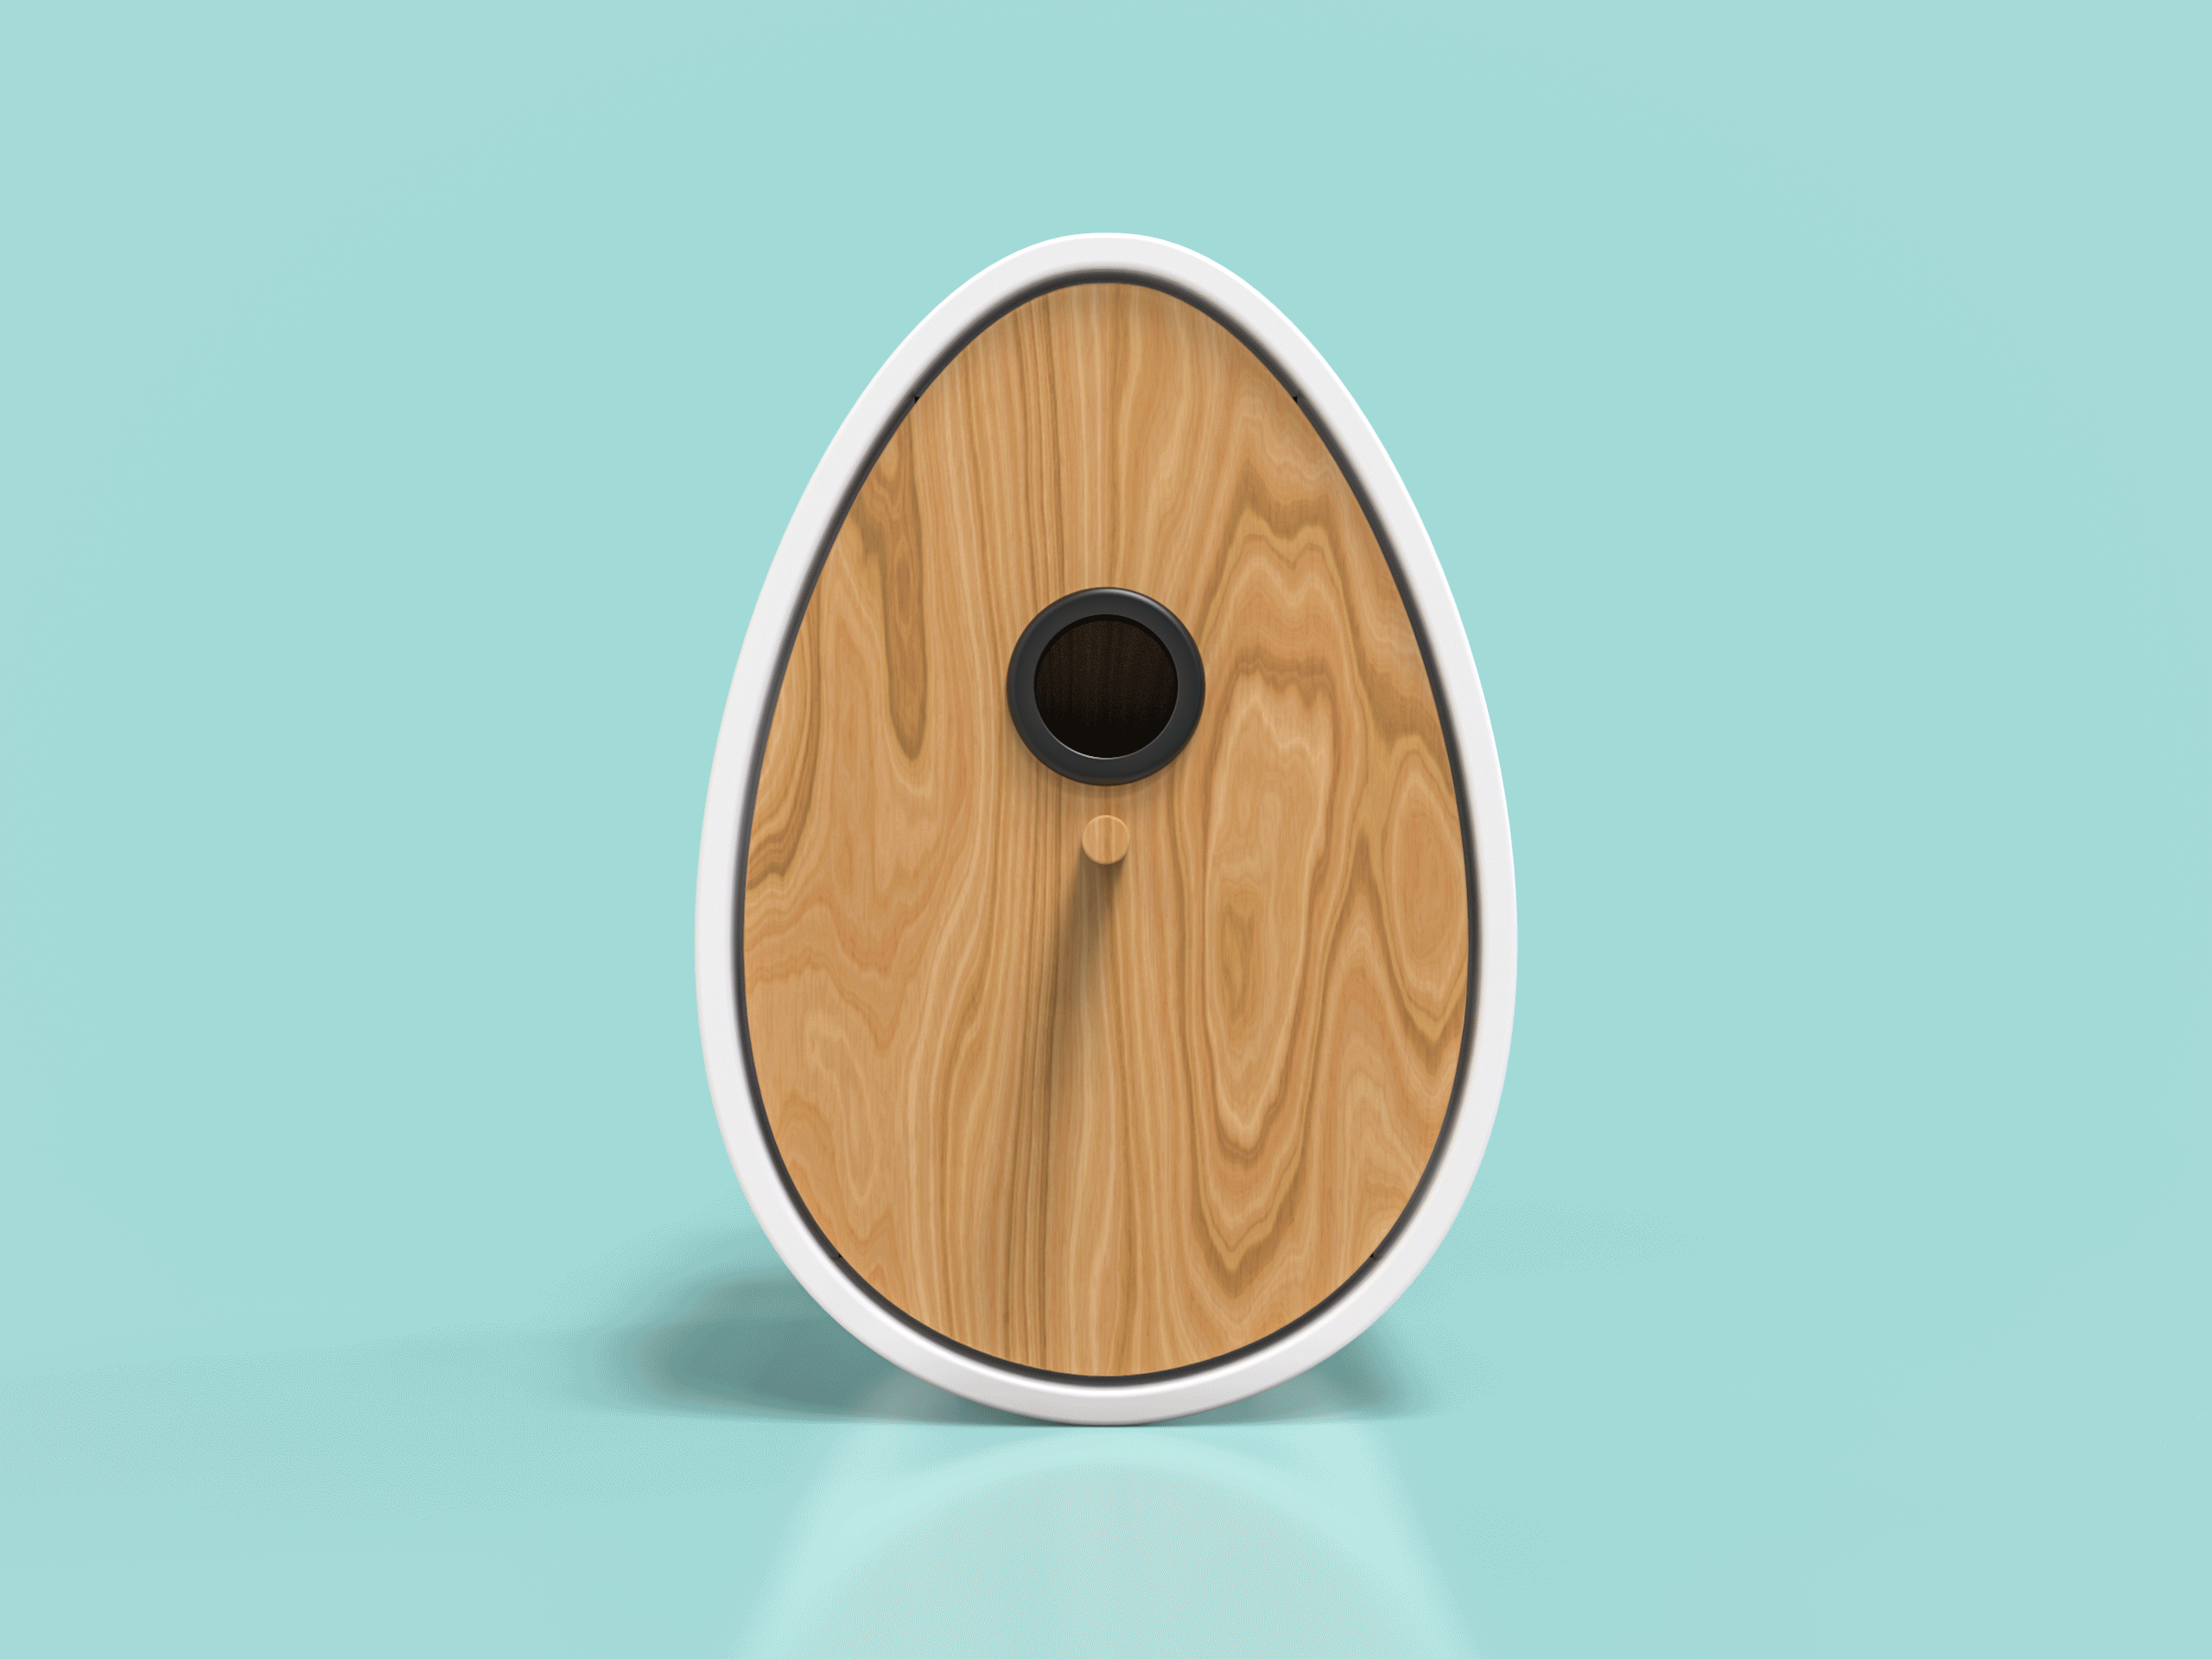 PeepShow - Bird HousePeepShow - Bird House